


This is my first DIY, so be warned... I know I missed a few photos, I'm terribly sorry.
I used the following tutorial for taking the headlights out and apart.
How to remove headlights from car: (By Xion Unjust)
How to take the headlights apart: (By jdinisio)
His are AL headlights not ZKW but the internals are very similar.
__________________________________________________
Here is where my DIY really begins:
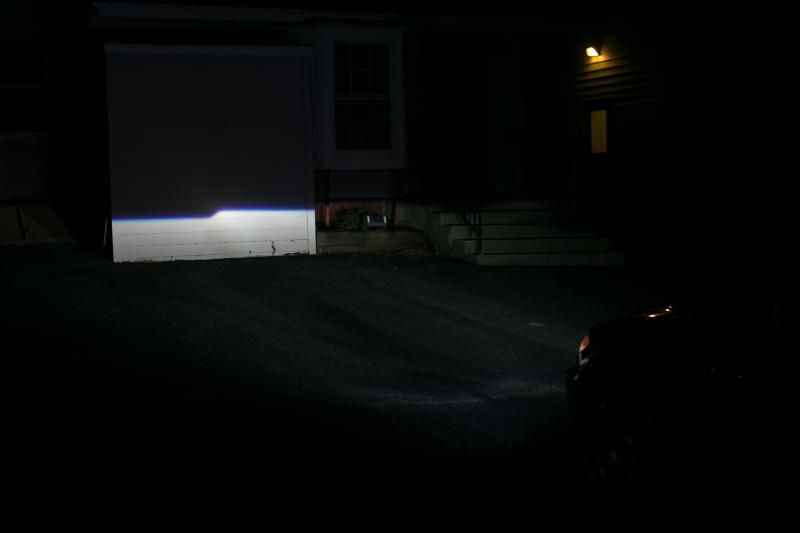
Here is a very easy and cost solution for burnt ZKW projector bowls.
Items needed: $214 total (Free Shipping)
RETRO-QUIK: BMW E46 / ZKW (Projectors and Brackets Only): $179.00 (Link Updated)
Value E46R Shrouds: $15.00
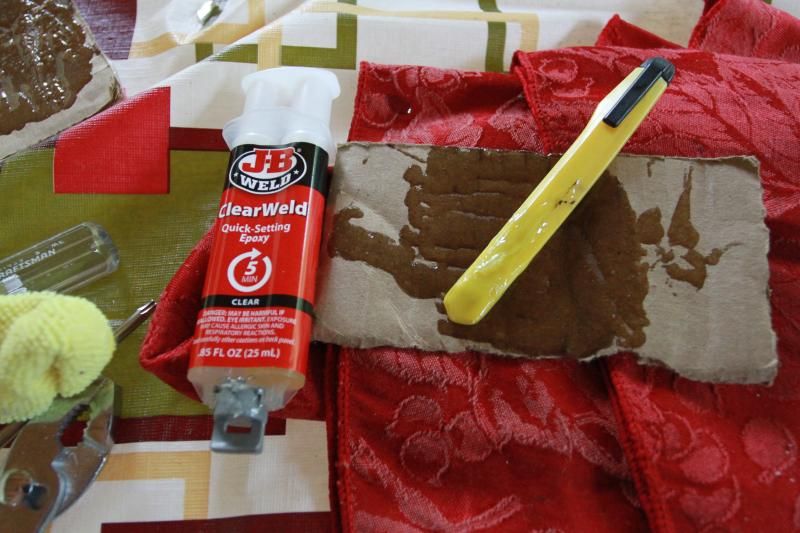
JB Weld Epoxy: $5.00
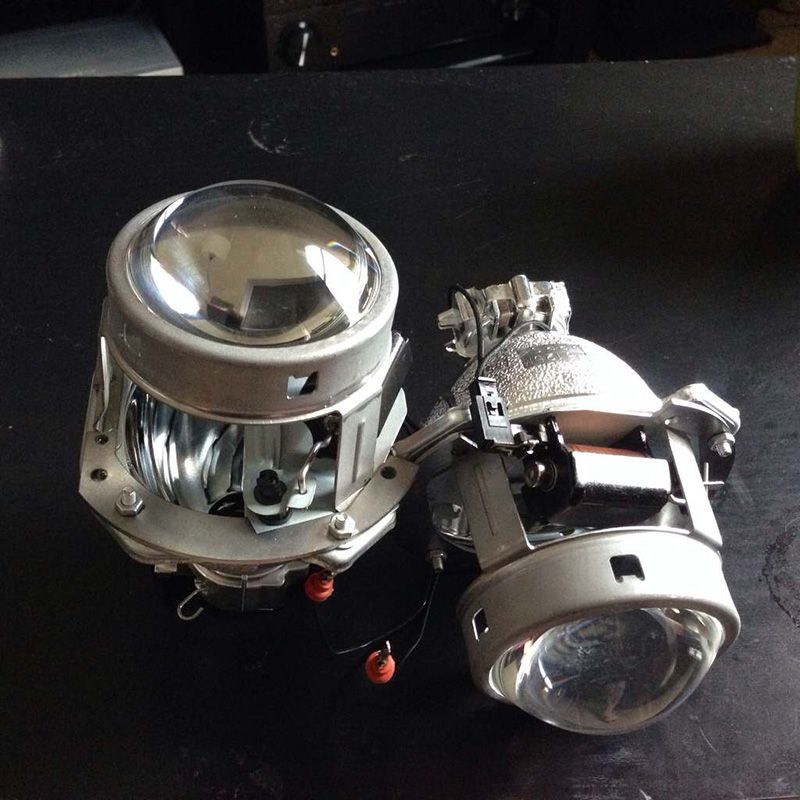
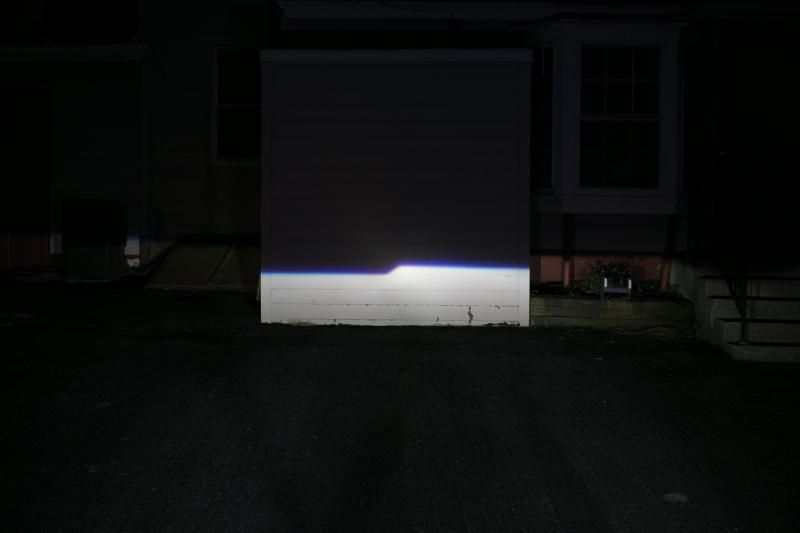
This system uses Hella EvoX-R Projectors.
I also installed a set of 6000K bulbs.
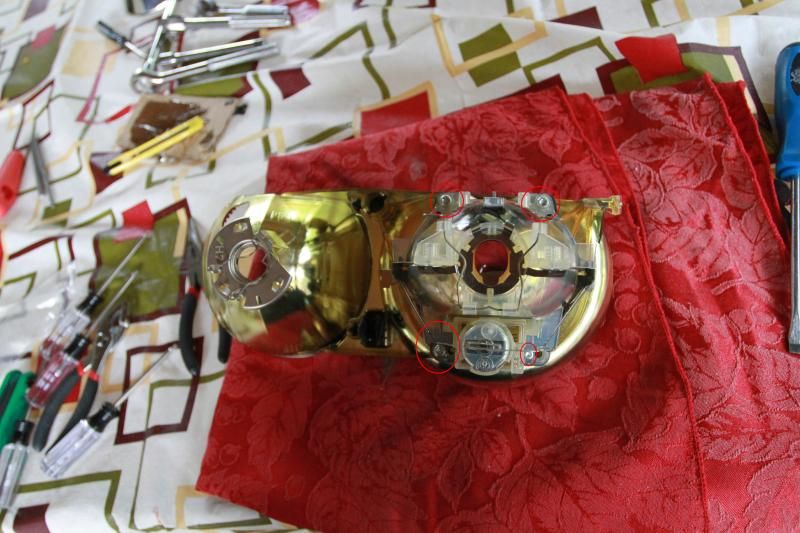
Step 1 - Remove the four trox screws holding the projector bowl/lens to the bezel.
Step 2 - Remove the lens from the shroud by pushing the two plastic tabs in, one on the left and one on the right.
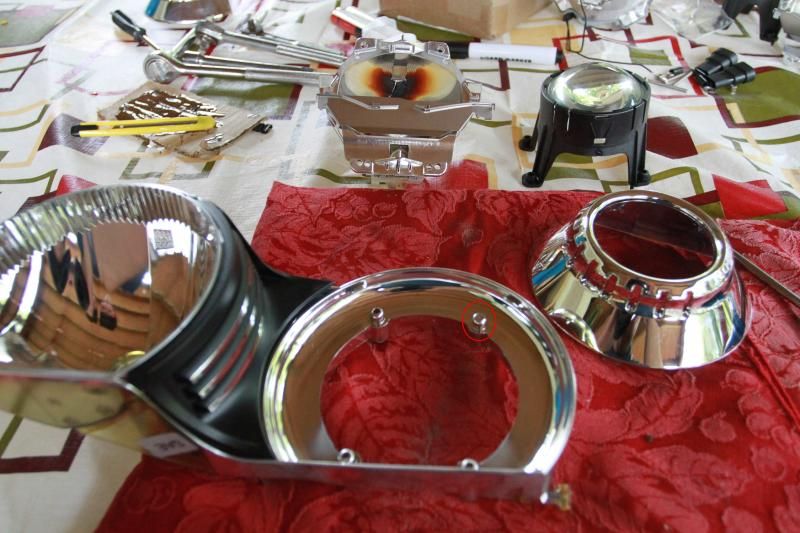
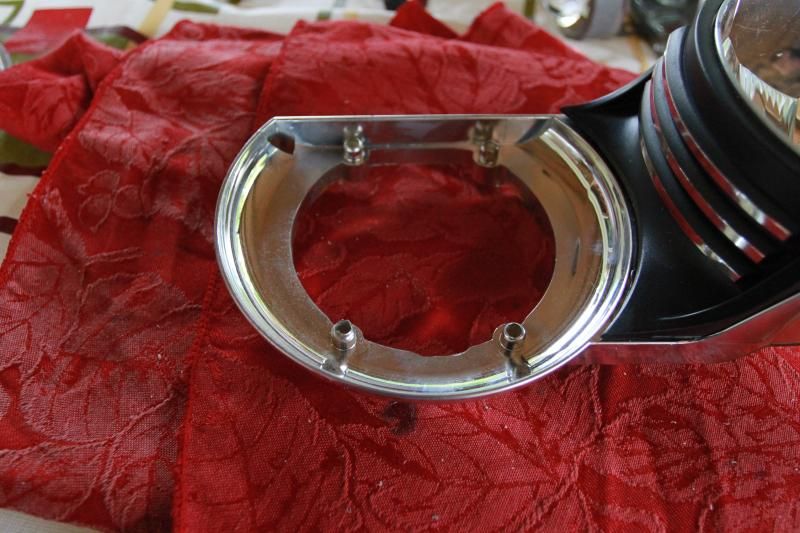
Here is everything taken apart, notice one of the holes does not go all the way through. The passenger side headlights requires that you drill that out, however the driver side is fine.
Step 3 - Remove the rubber spacers and put them to the side, you're going to use them later. I used one of the screws to easily remove them.
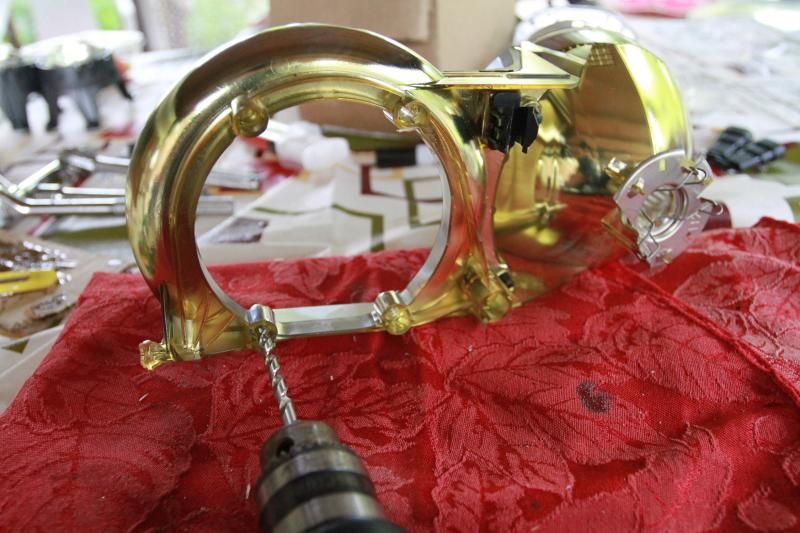
Step 4 - The existing holes are not big enough, so use a drill bit that's slightly larger then the supplied screws. I didn't pay attention to what size I used, sorry.
At this point you can drill through that fourth hole (as previously mentioned).
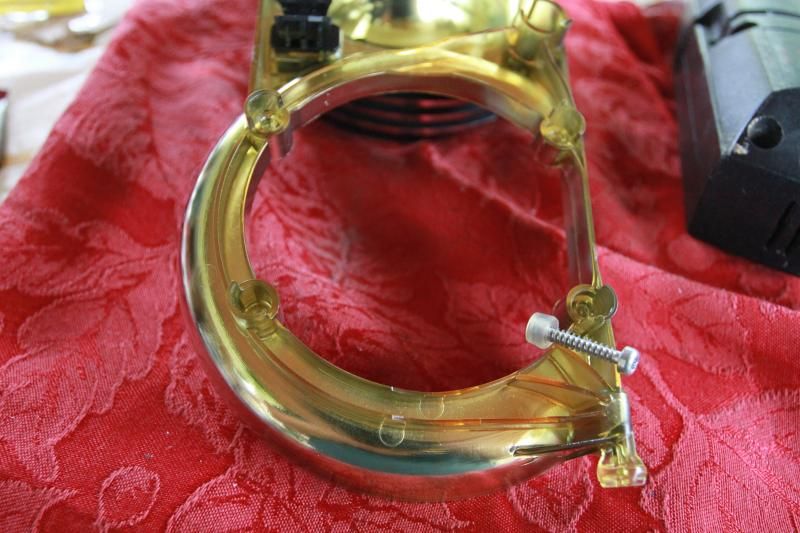
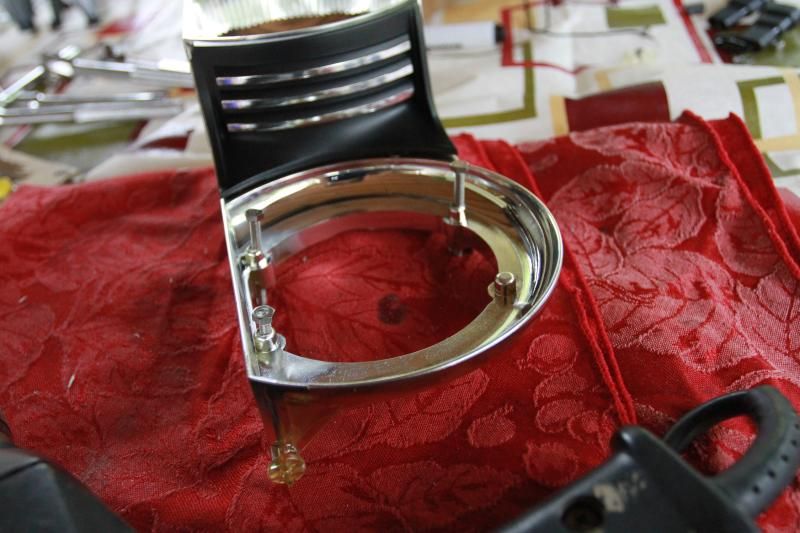
Test fitting the screws, note you'll only be using 3.
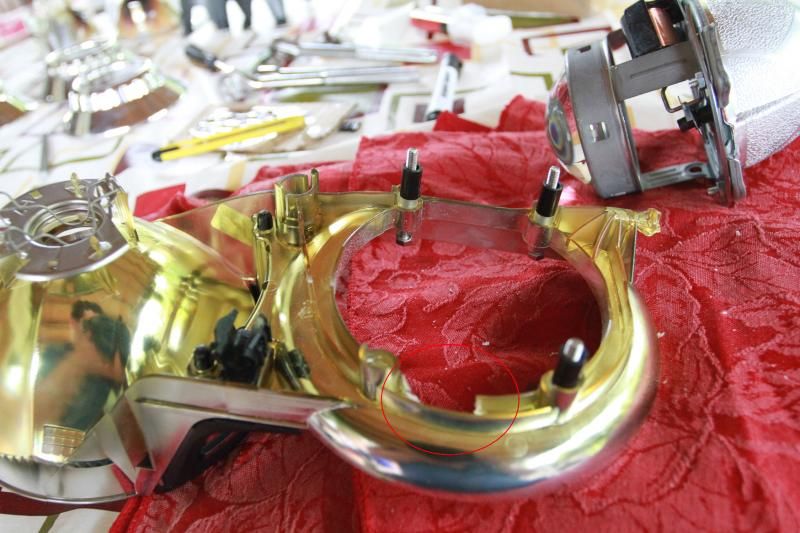
Step 5- Use a dermal to cut notches out of the bezel to allow for the high beam flicker module to fit.
Step 6- Put the rubber spacers back in, then the supplied black spacers and screws.
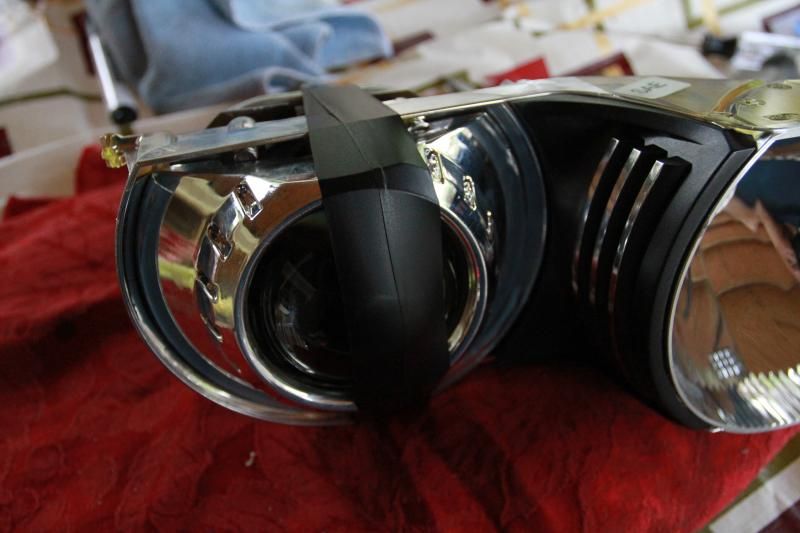
Step 7 MISSING PHOTO - Mount the projector to the bezel and screw the 3 screws to the supplied nuts.
(since I forgot to take a photo of the projector mounted to the bezel, here is a detailed photo of what the projectors look like)
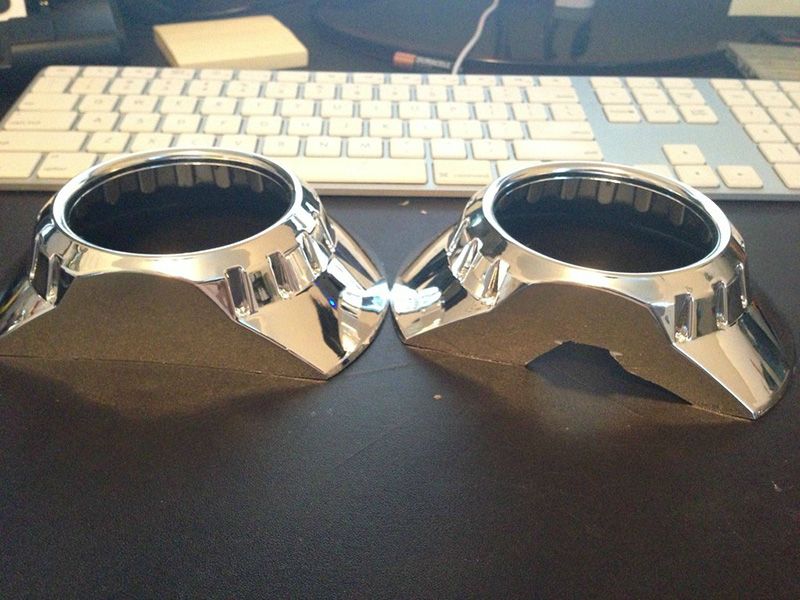
Step 8 - Use the dermal again to cut out notches to the top of the E46R shrouds.
(Old photo of a shroud TRS accidentally sent me, my notches were similar to this.)
Step 9- Mix your epoxy (I got clear epoxy from Amazon).
Step 9 - Apply the epoxy to the inside of the shroud and attach it to the bezel/projector. I used tape to hold it in place while it dried.
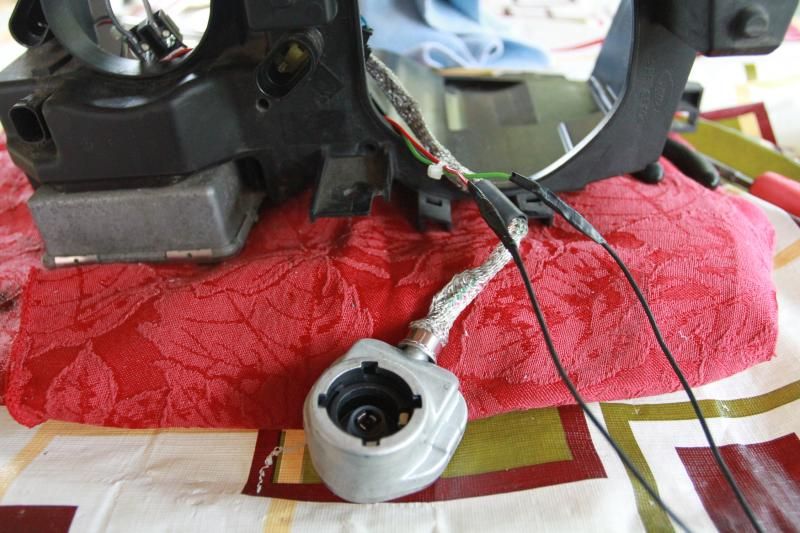
Step 10 - Cut the OEM high beam flipper plug, and solder the new leads.
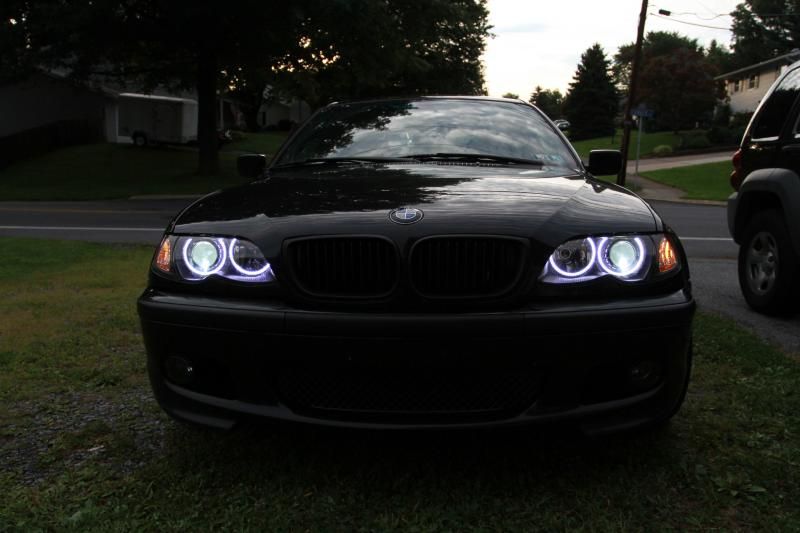
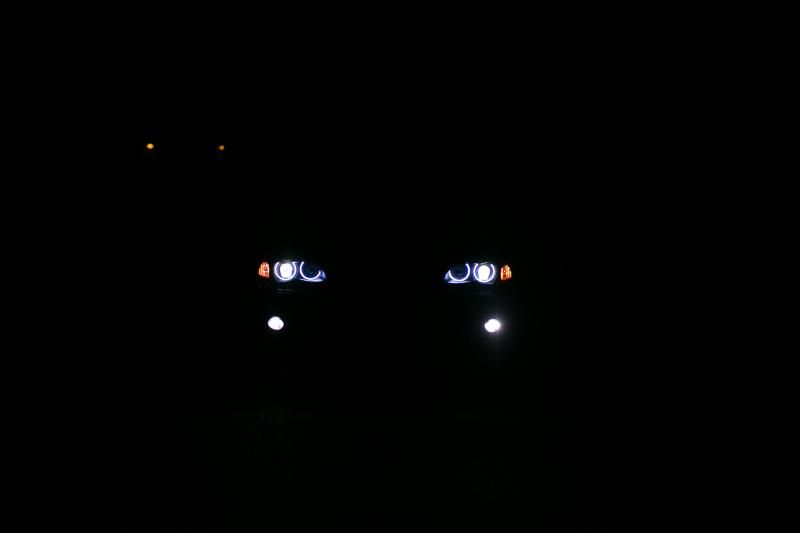
Put it all back together and reinstall the headlights onto the car.


 Reply With Quote