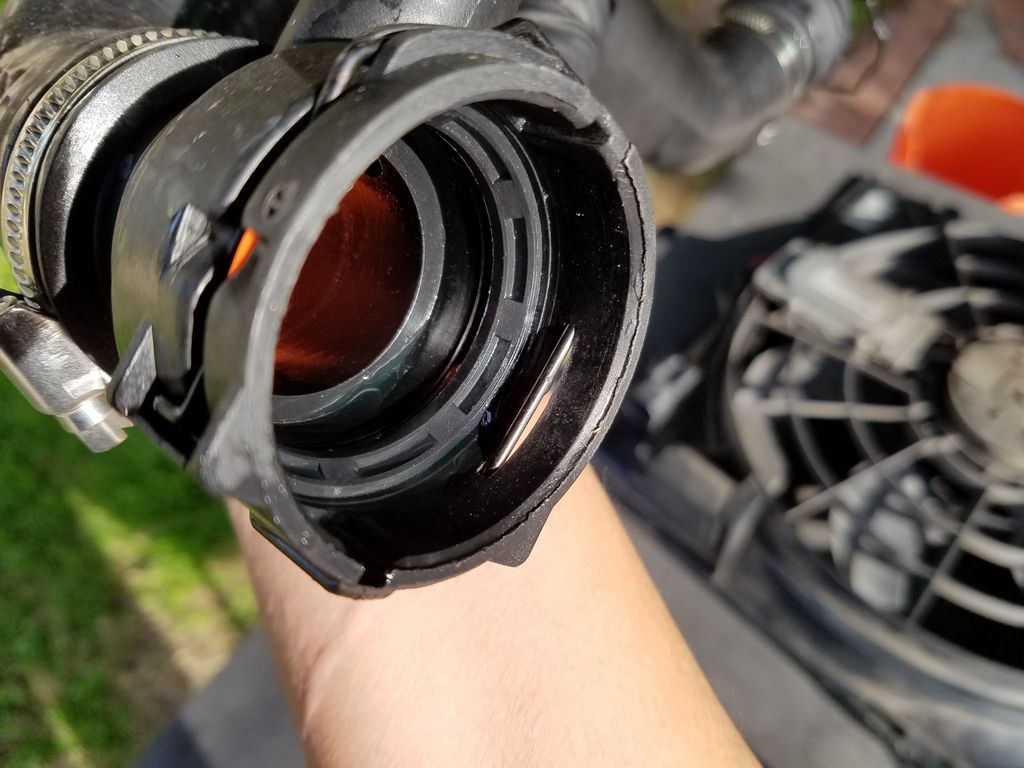
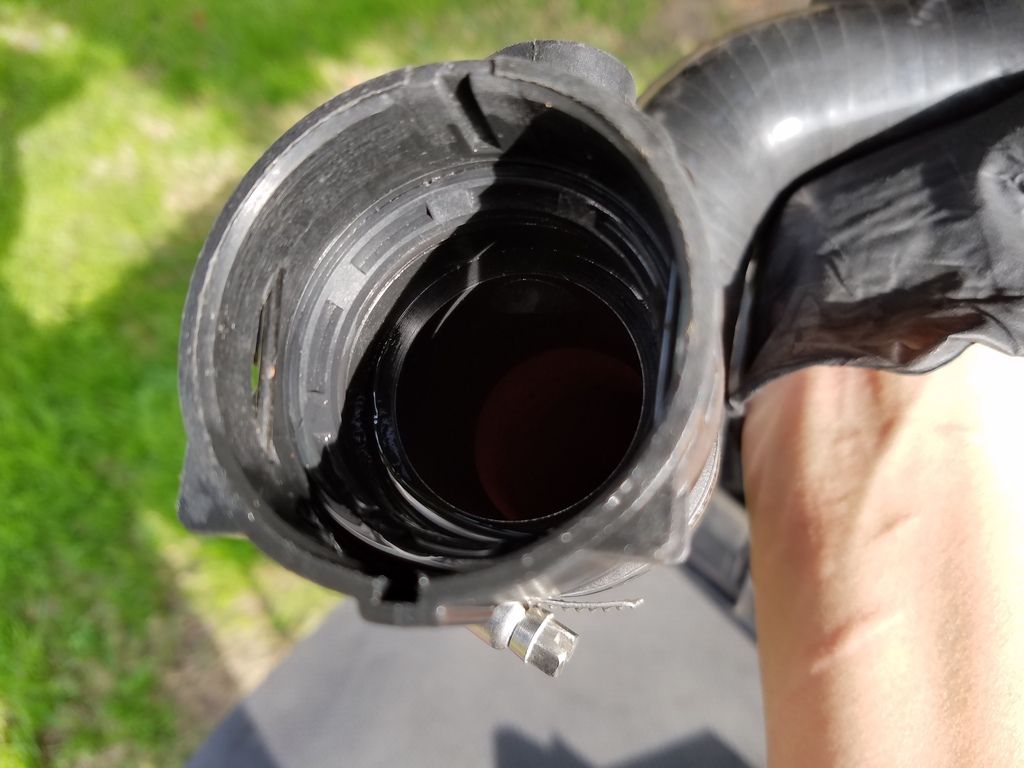
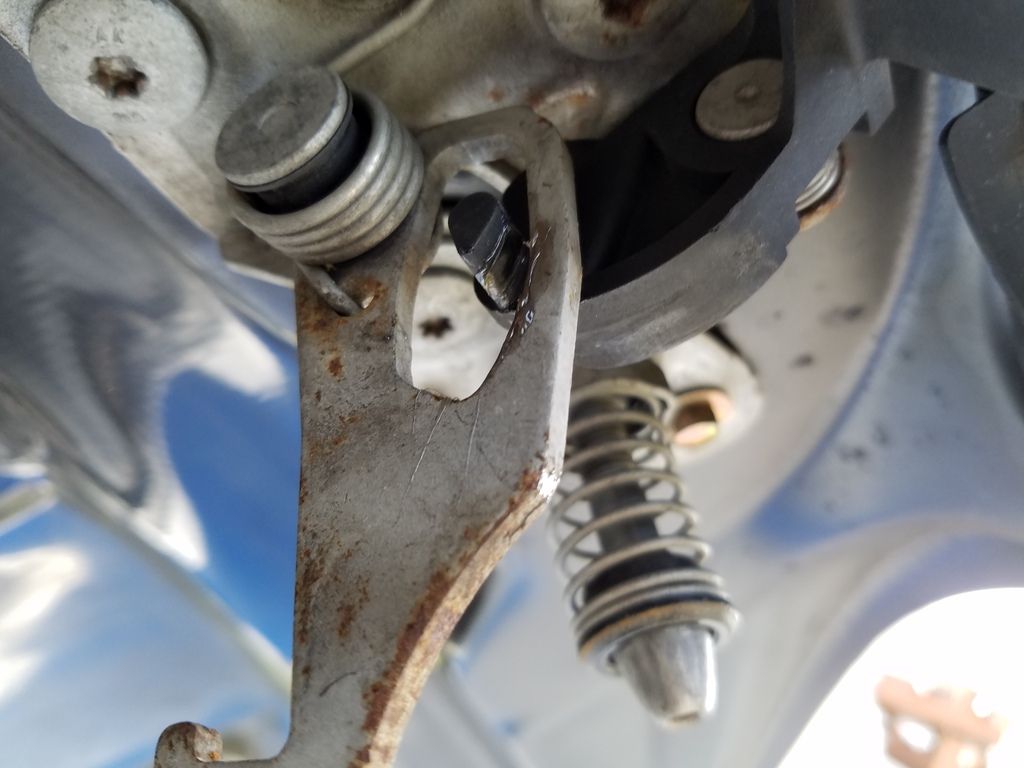
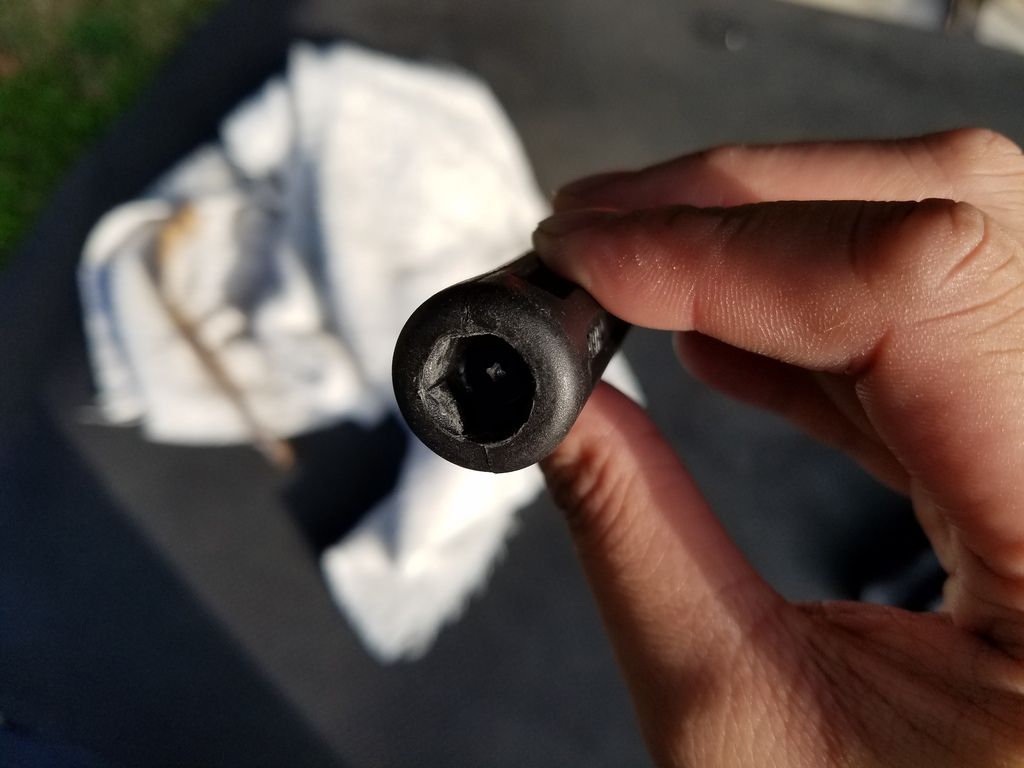
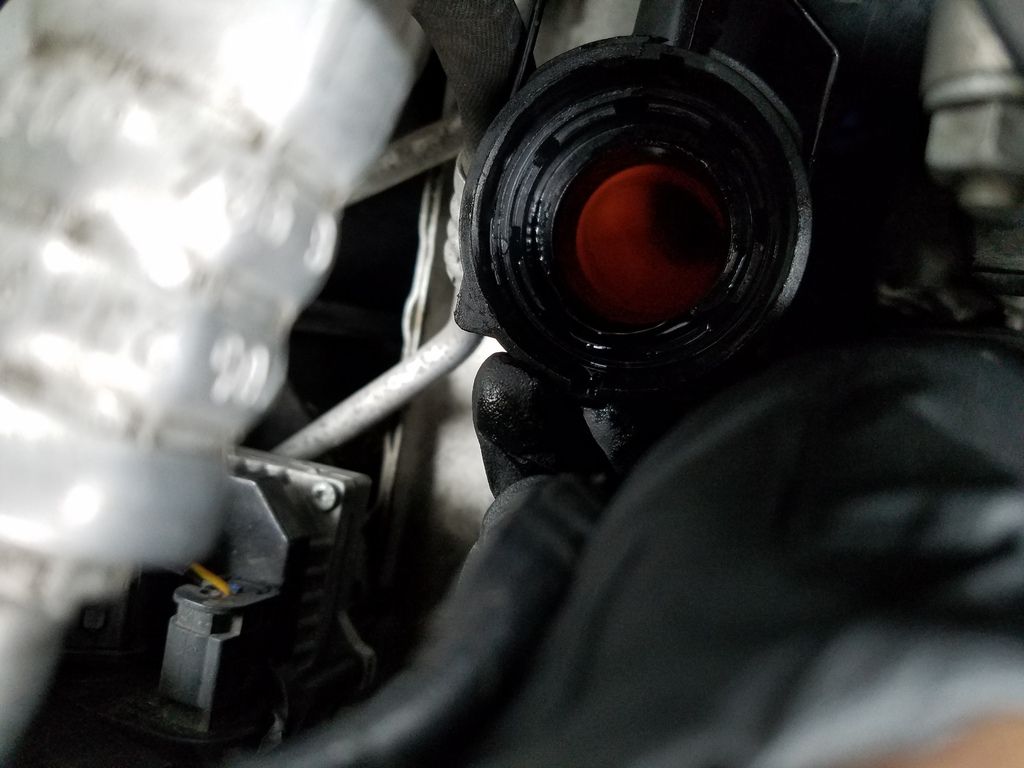
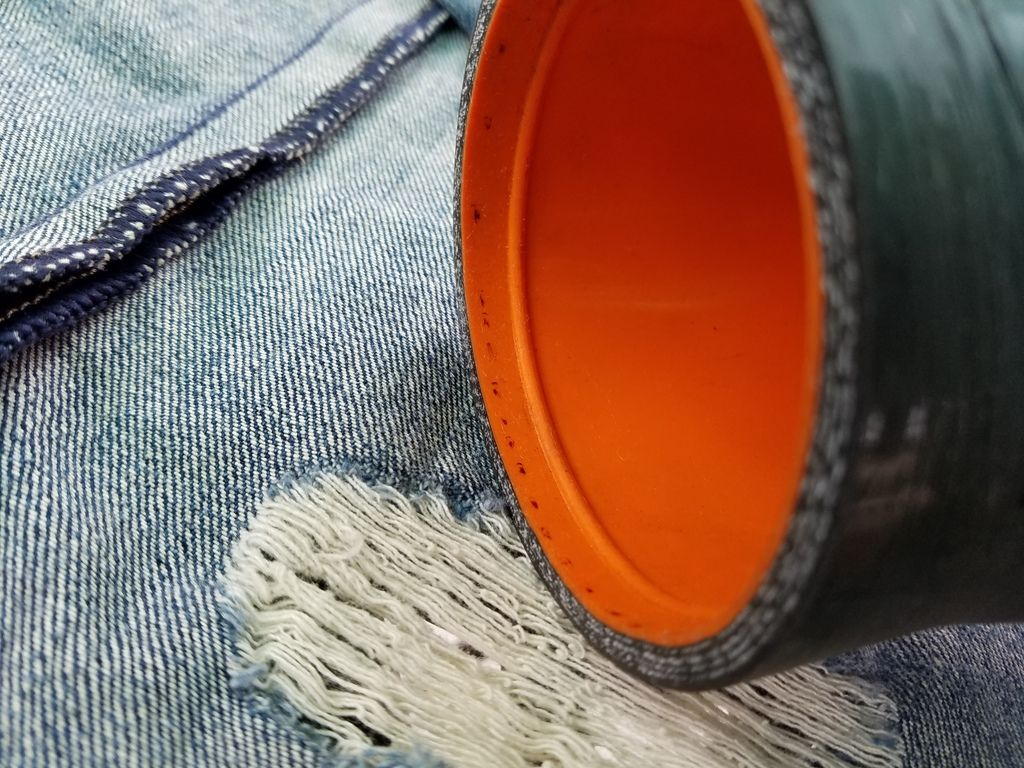
Took care of a few small things yesterday. I finally put the rubber dust boot back in. It's still such a PIA to get this thing in.
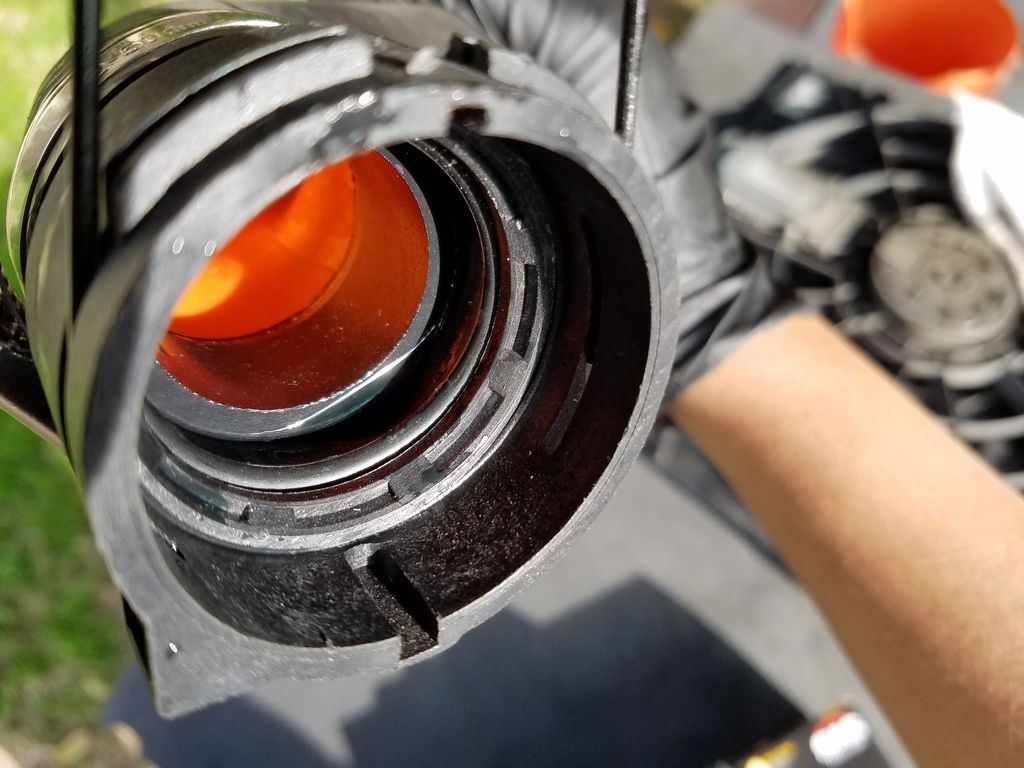
Here is me starting, only to realize that it wasn't going in because it's upside-down

:
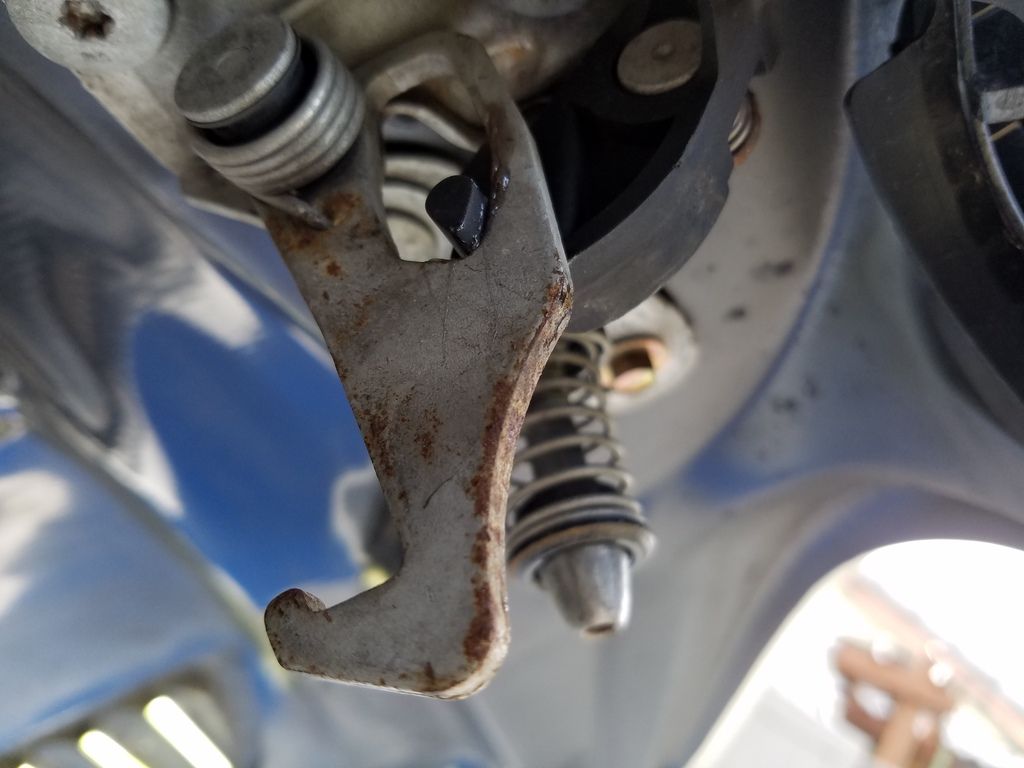
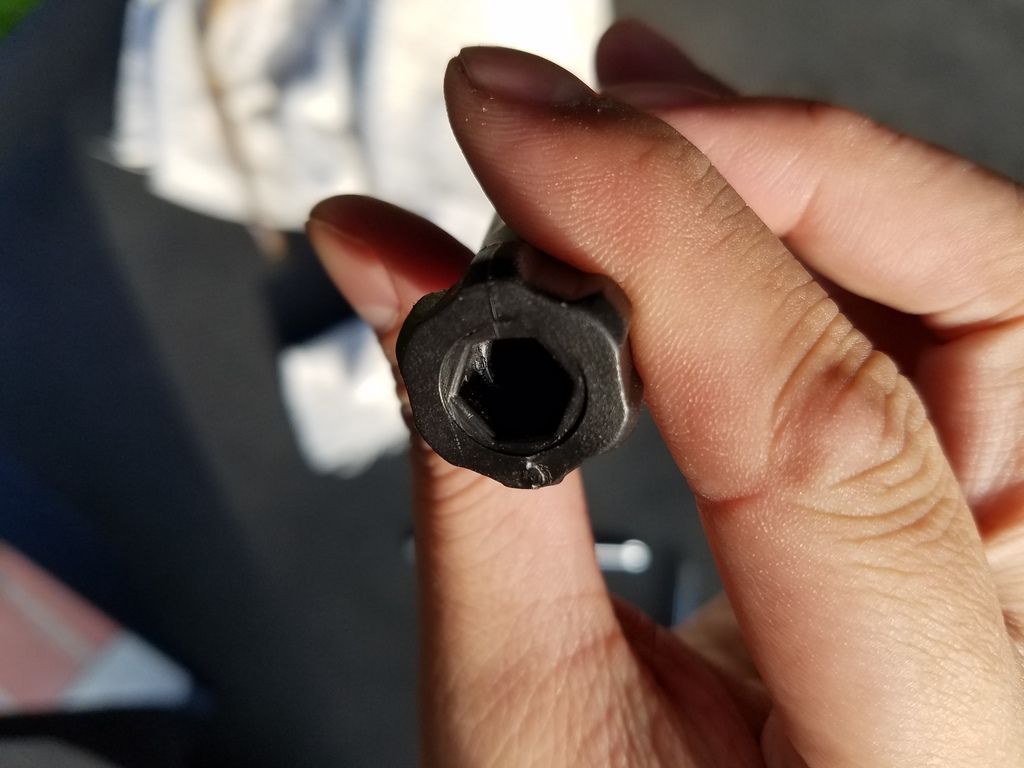
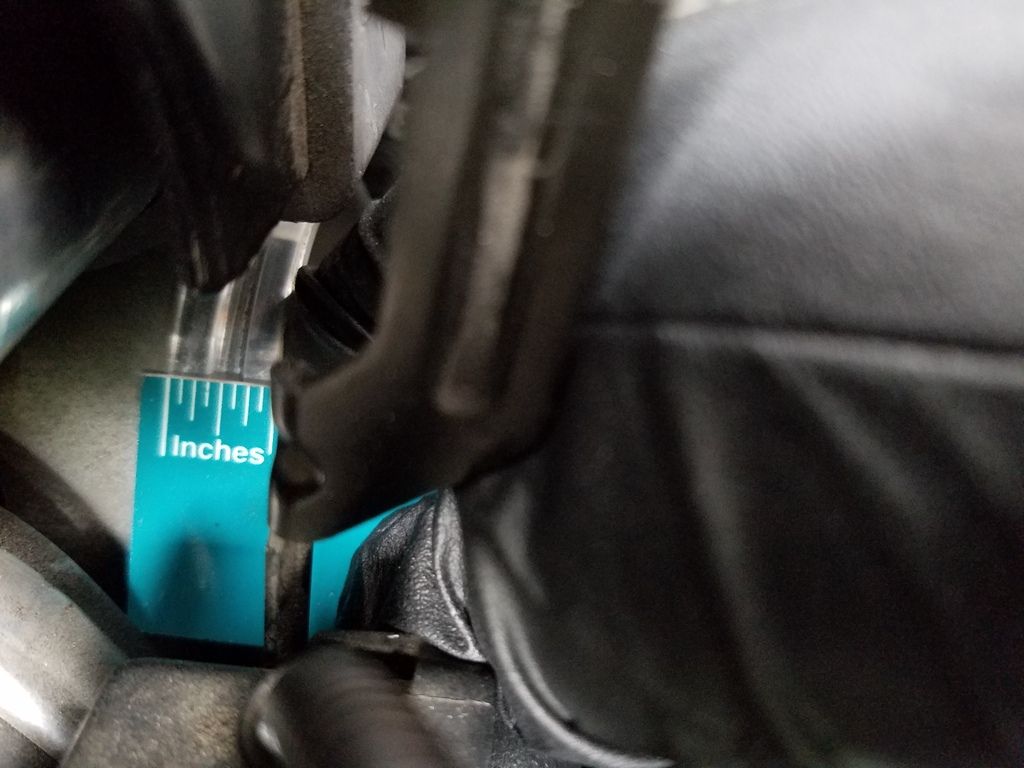
Got the sucker in though
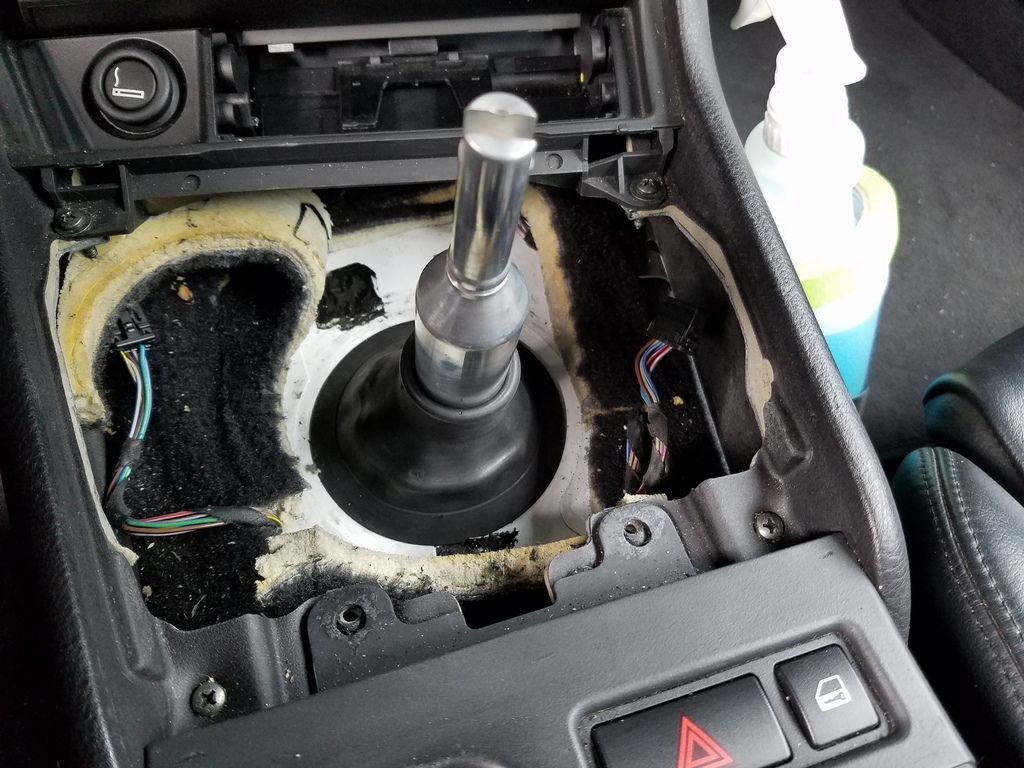
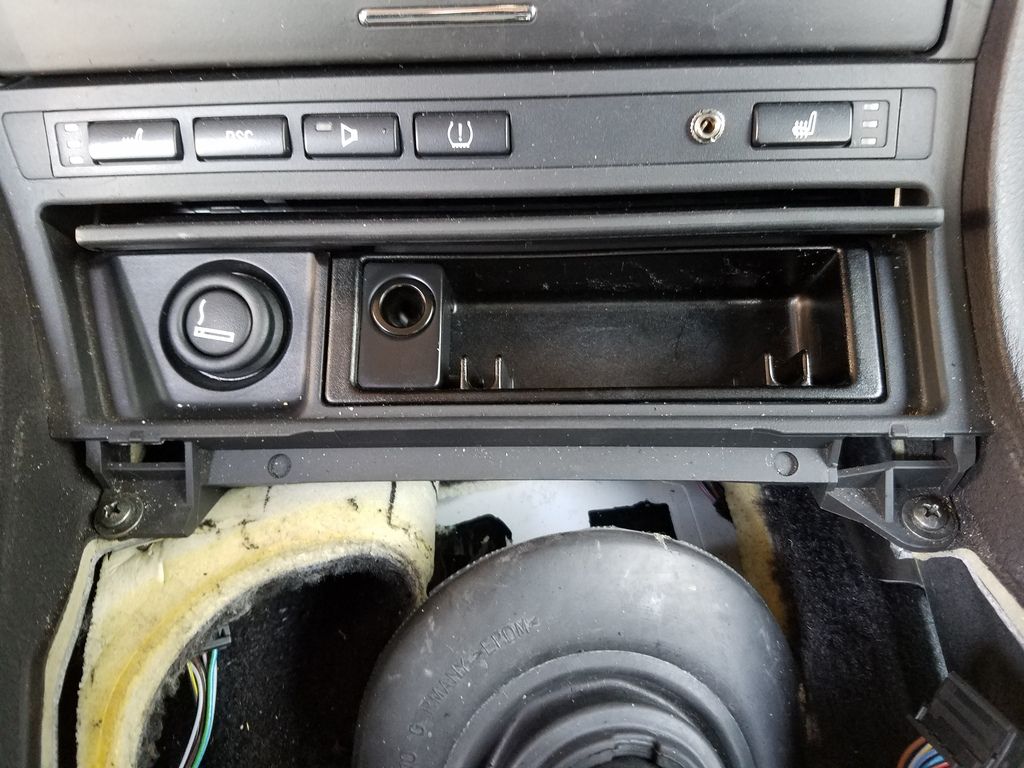
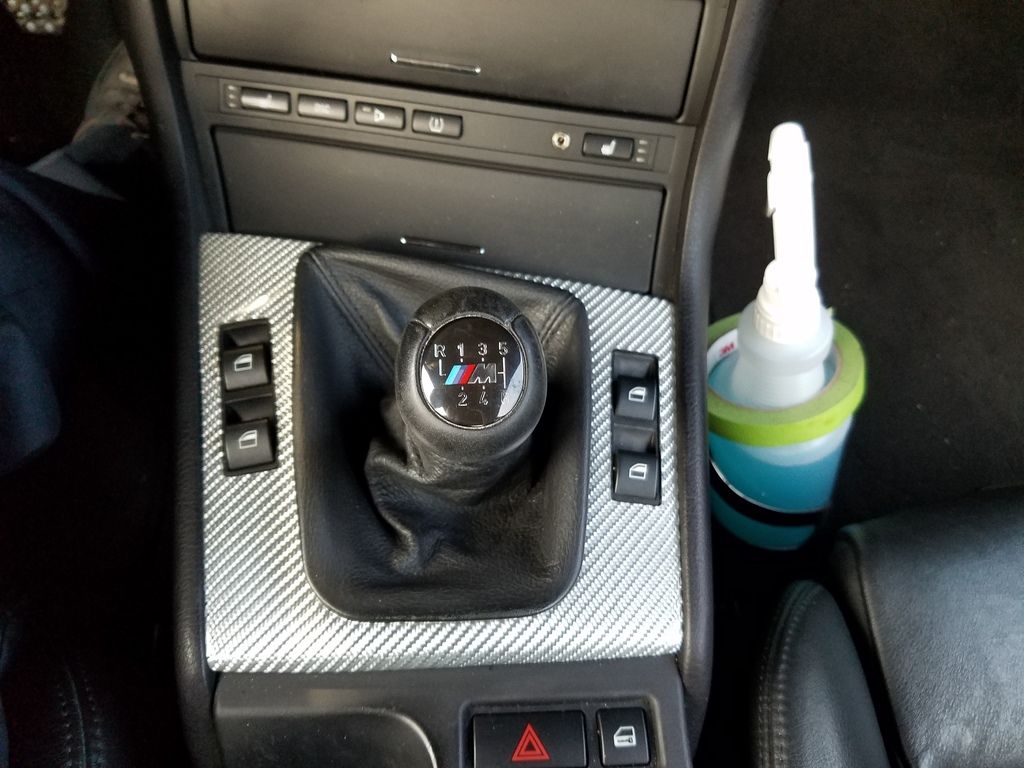
Then while I had my shifter console apart. I figured it was time to do the ashtray delete that I always wanted to do. Basically I just changed it to another storage tray. It took some minor modifications to get it to fit since that storage tray isn't made for the smoker's package bracket.
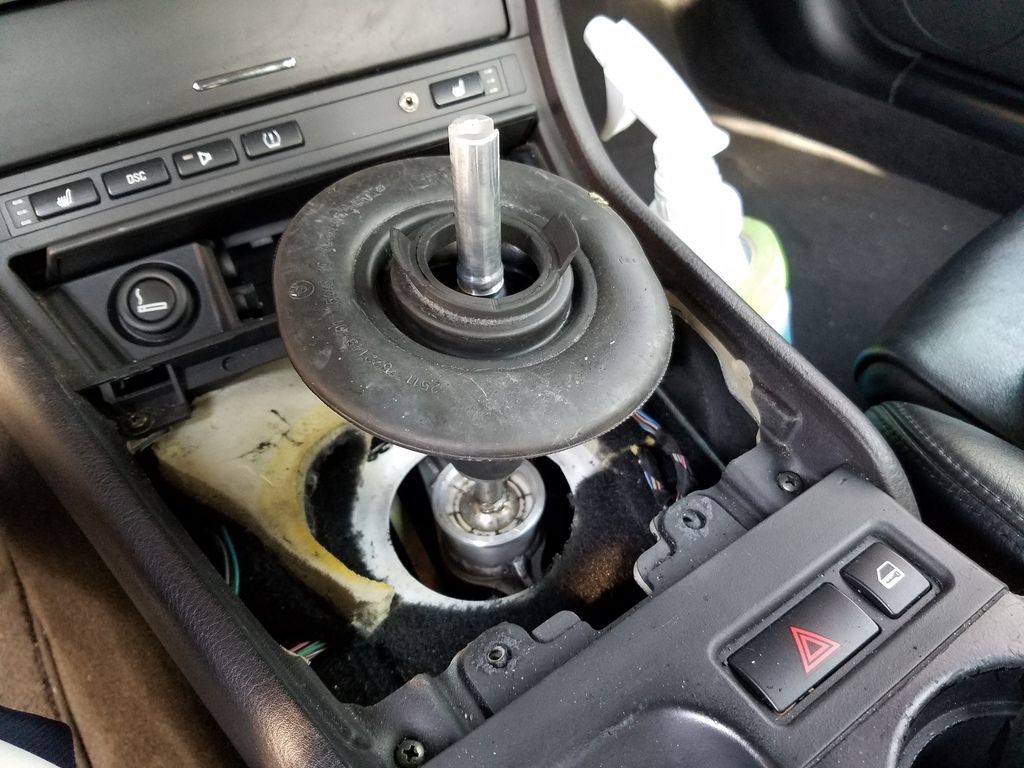
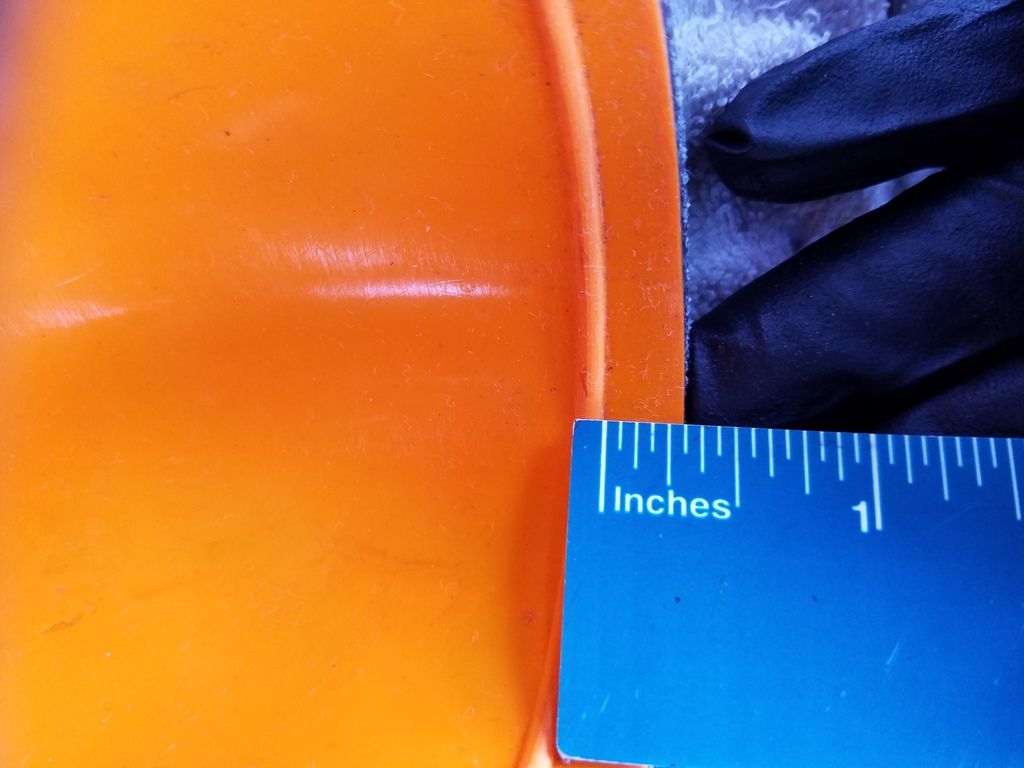
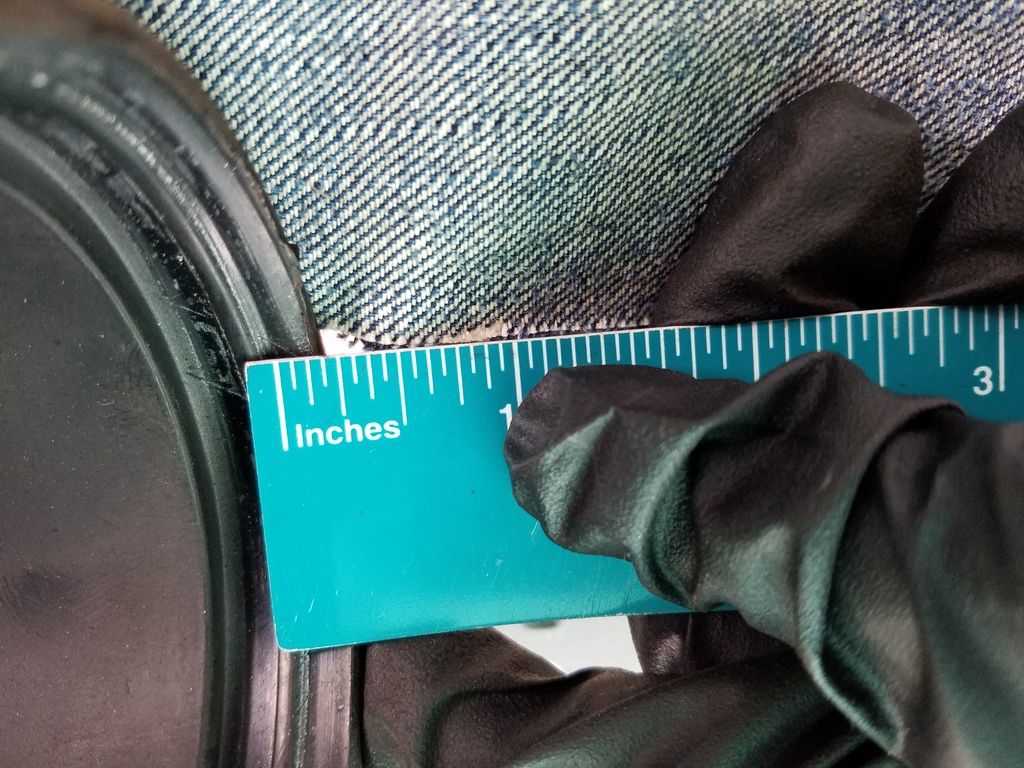
Before (taken before I re-installed the dust boot):
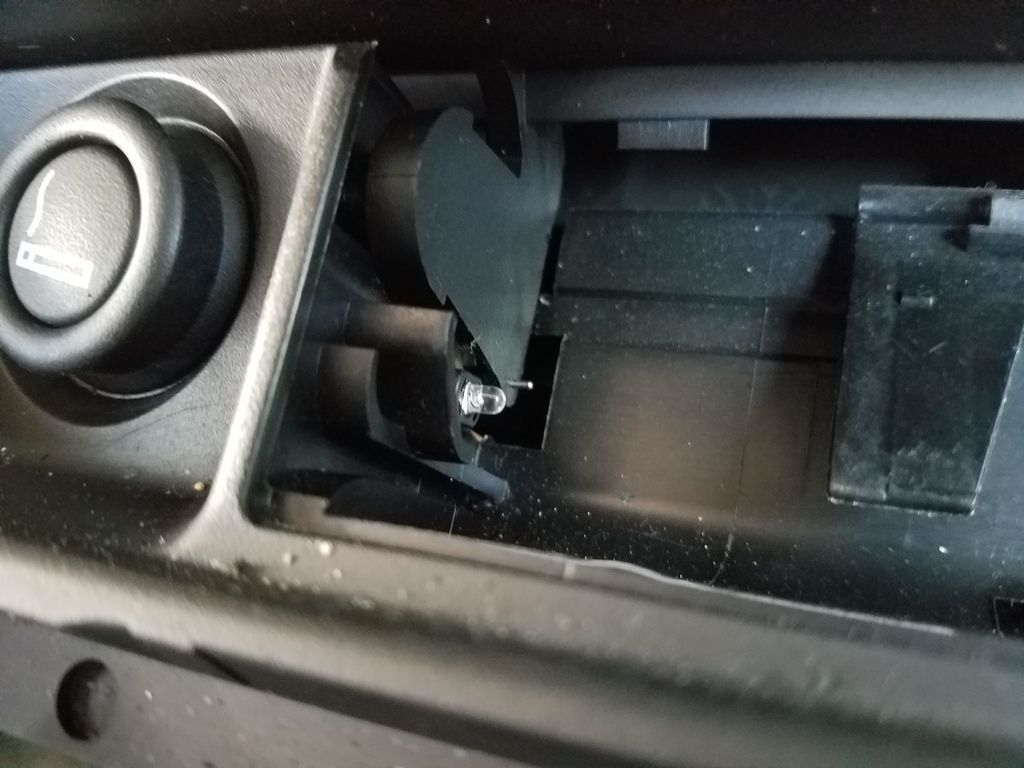
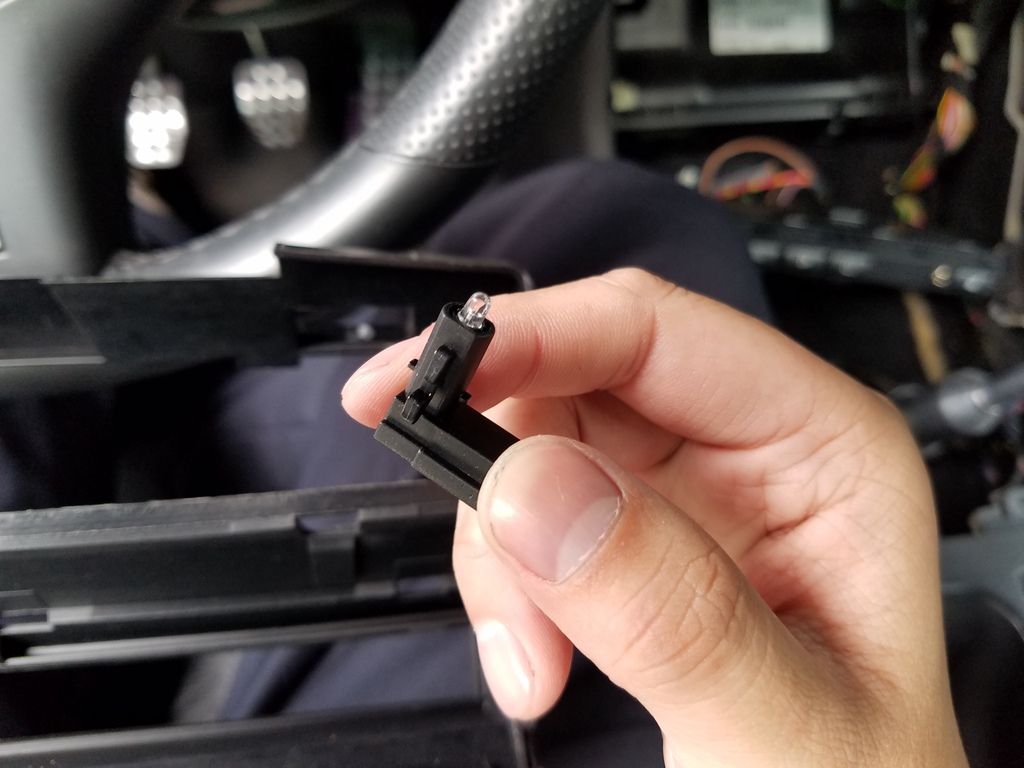
This little LED and black plastic cap was in the way. So I pulled the LED out, and dremeled the plastic piece so that it's the same length of the smaller one that you see in front of it.
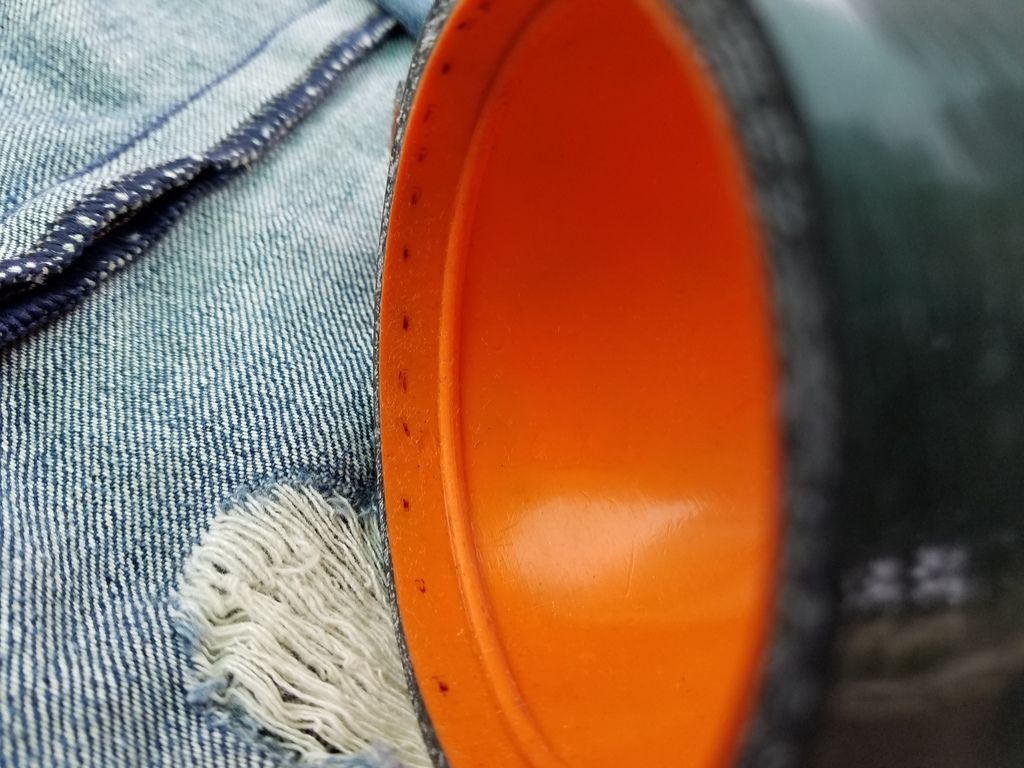
After. The top part of the tray isn't straight because I think I had something lying on top of it for awhile. But it bends back out easily:
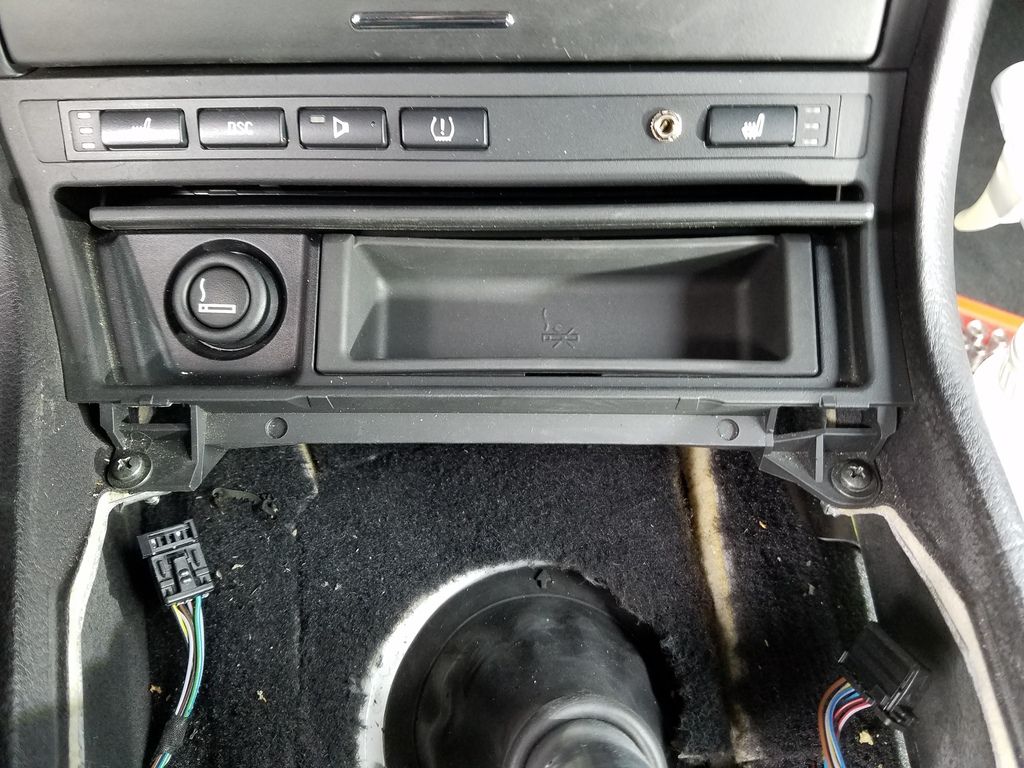
And what am I going to use it for? Just to store my AUX cable lol I did put the AUX cable in the ashtray before, but sometimes it got stuck on the cigarette holder side.

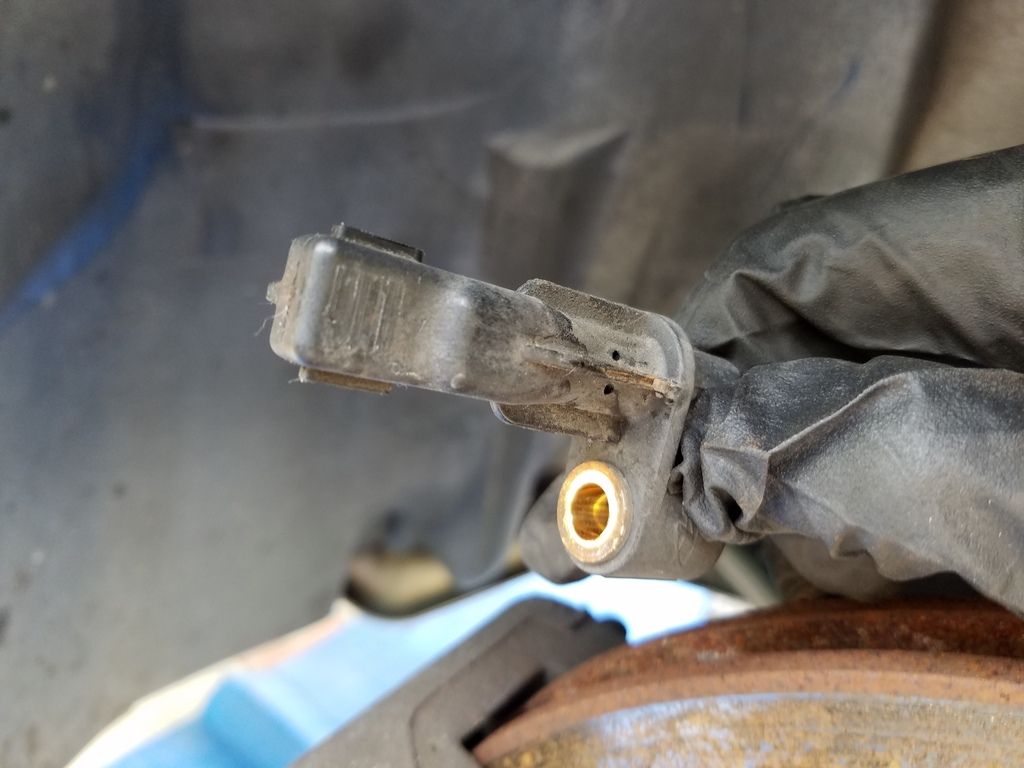
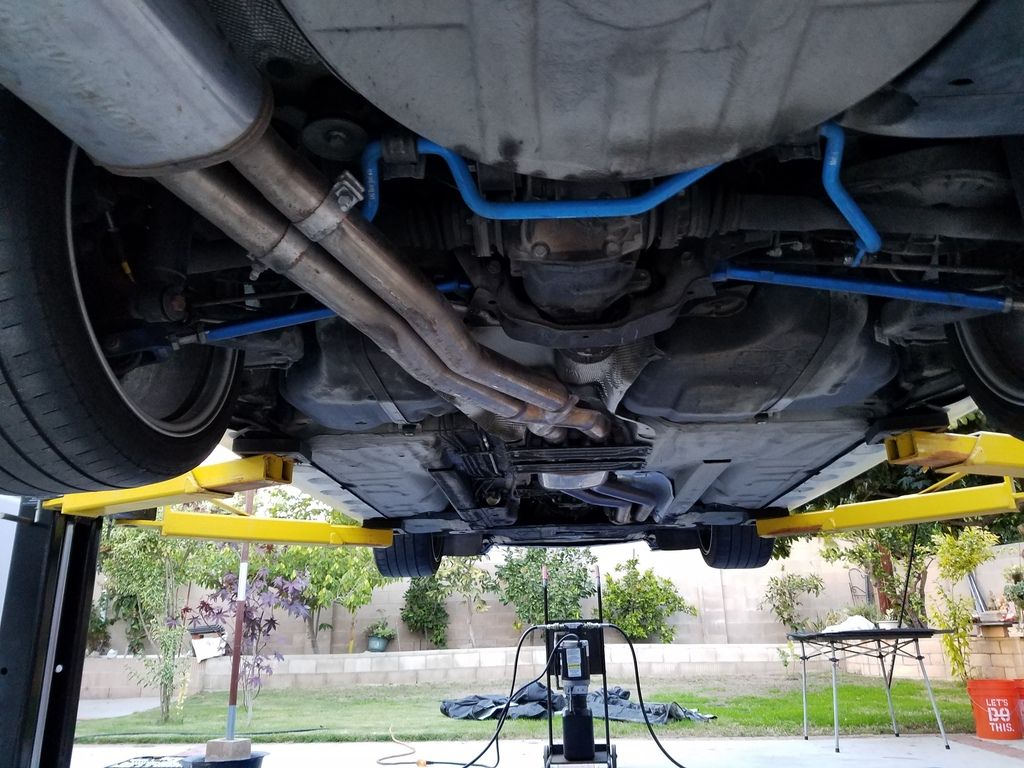
The next thing I did was clean the speed sensors. Well it wasn't needed at all because they were clean as hell. I don't remember cleaning them. But everything came out easy as hell and the bolts were like barely tight.
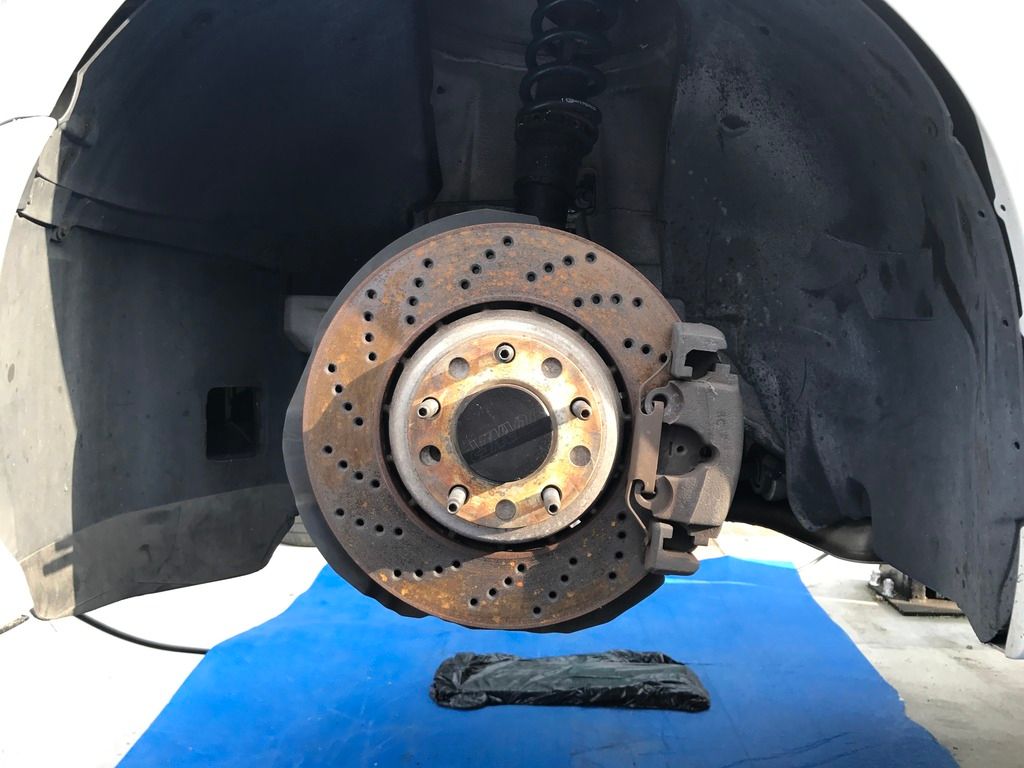
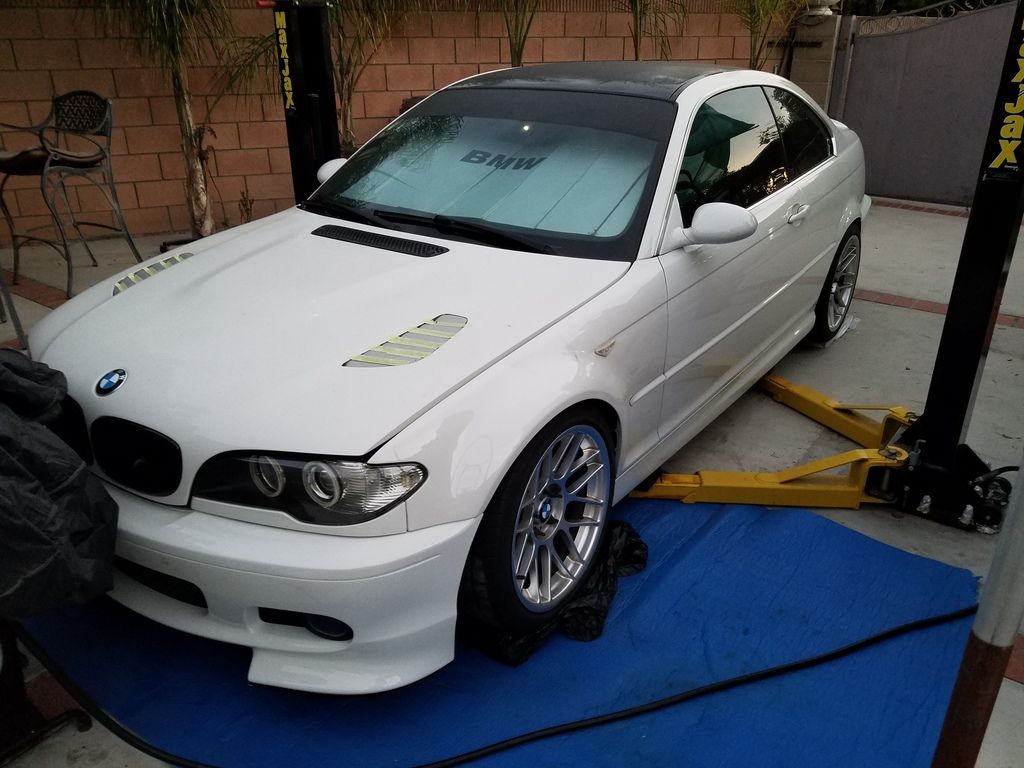
So I finished that way faster than I thought I was. So then what to do? I figured, since the wheels are off. Might as well paint the calipers right? lol I was pretty lazy to thoroughly clean them though. So I just did the bare minimum and just spray the **** out of it with brake cleaner and wipe it down. Then I went ahead and painted it using a brush so I didn't have to mask anything off

: I went for a semi-gloss look because glossy would take too many coats :P
Before:
After (Looks glossy in the picture for some reason. Maybe it wasn't dry yet.):
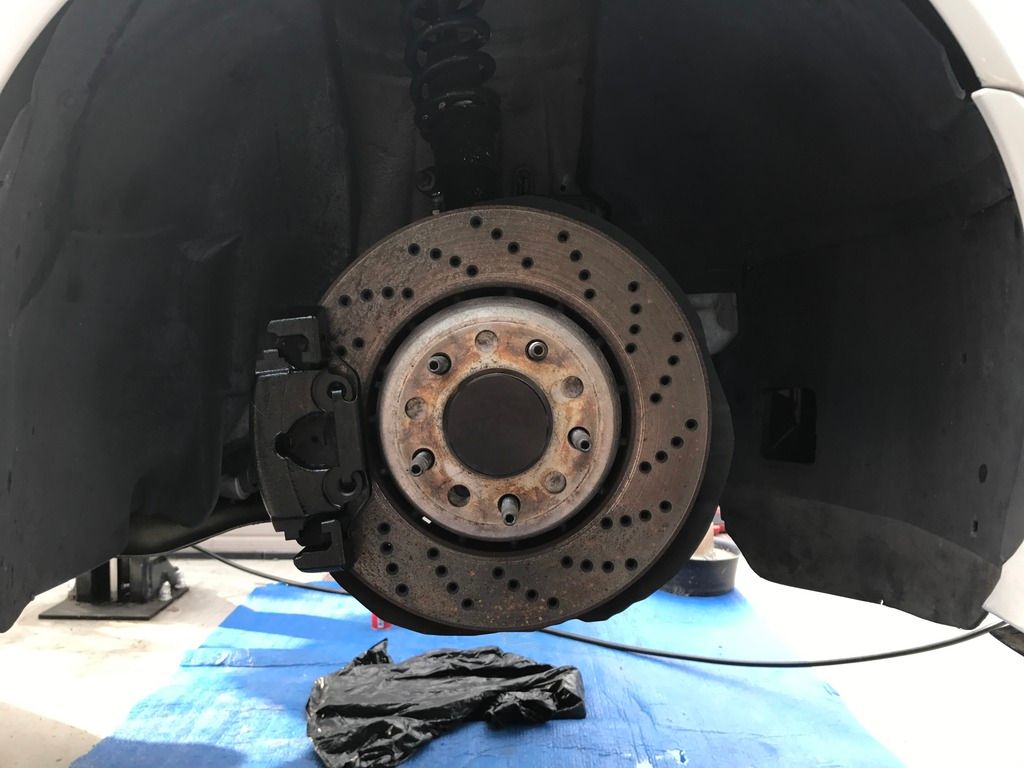
Yes I know, they are taken from different sides because I forgot to take a before picture while I was painting lol I only realized that I should take a before picture after I finished painting the other 3 calipers already :lmao:
Pretty much all I got done. I just ended up doing more **** that wasn't on my agenda lol
Oh yeah, I wanted to show people the new BMW screw driver. This thing is awesome. They are god damn geniuses lol I loved the one we had, but this one is so much better.
The handle is black
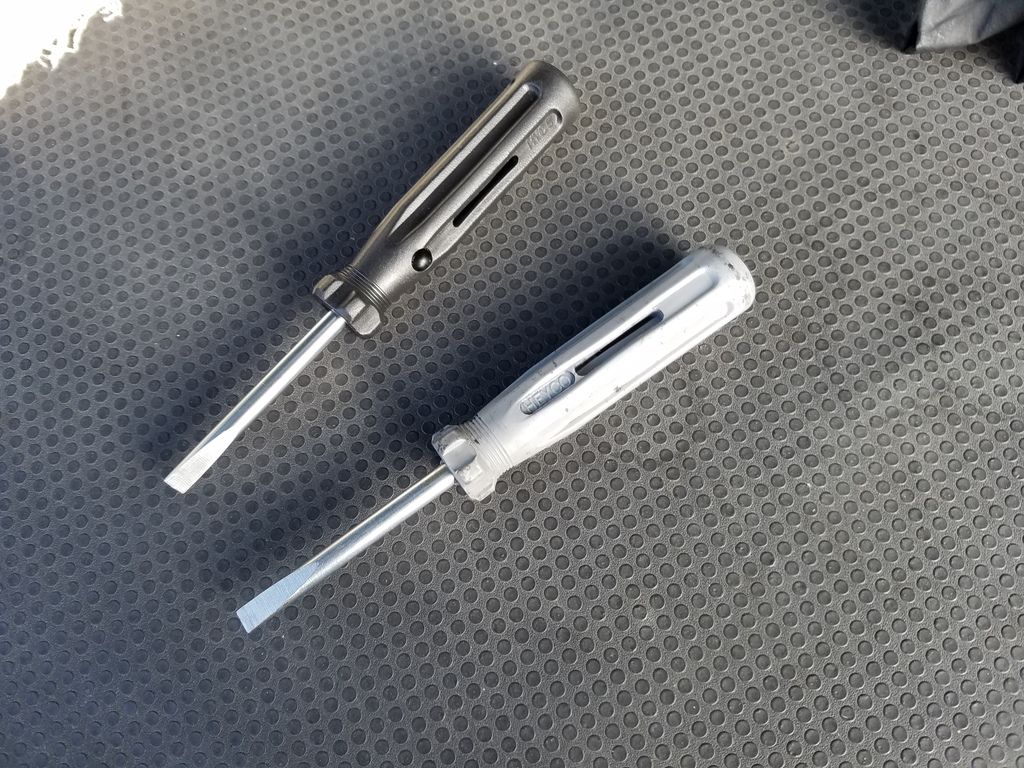
There's a 10mm socket at the end (as you can see, I have been using it lol)
On the side you put the screwdriver part in, you have an 8mm socket
And a slot to put the metal stick in to make it a T-Handle so you can have more leverage for those bolts

Awesome right?

: lol


Originally Posted by danewilson77


 Reply With Quote
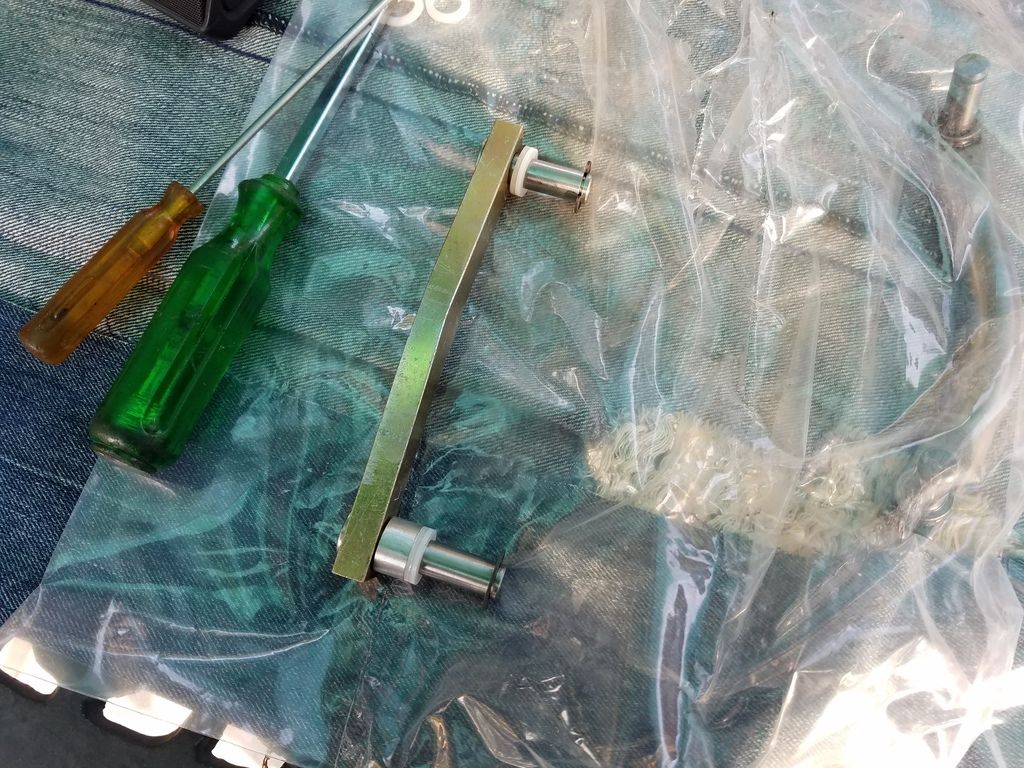

 :
:


 :, it's just flat as hell.