
Hello community. I've had my 2004 sedan for over a year, typical ZKW burnt bowls. After lots of research, last December, I finally decided to tackle this project. I went with Morimoto Mini D2S 4.0 projectors based on a few pictures I saw online. What drew me to this projector was the definition and width of the cutoff.
The project is definitely not plug and play but if you have the tools it's another option to consider. I finally got through sorting over 150 pictures and instead of doing the step by step here, I annotated the images. Sorry for the few grammar errors, busy schedule so I was working at night.
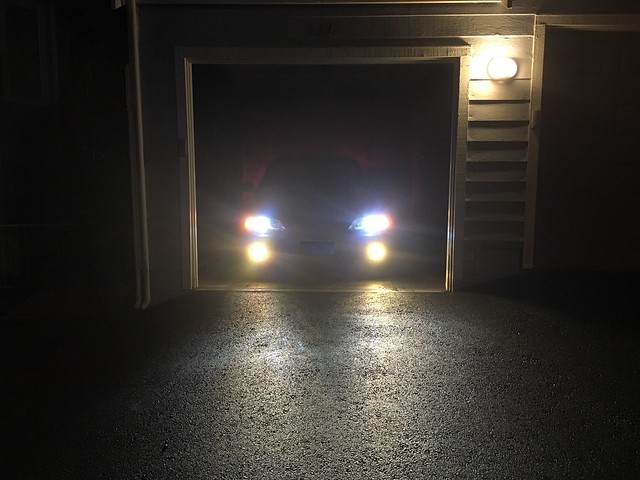
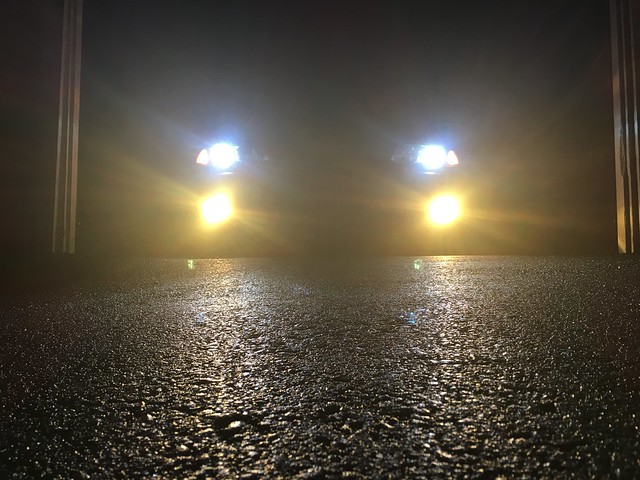
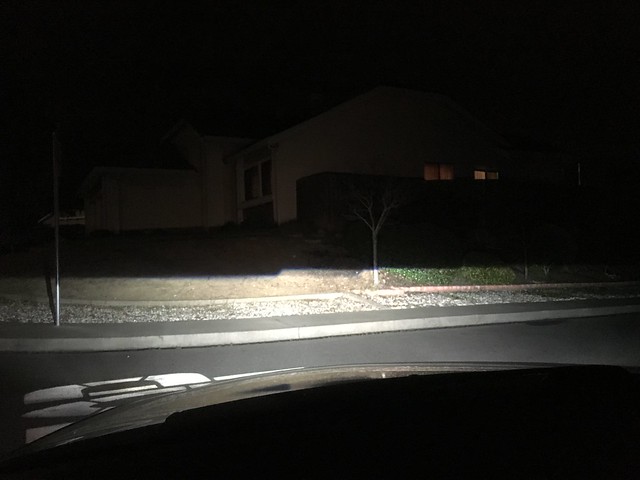
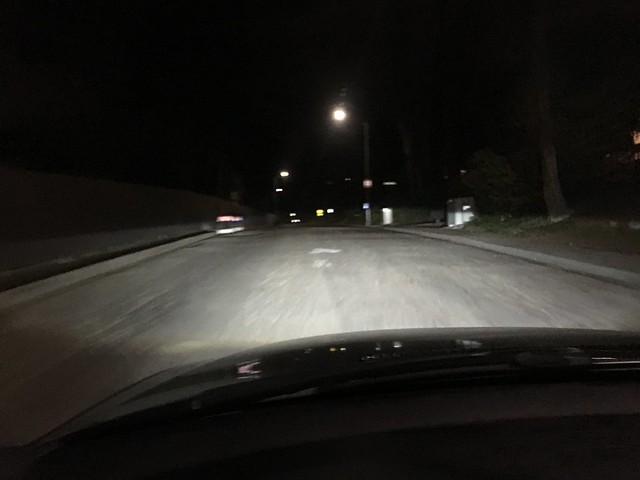
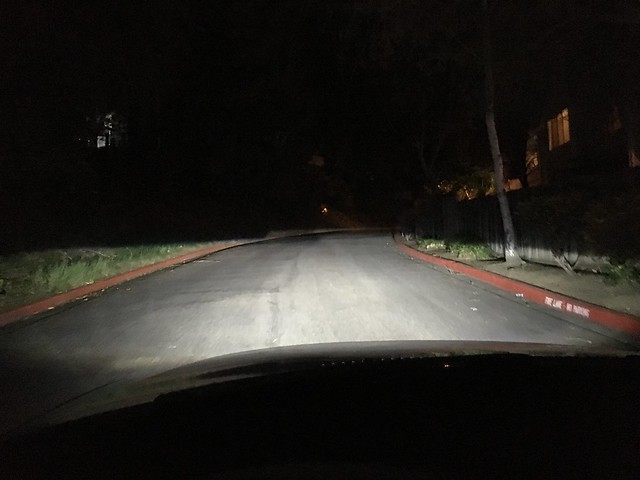
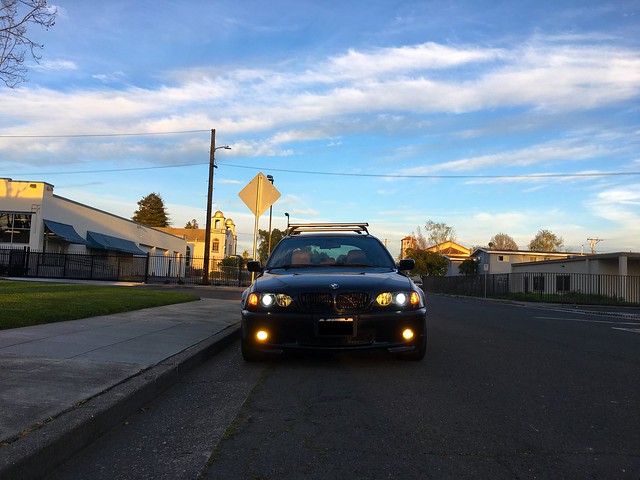
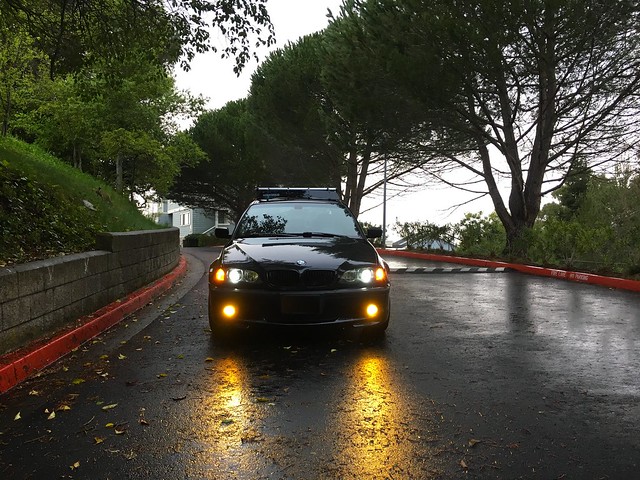
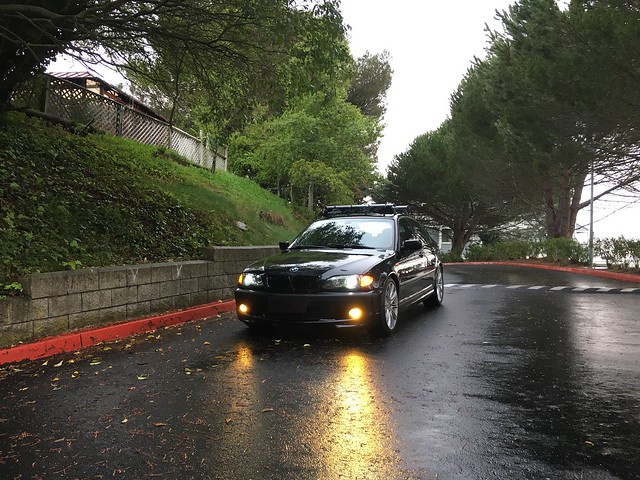
I'm making this tutorial newbie friendly so if you've never tinkered with your headlights you'll find useful pictures. However, by the time I was ready to install these things I kind of stopped taking pictures, too excited to see the lights in action. I did take pictures of the final result and a little driving clip included in the end.
Components
Morimoto Mini D2S 4.0 from Lightwerkz
http://www.lightwerkz.net/index.php/...rojectors.html
E46-R shrouds also from Lightwerkz
http://www.lightwerkz.net/index.php/...r-shrouds.html
Morimoto XB D2S 5500K bulbs
http://www.lightwerkz.net/index.php/...d2s-bulbs.html
Tools
- flat blade screwdriver
- pocket size flat blade screwdriver
- phillips screwdriver
- interchangeable bit screwdriver
- 6" magnetic hex bit extension
- T25 driver
- T15 driver
- 8mm socket
- ratchet, 3/8" or 1/4" doesn't matter
- ratchet extension (optional)
- magnetic parts holder (optional)
- locking clamp pliers or needle nose pliers
- Dremel 3000 kit
- drill
- 1/16" drill bit
- 3/32" drill bit
- soldering iron w/ solder
- 18-22 gauge heat shrink wrap
- pick tools, various angles
- Sharpie
- pen
- painters/masking tape
- JB Weld
- Blue Magic polishing cream
- #6 x 1/2" phillips sheet metal screws
- #6 - 32 x 3/4" machine screws with matching nuts
- #6 flat washers
- 1 1/2 flat corner braces
Part 1
Headlight removal
step001 by fatherlemmisty, on Flickr
step002 by fatherlemmisty, on Flickr
step003 by fatherlemmisty, on Flickr
step004 by fatherlemmisty, on Flickr
step005 by fatherlemmisty, on Flickr
step006 by fatherlemmisty, on Flickr
step007 by fatherlemmisty, on Flickr
step008 by fatherlemmisty, on Flickr
step009 by fatherlemmisty, on Flickr
Now use your ratchet and 8mm socket to loosen the front screws
step010 by fatherlemmisty, on Flickr
For the rear screws you'll use your screwdriver with magnetic extension and T25 driver. (Not pictured.)
step011 by fatherlemmisty, on Flickr
step012 by fatherlemmisty, on Flickr
step013 by fatherlemmisty, on Flickr
step014 by fatherlemmisty, on Flickr
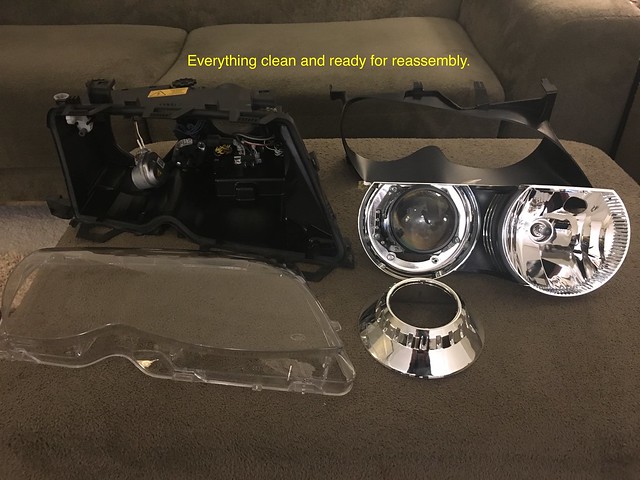
Headlight disassembly
Take your headlights inside the house, I recommend working on a table. Here's the Morimoto unit.
step015 by fatherlemmisty, on Flickr
step017 by fatherlemmisty, on Flickr
This trim comes off pretty easy.
step018 by fatherlemmisty, on Flickr
step019 by fatherlemmisty, on Flickr
step020 by fatherlemmisty, on Flickr
step021 by fatherlemmisty, on Flickr
step022 by fatherlemmisty, on Flickr
step023 by fatherlemmisty, on Flickr
step025 by fatherlemmisty, on Flickr
step026 by fatherlemmisty, on Flickr
step027 by fatherlemmisty, on Flickr
step028 by fatherlemmisty, on Flickr
step029 by fatherlemmisty, on Flickr
step030 by fatherlemmisty, on Flickr
step031 by fatherlemmisty, on Flickr
I believe this was a Torx 15 driver, sorry for the grammar.
step032 by fatherlemmisty, on Flickr
While this one Torx 25, but don't quote me on this haha
step033 by fatherlemmisty, on Flickr
step034 by fatherlemmisty, on Flickr
step035 by fatherlemmisty, on Flickr
step036 by fatherlemmisty, on Flickr
step038 by fatherlemmisty, on Flickr
step039 by fatherlemmisty, on Flickr
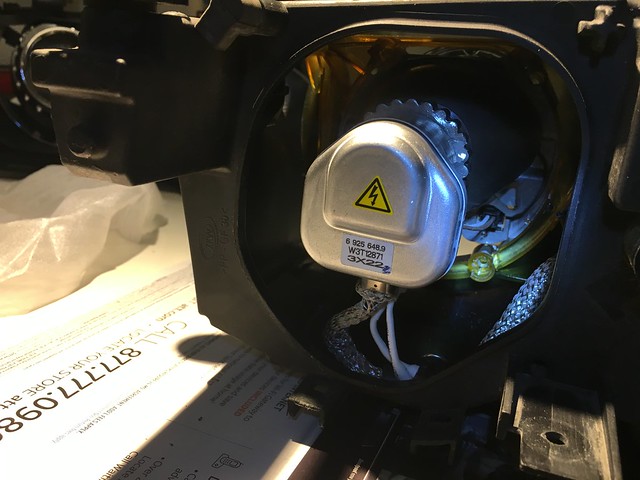
I meant the burnt projector bowl
step040 by fatherlemmisty, on Flickr
step041 by fatherlemmisty, on Flickr
step042 by fatherlemmisty, on Flickr
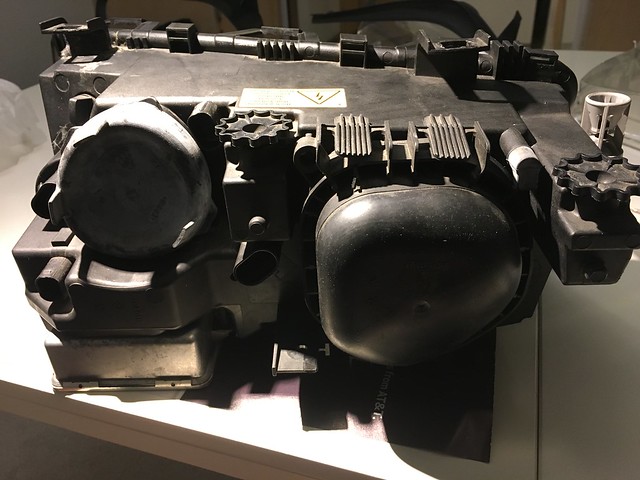
step044 by fatherlemmisty, on Flickr
The heat also burned the driver's side shroud. Bummer. I would've reused the OEM shrouds.
step045 by fatherlemmisty, on Flickr
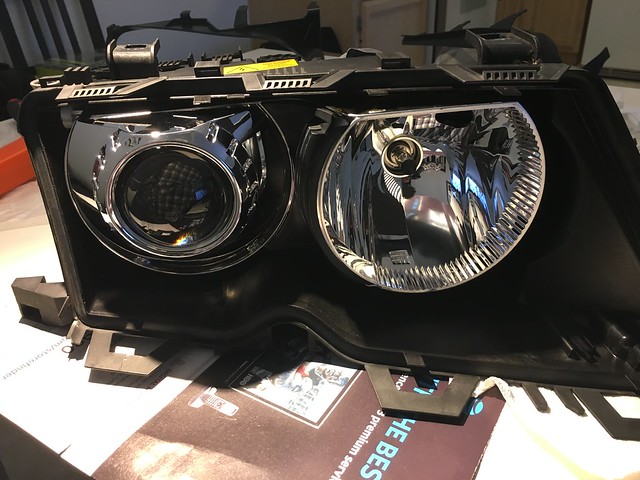
For comparison, the ZKW lens is frosty while the Morimoto is all clear.
step047 by fatherlemmisty, on Flickr
Modifying and retrofitting
Another side by side. Now it's time to measure and test fit before cutting the reflector plastic. The goal is to make the Morimoto projector fit and allow enough clearance between the shroud and top of the reflector.
step048 by fatherlemmisty, on Flickr
This side view gives you an idea of how far down the projector should fit.
step049 by fatherlemmisty, on Flickr
step050 by fatherlemmisty, on Flickr
This diagram is to scale and shows you how the projector fits. Test fit by placing your projector on the reflector holding unit, it won't fit completely flat due to the protrusions on the rear of the bowl but you'll get a good idea of where the screws will go. The downside to this retrofit is that only the bottom portion of the projector can screw directly onto the plastic. Time to get creative.
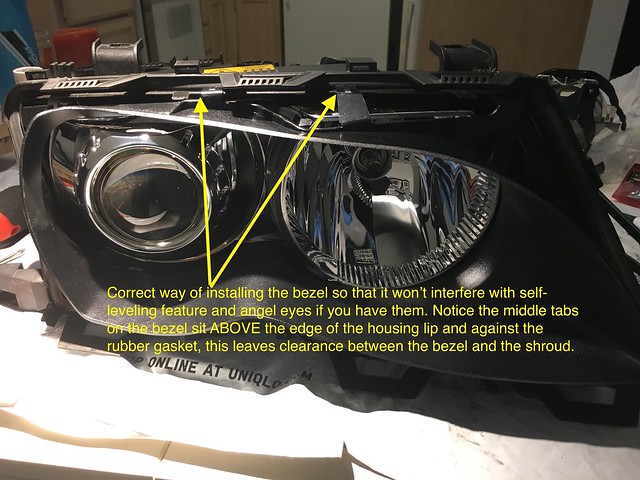
So looking at the diagram, you want the Morimoto projector to fit under, clear if possible, the top factory mounting holes. Also read my note on the angle of installation. Once you find the right spot, use a sharpie to mark off the area that you'll cut/grid off with the Dremel tool. Do the same for both sides.
step051 by fatherlemmisty, on Flickr
step052 by fatherlemmisty, on Flickr
step053 by fatherlemmisty, on Flickr
step054 by fatherlemmisty, on Flickr
step055 by fatherlemmisty, on Flickr
Go grab these goodies, you'll be needing them soon.
hardware and compounds by fatherlemmisty, on Flickr
At this point I had a nice flat mounting surface with enough top clearance. Place your projector on top, now take your pick tool and through the bottom mounting holes on the projector, make a marking on the reflector plastic for your pilot hole. Make a pen marking, verify, and then drill a pilot hole with the 1/16" bit, this gives you more accuracy. Follow up with the 3/32" bit. Test fit and screw the projector onto the plastic using your #6 screw. This allows you to move the projector while it's secure, now mark your second bottom hole and drill the same way.
step056 by fatherlemmisty, on Flickr
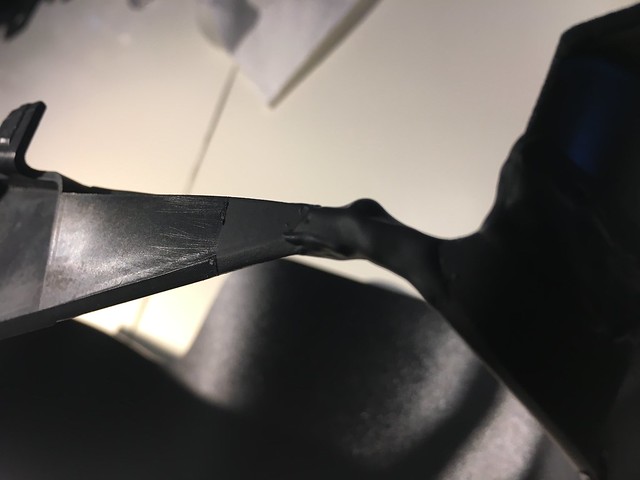
Take your flat corner braces (L bracket) and using the Dremel, shorten one side, cut right between the holes.
step057 by fatherlemmisty, on Flickr
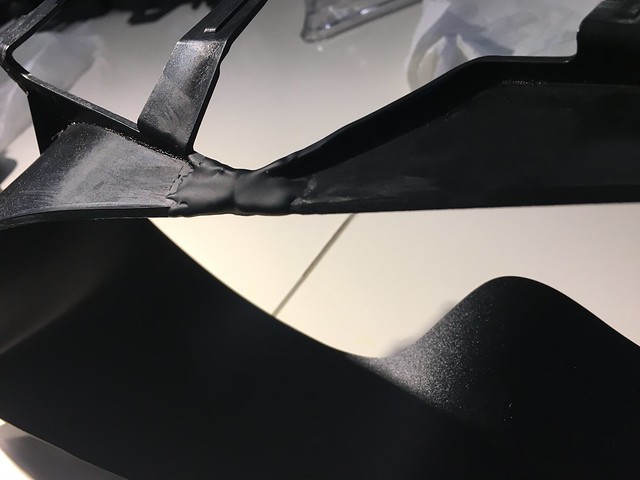
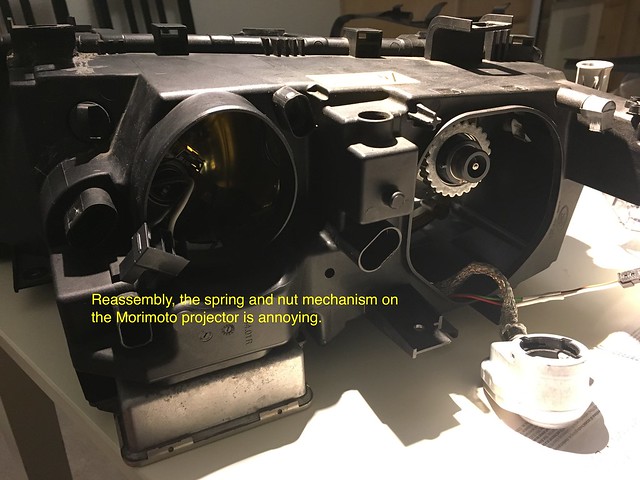
I'm missing a picture here but what you'll do next is attach the L bracket to the top left or top right side of the projector in an inverse direction. The bolt head should be on the back of the projector, use a washer, then on the front use a washer and nut to secure the bracket and projector. The rest of the pictures explain it better!
Find the best angle and now use your pen or pick to mark through the bracket where the last hole will be drilled to attach bracket onto plastic. After many attempts these are the hole locations I ended up using on the passenger's side.
step058 by fatherlemmisty, on Flickr
step059 by fatherlemmisty, on Flickr
step060 by fatherlemmisty, on Flickr
step061 by fatherlemmisty, on Flickr
step062 by fatherlemmisty, on Flickr
step063 by fatherlemmisty, on Flickr
step064 by fatherlemmisty, on Flickr
step065 by fatherlemmisty, on Flickr
step066 by fatherlemmisty, on Flickr
step067 by fatherlemmisty, on Flickr
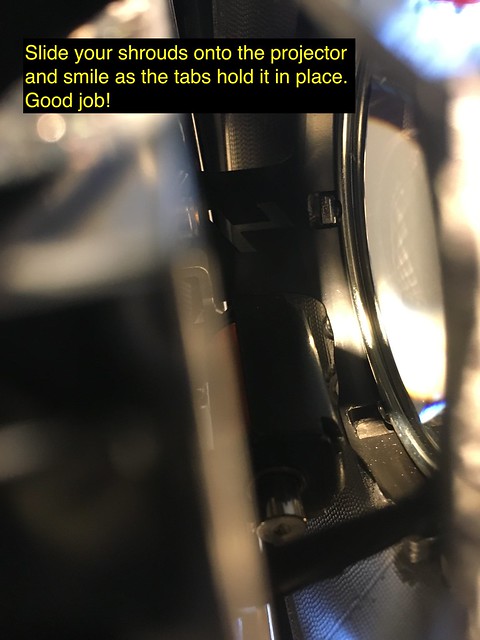
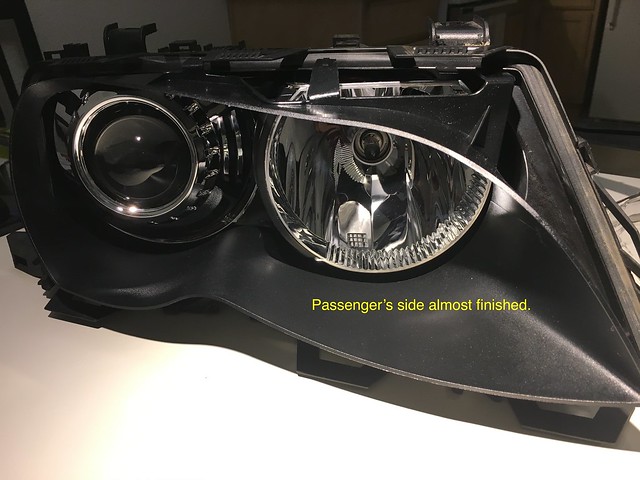
Passenger's side close up
step068 by fatherlemmisty, on Flickr
step069 by fatherlemmisty, on Flickr
step070 by fatherlemmisty, on Flickr
Driver's side close up
step071 by fatherlemmisty, on Flickr
step072 by fatherlemmisty, on Flickr
step073 by fatherlemmisty, on Flickr
step074 by fatherlemmisty, on Flickr
step075 by fatherlemmisty, on Flickr
step076 by fatherlemmisty, on Flickr
step077 by fatherlemmisty, on Flickr
step078 by fatherlemmisty, on Flickr
step079 by fatherlemmisty, on Flickr
step080 by fatherlemmisty, on Flickr
step081 by fatherlemmisty, on Flickr
step082 by fatherlemmisty, on Flickr
step083 by fatherlemmisty, on Flickr


 Reply With Quote