
Good point I didn't add which kit i got.
https://www.theretrofitsource.com/co...kw-repair.html
PROJECTORS: 2x Morimoto D2S 4.0
RQ BRACKETS / HARDWARE: 2x G10 Fiberglass / Stainless


 Enforcer
Good point I didn't add which kit i got.
https://www.theretrofitsource.com/co...kw-repair.html
PROJECTORS: 2x Morimoto D2S 4.0
RQ BRACKETS / HARDWARE: 2x G10 Fiberglass / Stainless
2004 330i ZHP Imola/Alcantara 6MT
 Campieri
i just read through the instructions - it's very simple. it looks like the only modification required is trimming the stock headlight bracket to allow the new project to sit flush against the RetroQuik bracket - 5min or less, with a dremel or a utility knife. otherwise it looks pretty darned plug and play... sorry to say, but i don't see how they could've made it any easier!Originally Posted by jonnyd330

peter
2004 330i ZHP
2005 330iT ZHP
2010 328iT M Sport
Enforcer
If you are looking at the directions they provide on their page, those are miss leading. I called and they said there were a number of items not included such as the need to dremel out some for the solenoid and then doing the wiring. I found this guide which uses the same Morimoto projectors but not the prefabricated mount included with my kit.
http://www.zhpmafia.com/forums/showt...o-Mini-D2S-4-0
His directions are far more complete and make me think this is over my head, worring about the position of everything and if its going to bump when trying to auto level. I'm worried about screwing these things up to where they are completely unusable.
2004 330i ZHP Imola/Alcantara 6MT
Campieri
OK, did they send you updated instructions for the solenoid? the wiring is not a surprise. i guess TRS is assuming that folks buying their RetroQuik kits are aware of what is required before buying the kit.
that thread you linked is for installation without the TRS RetroQuick bracket, which really takes the guesswork out. most of his trimming is related to that. nothing in the thread was surprising, to me.
if you've got a dremel - or can borrow one, and know how to use it, you can do this.
peter
2004 330i ZHP
2005 330iT ZHP
2010 328iT M Sport
Enforcer
Thanks for the vote of confidence.
I guess reading all these treads has scared me from doing it. I found this one that made it look awful and he had the bracket but now after reviewing it I don't think he installed them correctly. It looks like he mounted the projector from the rear and it should be on the front.
2004 330i ZHP Imola/Alcantara 6MT
Enforcer
So after procrastinating for a while I finally decieded to jump in. I got the driver side headlight done today and I am shocked at what a difference the light output is. The kit is no where near plug and play as they elude to in their directions so buyer beware but with that said its a great upgrade.
2004 330i ZHP Imola/Alcantara 6MT
Enforcer
Thanks for the update! Glad it worked out for you. Did you use JohnDs DIY posted above?
2004 Imola Red over Black Leather. 6-MT, Navigation, Cold Weather Pkg (the wife loves them seat warmers!), 3.46 Diff, UUC Short-Shift Kit, Tranny Mounts, CDV Delete and iPod mount.
Enforcer
I used a mix of directions and figuring things out on my own since there was not a set of directions specifically that worked for what I was doing.
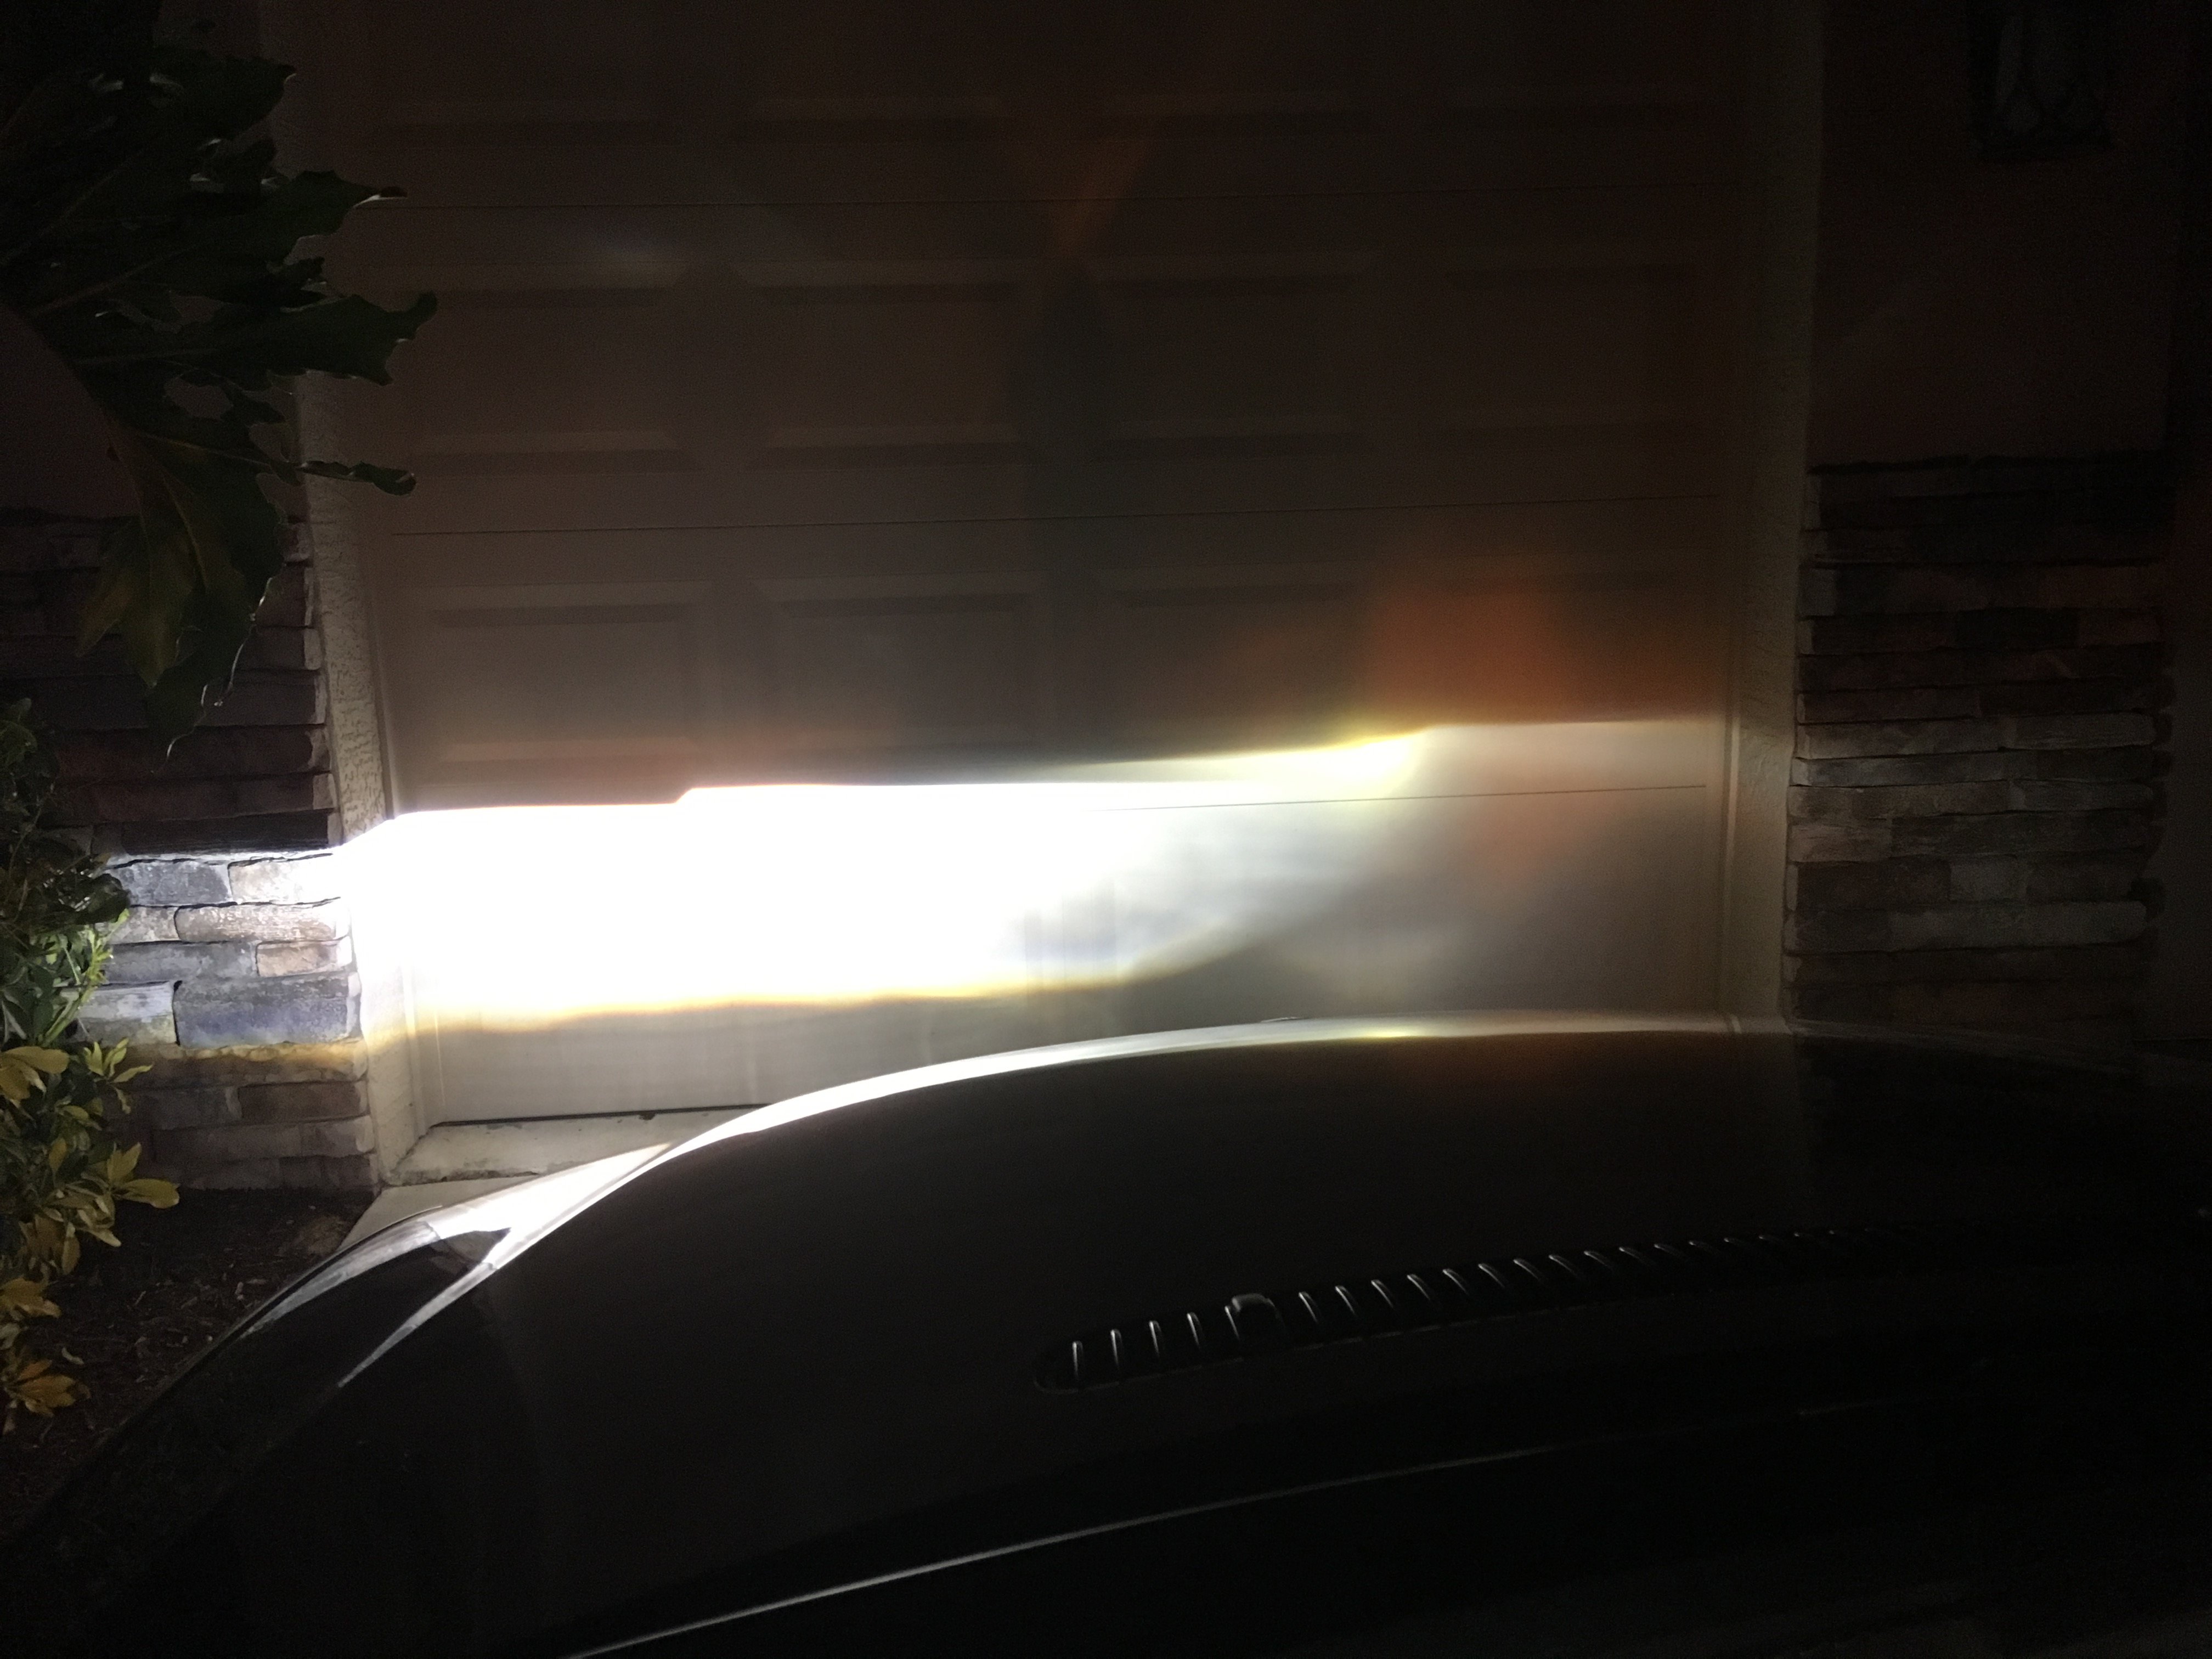
Here is a pic of the light output difference between the new drivers side and old passanger side. Its crazy how much more light there is, id say 90% of the light is from the new projector.
2004 330i ZHP Imola/Alcantara 6MT
 Capo
Capo
Wow. Thats...impressively bad on the passenger side.
Sent from my iPhone using Tapatalk
Enforcer
Nice!! Like night and day difference!!!!
2004 Imola Red over Black Leather. 6-MT, Navigation, Cold Weather Pkg (the wife loves them seat warmers!), 3.46 Diff, UUC Short-Shift Kit, Tranny Mounts, CDV Delete and iPod mount.
 Posting Permissions

 Reply With Quote
