Ahh stuck on the rear bumper. It's the only thing keeping my car from finishing now. Should I just throw the m3 bumper like everyone else? I see why no one does what I want lol


 Messaggero
Ahh stuck on the rear bumper. It's the only thing keeping my car from finishing now. Should I just throw the m3 bumper like everyone else? I see why no one does what I want lol
 Messaggero
Lol the definition of scope creep. M3 bumper... then M3 quad exhaust
2004 BMW 330CI ZHP (well, technically ZAM)
Messaggero
Yeah, I mean I'm going to do quad at some point. car looks too wide for the rear for just dual. I wonder if I can find some aftermarket M3 bumper that is somewhat close to what I'm trying to do lol
Messaggero
It's going
Off my previous list, I sort of got 2/3 done. Ordered tires, they are on backorder. Completed SMOG.
6/11/21
So took the car back for smog. Pretty much only put the car back together enough so that I could drive around the neighborhood to get the monitors ready.
First time I drove it in a long ass time. Car felt great other than the suspension which is shit lol But I sold my suspension. A story for later in the future
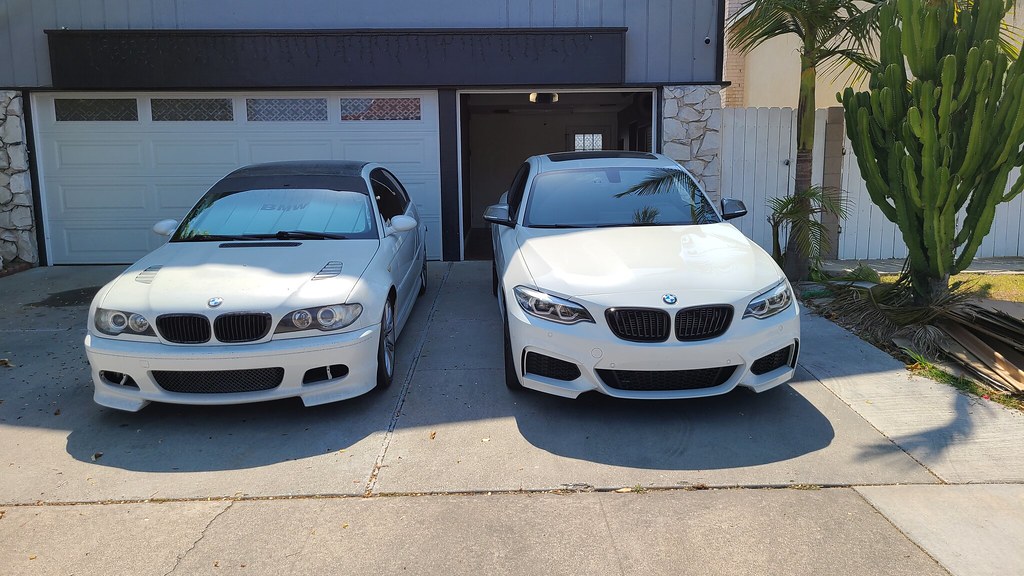
Serenity finally gets to meet Aspen
Was modding the M240i while doing my smog drives concurrently. I didn't have any stickers, so it took god damn forever to get the monitors ready driving around in the neighborhood. My area is full of cops
You can follow the M240i progress here if you're bored:
Sillieidiot's...er...SamBam's M240i progress thread
6/17/21
Then I went to smog, monitors ready but they were giving me shit about the silicone intake hoses. I passed smog with it last time so wtf? Whatever, ended up buying some cheap aftermarket ones off amazon for like $20 and installing it.
Honestly, I was like how TF did we install it. I was having a hard time taking them off for some reason.
6/21/21
So all of my pillars were bad. I mean they were decent, but leaving it at Waynes, after awhile they were just got worse somehow. Same with my headliner. It's sagging now, totally didn't do that before I dropped it off. But it was inevitable.
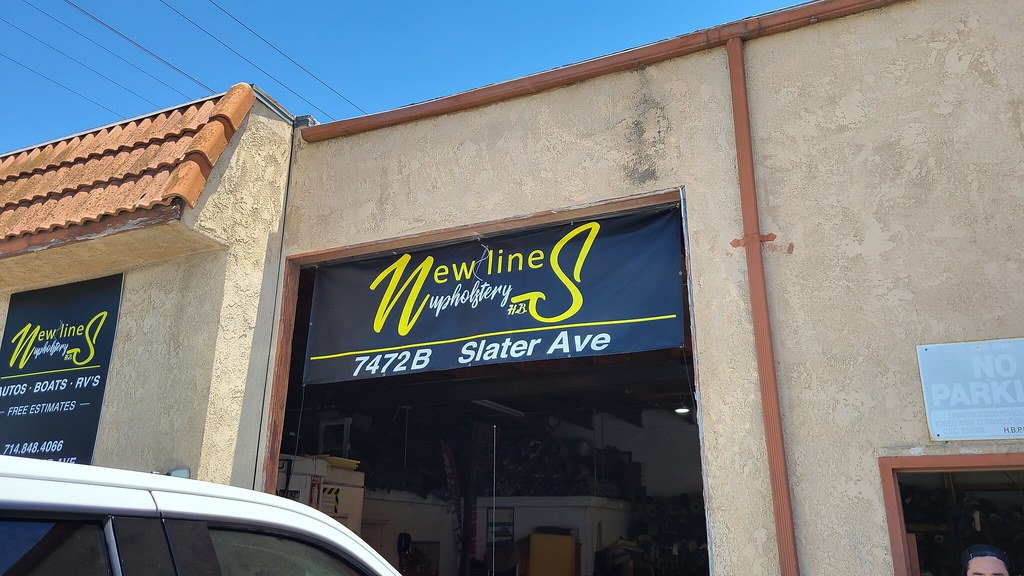
We didn't even put the pillars all back in cause it was bad. So I ended up going with Wayne's suggestion and going to New Line Upholstery.
Got a quote from Jesse, and decided to go ahead and get it done. The fabric that I was going for is more like what comes in the newer BMWs. It's a more padded fabric with a little more texture. It's also darker cause it's actually black instead of a dark grey/charcoal. I chose it over alcantara because I don't like the nap not being uniform, plus the fact that I drive the E46 with my windows down, so it's harder to take care of/clean.
6/25/21
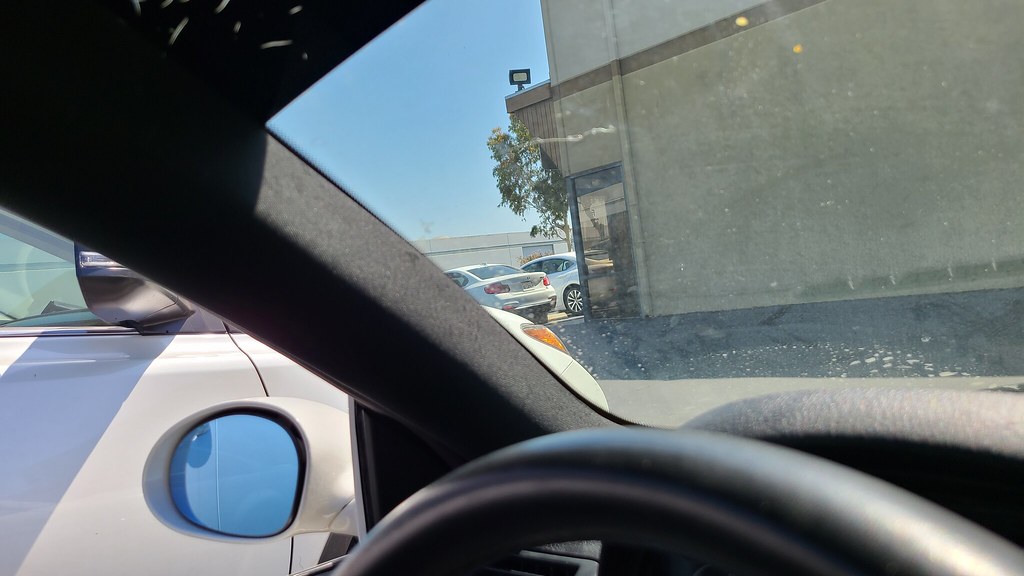
Picked up the car. They did a great job. It looks good. The part that I didn't like mainly was how the A pillars were done. In trying to keep that stupid little plastic piece that covers the screws, it bulged out because the fabric is thicker. I sent it back to the drawing board.
Just a quick picture while the car was there, really just to update this thread lol
Still working on what to do with the visors. Mines really dirty so they were like a few shades lighter. I'm planning to clean it up to see if it's a better match. If not, then just dye it or something.
7/2/21
Jesse and his team came back with an even better solution for the pillars. And I loved how it came out
So what they came back with was to wrap the whole entire thing. No more strip. I didn't want it anyways, don't have to clean between the cracks and no ABS logo. It's cleaner IMO.
I know, not the best pictures. Also, don't even mention the cracking vinyl LOL
Another attempted shot of the rear.
I'm starting to collect parts for the E46 to get it ready for the SC. Dunno when the rear bumper will be done though. I'm not pressing too hard though. I got other shit to deal with for now.
 Boss
Boss
Good stuff!
Sent from my SM-G998U using Tapatalk
Randeaux/Rando/John/jr - '06 Cic ZHP; Southern California
"ZHP or not, I still like you"
ZHP Performance Package, Cold Weather Package, Leather, Jet Black/Black/BlackCube, NAV, Anthracite Black "my individual" interior trim
ESS Stage 1 Twin Screw Supercharger, Sprint Booster, BMW Perf Intake, Magnaflow Exhaust, Dinan TB & STEP S/W, UCC Sway Bars, Apex EC-7 18x8.5 ET38
Suspension: AST 44100 dampers, Bimmerworld front adjustable end links, Swift springs (8K front, 10K rear), Vorshlag camber plates
Dynavin D99+, Hardwire V1 (w/V1 Connection), BSW Stage 1 Speakers, Kicker Amp/Subwoofer
BMW Performance Strut Brace, Orion V2 Angel Eyes, No-holes License Plate, SMG Paddle Shift Mod, Besian VANOS, Gold DISA, Fan Delete, M3 Side Mirrors
Note: Actual car no longer resembles signature picture
Messaggero
Oh yeah, So I talked to Ronald@Autosolutions. Asked him if I needed to upgrade to the Gen 2 shifters that everyone was about to install. But he told me they are actually based off my custom kit that he made for me so there's no need. He had to make some concessions to make it so that it could be mass produced. But the larger pivot and the ergonomics are now, all based off my kit. The pivot ball is slightly different since it's going into your current shift carrier, and mines was made with it's own carrier.
That's good to know. Saves me money. Not like I there was anything wrong with mines, but I probably would if it was a significant upgrade just cause lol Although, now that I think about it, selling it would be difficult. Unless I took off the shift carrier too.
Messaggero
So I finally started replacing shit to get ready for the SC. After 3 days of this, I'm already lazy to do the rest of the stuff lol
DAY 1 (8/16/21)
Anyways, on my drive over to JR's, I looked down and saw my car passing a milestone. So took a picture. Not the best, but I was driving lol
The plan for this round was to replace the coolant hard lines, dipstick o-ring, and OFHG. I skipped some of the other stuff since apparently I won't even need it on the TS2.
Requires taking off the intake manifold. Man why the hell was it so hard? Lol
Got through the easy stuff
Also, the torx to my hydraulic tensioner pulley was partially stripped. I needed a T52I just wrapped the T50 up with a few rounds of electrical tape and hoped that it held long enough just to take off the belts. I'll let future sillie deal with it when we go to put the belt back on.
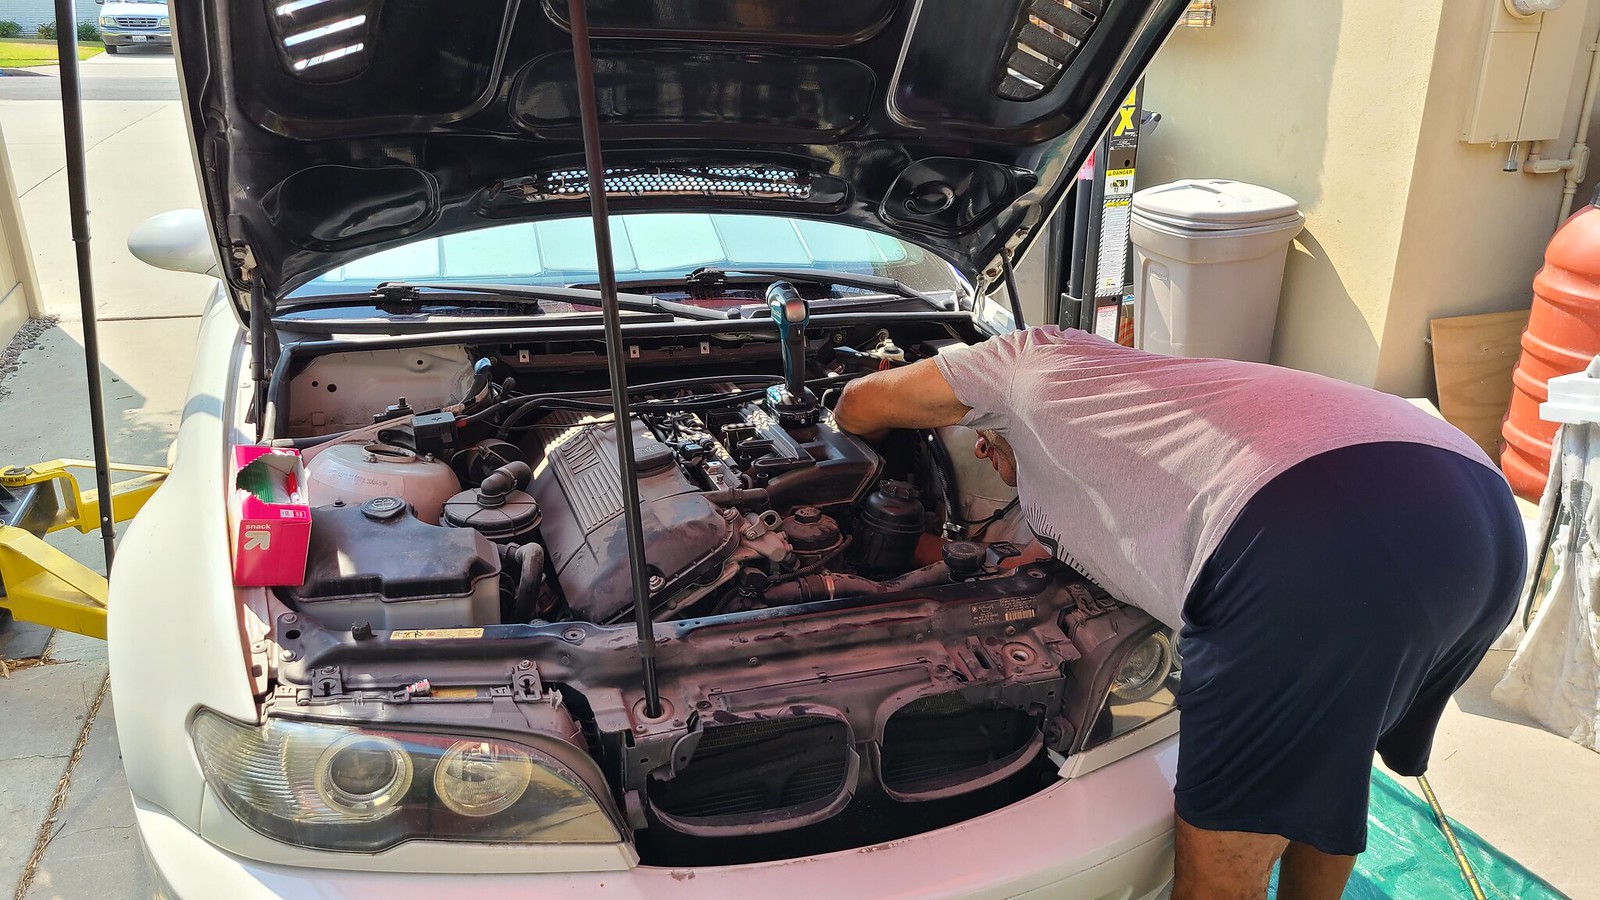
A shot of JR getting DEEP in there as we moved on to taking the intake manifold off.
God, it didn't help that my engine bay was dirty as shit from all the sanding dust.
After a lot of cursing and stuff, we took a break. I took this picture lamenting my decision to start this project lol We were like what? 25% at this stage
F*** Y*** S***Got it off. Actually, we didn't take it all the way off. There was a fuel line or something still attached. Didn't want to bother with that so we just move it to the side. Also broke the return line that goes to the CCV (you can see it sticking out in the pic). Luckily, I bought all the CCV parts (before, I found out that I didn't need it
).
Took another much needed break after this. I was like how are we going to put this back together correctly?Debated on whether or not we should continue. We did. Just to swap the hard lines since we already did the coolant drain and it's literally just those 2 things. JR thought it would be easy. Took us like another hour or so of us cursing on why tf it was so hard to pull. Broke stuff off of it and it still didn't budge.
The method that finally prevailed was: Ok this looks like it would be better for you cause, right handed (JR). You got this. Then for the other hose, oh it's left handed (me), damn I gotta do it
These 2 fucking hard lines. I hate youBut I'm glad I replaced it. Because the one on top was actually broken inside with pieces in the engine. Also the o-rings on them were flat af.
Looking at this picture now, I just realized that I took a picture before I cut the blue zip tie. And somehow we managed to zip tie the correct stuff to the hard lines and route the alternator wire and all the other stuff correctly LOL
Cleaned up some of the area, then I was like hmm. I didn't know there's stuff in here. I figured I would take a picture because I plan to not see this for a long while.
I was going to clean the area. But I was like fuck it. Too lazy lol I only wiped the puddles of coolant and oil and stuff.
We decided to stop here for the day.
DAY 2 (8/17/21)
Damn I was sore af. Then I had to get up and drive up there again and do the second half of the stuff. We started later in the day, so I didn't think we would get as far.
So the focus was replacing the OFHG, dipstick o-ring, the bottom coolant hose, the return line to the CCV we broke and putting everything back together as much as we could.
Didn't remember how to do the OFHG so had to look up DIY. It was somewhat fairly painless to take off. If anything, putting it back to align it took longer. I also forgot to keep note of which bolts were what
Only picture I took lol
Spent the next several hours figuring out what we did so we could go backwards in order to put the intake back on. Then we got to the part where the fuel vent hose needed to go on the side nipple all the way on the corner of the engine. FML this has got to be the hardest FJDASOGNEOQ!!! Hose to put on. We literally spent like a couple hours on this part.
First of all, the hose was WAY smaller than the nipple/tube that it has to go over. Then you have this SHORT ASS FUCKING hose that barely makes it there. WHY?! GOD DAMMIT WHY?!
I found the other end of it while we were figuring out what to do. Since this all project all of a sudden turned into GOD TIER MODE. I was like screw it, pulled the other end off. Well it wouldn't come off. I had to use a blade and cut it off without seeing it. Even when I cut it, It held on for dear life. Like HAHAHAH JK you thought you found a cheat huh?
Kojima, you designed this level didn't you?
After I finally got it off. We went to buy longer versions of the hose, and tried to use a larger size as well. Larger size didn't work. The connection on the bottom was too small. So had to make due with the current hose size which is still god damn impossible to put on. After several attempts, tried putting the hose in hot water to get it on. We were only ever able to get on like 40% of the distance. Fuck it, it's good enough, doesn't look like it'll come off. I think I got like 24" of the hose (the original was already like 12" wtf), I didn't even cut it. Shoved the rest in the back of the car and plugged the other side in. This paid dividends later.
We took the intake manifold off a few times while trying to figure out how to route hoses and connectors and such. The one that sucked was the power lead for the starter. We clipped it on a clip that we though it might have gone to. And it made it extremely short. Had to take the damn thing out off just so we could reroute it. It took some time, but we finally got it back on.
After taking another well deserved break, I figured we should switch gears and put the alternator and belts back on. Seriously FU past sillieAt this point, it was like 10pm. And here we're struggling to put the god damn serpentine belt on. That stripped torx? It went from T52 to T54 at some point before not even being able to be used. We couldn't hold it long enough for me to safely put the belt on without some serious injury. What normally takes like 30 seconds, took like an hour lol Ended up trying a HEX. Got a 5/16th to fit, added some electrical tape to make sure it's in there good. Hammered the socket in. We had one shot at this lol Got that bitch on
EAS can deal with it now
Put the rest of the parts in. It was pretty smooth sailing from this point since it's just putting the easy stuff back on. Filled the car with oil, I skipped the funnel cause it was taking too long. I was doing pretty good until I didn't
Finally, everything is back. Go to start the car and it dies right awaySon of a bitch. Tried a couple more times and no go. Gave up. It was too late to troubleshoot so I just left for the day.
DAY 3 (8/18/21)
So JR was busy today, so I just did the troubleshooting on my own. I was kind of lazy, but since it was all cloudy and stuff I decided to drive up. Seriously, iono what we could have done wrong. I went through all the shit on the drive back to JRs house. Honestly the 2 biggest issues I could think of is it's either fuel related or vacuum/air related.
I was going to start it again and figured it was a hiccup. But after priming the fuel pump a few times, I was like nah. I'll just go check it out. I decided to start looking for vacuum/air first. It's like the first thing we needed to take off anyways so yeah. THEN I SAW ITThis glint that wasn't supposed to be there.
YES!! Thank god it was something easy. Honestly fuck these aftermarket Chinese OEM style hoses. They were somehow more difficult to put on than my silicone intake hoses lol So I swapped my hoses back on.
It's ALIVE!!!
So this time, turned on and stayed on. Although it was still running a little rough. I looked around and saw the vacuum line connected to the F connector had a cut in it. Must be from when we were moving it around. I replaced it with the hose that I bought the other day for the Kojima level.
And everything is good. Car is up and running and everything seems to be good. There was coolant dripping when I was backing up, but it just turned out to be all of the coolant I spilled while pouring it into the car LOL
Taking a break from that train wreck of install lol
The next thing up to do is the VANOS. Got to do the seals and anti-rattle kit. I also have fuel filter, motor mounts, transmission mounts. I think that's it as far as getting the car ready for the TS2 goes. I need to replace my current suspension and get tires, but I can do that later.
Messaggero
lol T52 to T54
also LOOOOOL JR
But seriously nice work!
2004 BMW 330CI ZHP (well, technically ZAM)
Boss
Lol. Hieu, quite the detailed post, lol.
Sent from my SM-G998U using Tapatalk
Randeaux/Rando/John/jr - '06 Cic ZHP; Southern California
"ZHP or not, I still like you"
ZHP Performance Package, Cold Weather Package, Leather, Jet Black/Black/BlackCube, NAV, Anthracite Black "my individual" interior trim
ESS Stage 1 Twin Screw Supercharger, Sprint Booster, BMW Perf Intake, Magnaflow Exhaust, Dinan TB & STEP S/W, UCC Sway Bars, Apex EC-7 18x8.5 ET38
Suspension: AST 44100 dampers, Bimmerworld front adjustable end links, Swift springs (8K front, 10K rear), Vorshlag camber plates
Dynavin D99+, Hardwire V1 (w/V1 Connection), BSW Stage 1 Speakers, Kicker Amp/Subwoofer
BMW Performance Strut Brace, Orion V2 Angel Eyes, No-holes License Plate, SMG Paddle Shift Mod, Besian VANOS, Gold DISA, Fan Delete, M3 Side Mirrors
Note: Actual car no longer resembles signature picture
Messaggero
I told you that I would remember our pain lolOriginally Posted by johnrando

 Posting Permissions

 Reply With Quote