This is a DIY guide on how to replace the weather seal for the rear corner panel windows of the E46 M3. These
weather seals are prone to dry rotting along with the quarter panel glass trim (Mfg Part#: 5136819474 and
51368194742) that runs along the lower part of the side rear windows.

Unfortunately, while the quarter glass trim is replaceable as a stand-alone part, the weathers seal is NOT due to
the fact that it is connected to another part called the Finisher Side Frame, which is the long black rail that runs
front to back along the top portions of the side windows. Each Finisher Side Frame retails for over $260 each
and you will probably need two of them. Needless to say, this is not a cost efficient solution to the problem,
especially since they will only end up dry rotting again. I decided on a far cheaper solution ($20.00) that both
looks OEM and takes about 90 mins to do per side.
Tools needed:
1. Phillips screw driver, preferably with a magnetic head.
2. Large Flathead Screw driver
3. Box cutter blade or razor blade
4. Double-sided or colored tape
5. Possibly some interior trim adhesive
Skill Level:
If you think you could pass a high-school level Arts & Crafts class, you will be just fine. If you mess up, don't get
frustrated or pissed. Even in the WORST case scenario, you will be out $20.00 for the cost of the weather
stripping and the time it takes to re-do something. It is still a far cry cheaper than the $550+ you will spend on
2 Finisher Side Frames .
I would also like to apologize ahead of time about the quality of these pictures…to the point where I am actually
embarrassed. My digital camera basically started to crap out on me during the install and I didn’t realize the
pictures were this bad until hours after the install. I would ask that if anybody else does this install, that they
please take better quality photos and send them to me. I will insert them into this DIY in place of mine.
To begin, rather than re-explain the process on how to remove the trim, I will refer to another DIY that is
currently available.
https://www.e46fanatics.com/threads/...w-trim.281593/
The very first picture of the aforementioned DIY shows the screws attaching the Finisher Side Frame (FSF) to the
roof of the car. These screws run along the entire rail, from front to back.
You can get to the screws in the rear window by the following steps:
- Open the rear window
- Unlatch the ball joint on the window (see above DIY). You will need the extra room for both head and hand room. There is also particularly difficult screw that is between the front and rear window divider.
- Remove the inside window gasket. Pull the upper portion of the gasket straight down from around the window frame. Try to leave the lower half in place as to keep a screw from falling down into the door/side frame of the car.
The last 4 screws in the back are different from the other screws, so please make sure that when you re-install
them, you have them in back. The two very last screws are probably more easily accessible from outside the car.
Note - Do not be surprised if the inside upholstered trim on the rubber door seals around the door comes off.
Over time, the adhesive becomes brittle and it pretty much peels off. Mine did this and I simply got some
upholstery glue to put it back together. (I hear that Gorilla Glue works as well, but that requires you to hold the
pieces together whereas the adhesives for cars do not require such. You can find this type of adhesive in auto
parts stores, probably by the paint section)
Once you remove the screws from the FSF, you should be able to simply lift it off from the top. It is possible that
the rear portion might be a little stuck due to some type of tacky tape in that location, but it is not difficult.
When the FSF is off, you will notice the rubber weather seal is attached by double-sided tape.
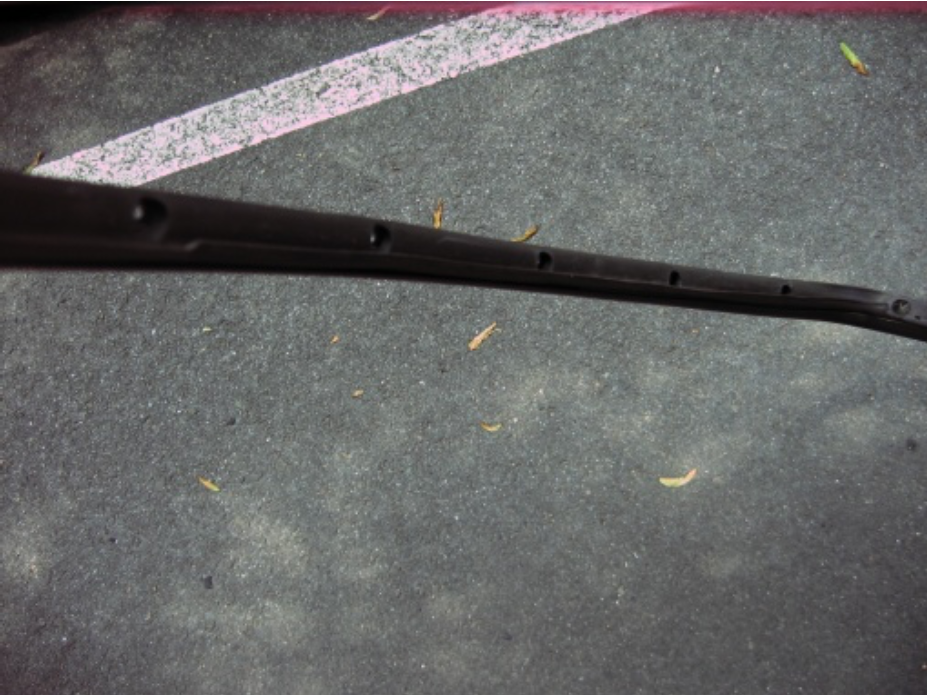
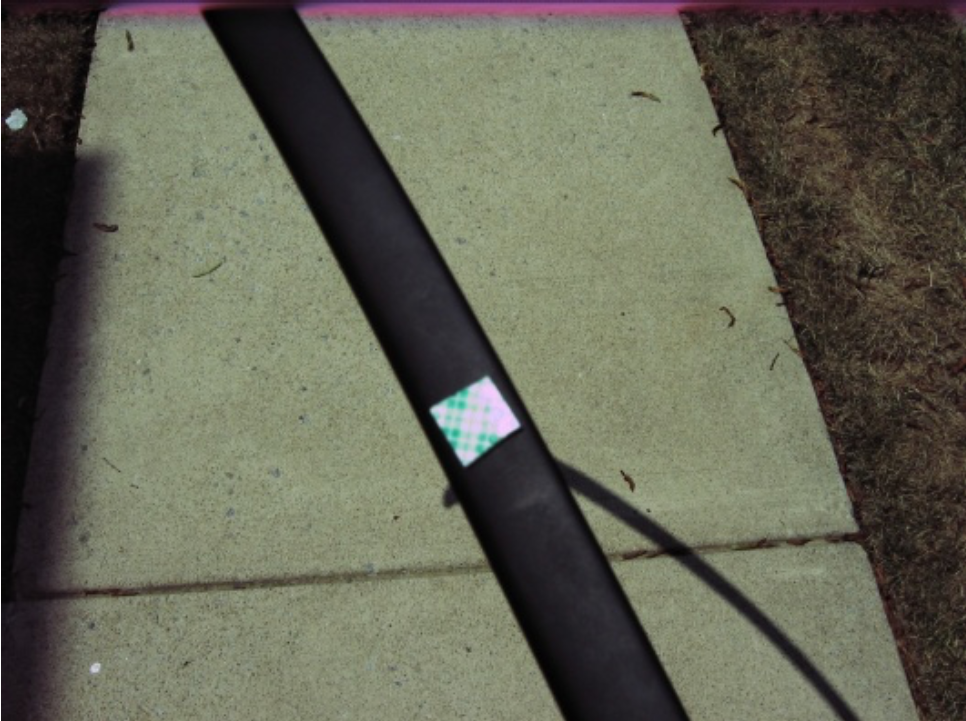
Mark the location of where the rubber weathers starts on the FSF. This is important. You will need to know where
to cut the new weather seal so it be flush and won’t collide with weather seal on the door. I used a piece of
double-sided tape.
Once marked, you can now easily pull the old weather seal right off.

Note the double-sided tape underneath. Rather than trying to slowly peel this tape off, grab a simple box cutter
and neatly slice the tape right off. It cuts very easily and comes off pretty clean.
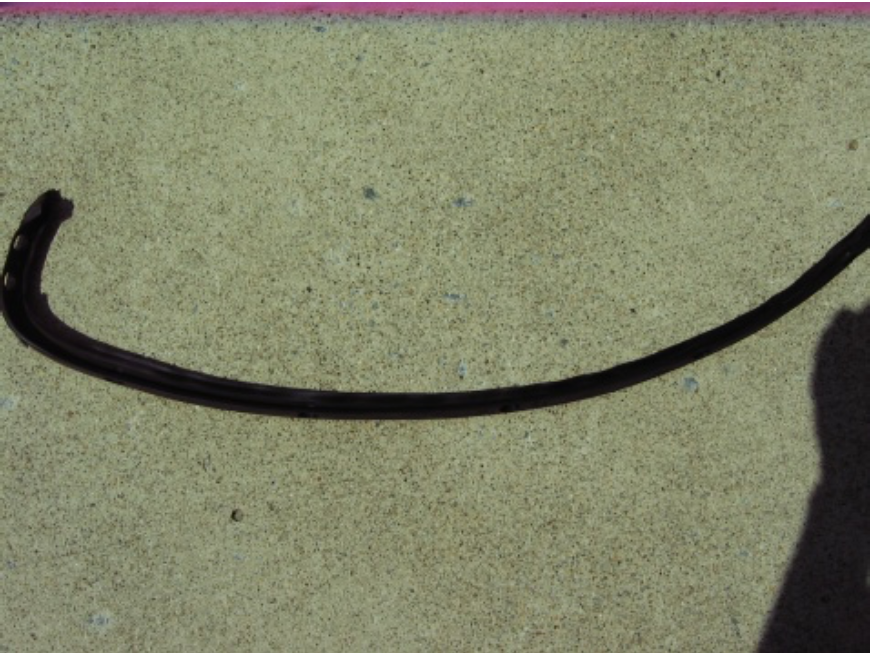
This is the old seal removed.
Next, time to install the new weather seal. You can purchase this weather stripping from Autozone. It is a
common part as I have found it at two different brick and mortar locations, however here is the online link.
http://www.autozone.com/autozone/acc...er=267100_0_0_
It is made my Metro Moulded Parts Inc.
Make SURE that you get the 7/8-3/4 diameter. There is a smaller diameter that will give you some fitment
problems.


Originally Posted by Jmsimmons1
This is a DIY guide on how to replace the weather seal for the rear corner panel windows of the E46 M3. These
 Reply With Quote