I posted this on the Bimmer forums a few months back and figured that I'd bring it over here just because. Enjoy.
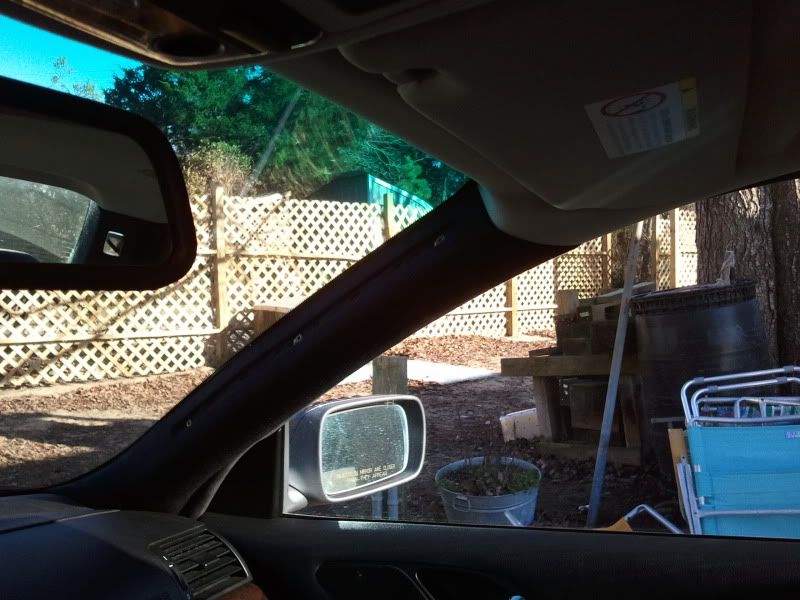
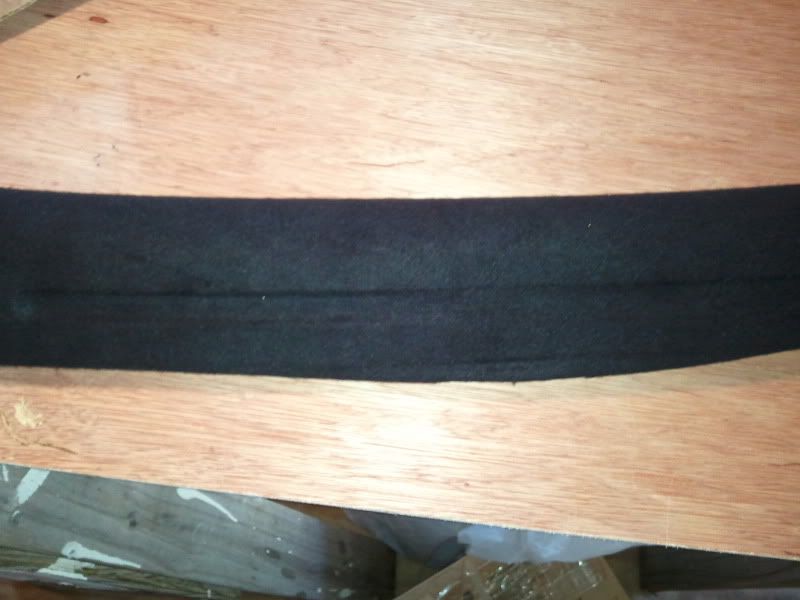
Today I addressed one of the common E46 issues of the fabric falling off of the pillars. Most of the info I have come across is re-gluing the fabric that is there back into place. I found some fabric I liked and decided to go from zero. I picked up some inexpensive, black, felt-like fabric from Walmart for two bucks a yard. I bought two yards not knowing how much I would need. One would have done the trick. The stuff I found was thick enough that glue bleed through wasn't really an issue.
You will need:
A can of 3M #77 spray adhesive
one yard of fabric
masking tape
a squeegee of some sort (I had a spent gift card that worked like a champ.)
a flat blade screw driver
a torx set
good scissors
a sharp razor knife
some scrap cardboard or some newspaper
First off, remove the pillars. This thread shows you how to do just that.
http://forums.bimmerforums.com/forum...ving+a+pillars
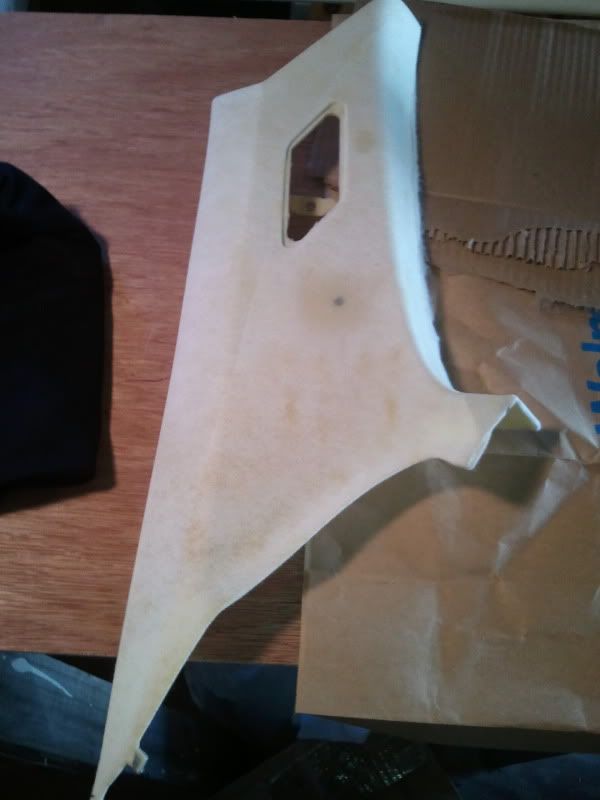
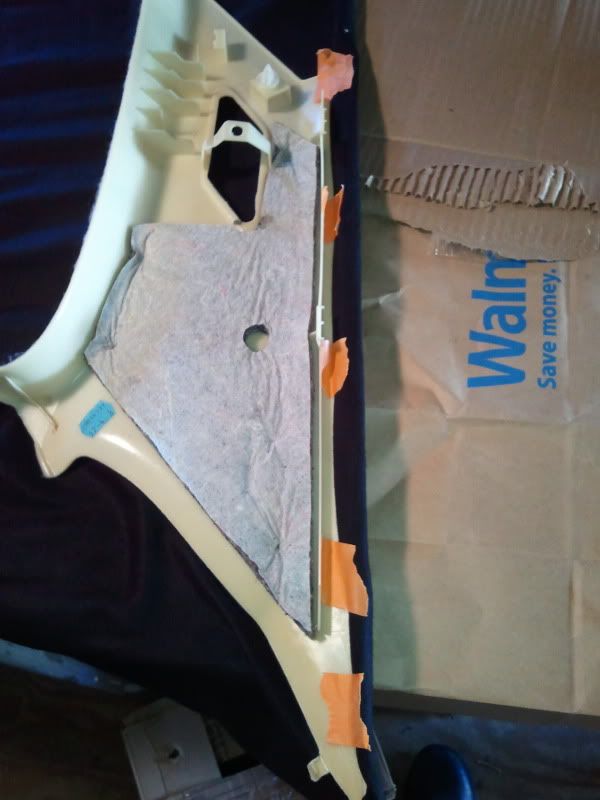
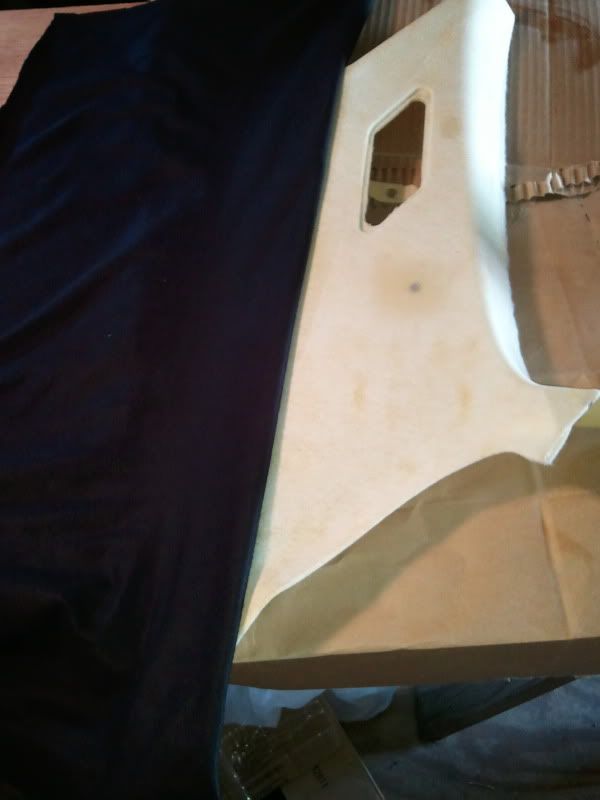
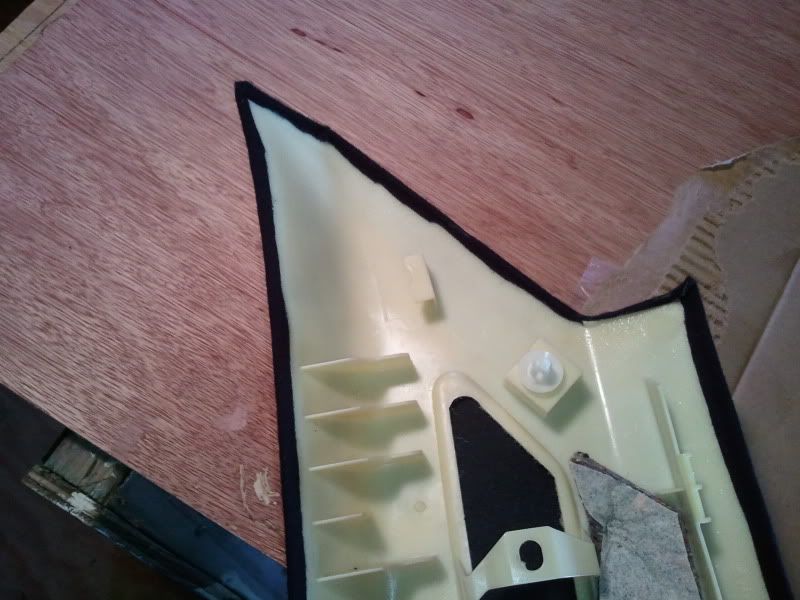
After you get the pillars out, remove all of the current felt.
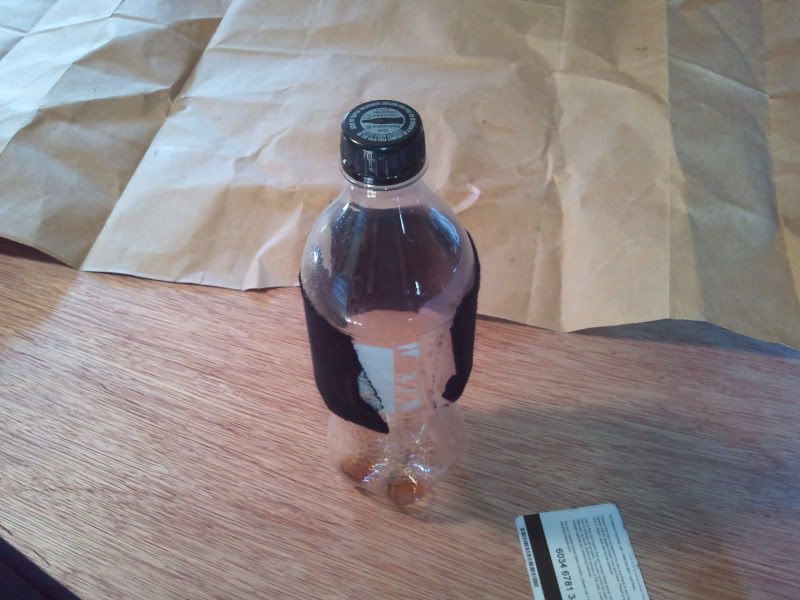
Now for the sake of getting the idea of what you are working with, take a small piece of fabric and your spray glue and give it a test run on something. I used a plastic drink bottle.
This stuff is fairly forgiving. If you get a wrinkle or a spot that doesn't cooperate, you can usually work it out. Just as long as you don't let it set up for too long.
Then, on a clean surface, size up a piece of fabric with the pillar. Give yourself plenty of extra to work with on all edges.
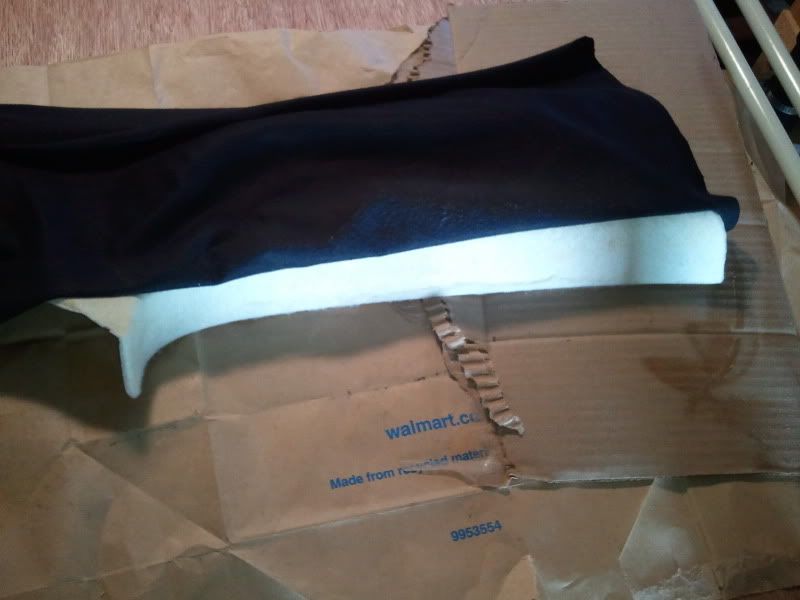
Choose your anchor edge. I used the straightest edge of the pillar, rolled up the end of my fabric to give myself extra, then taped it down.
At this point, I worked from the middle out.
Give the pillar a good coat of glue then a light spraying on the fabric. Make sure to only spray the area you are working on. Pull the fabric over the glue and smooth it into place using your squeegee working from the anchor edge out. I went to the curved edge next.
This one is kind of a pain. In the same fashion as before, spray the pillar and fabric. It will take some stretching and a little working but, you can get the fabric to smoothly fit the curve. Now go back and glue the anchor edge.
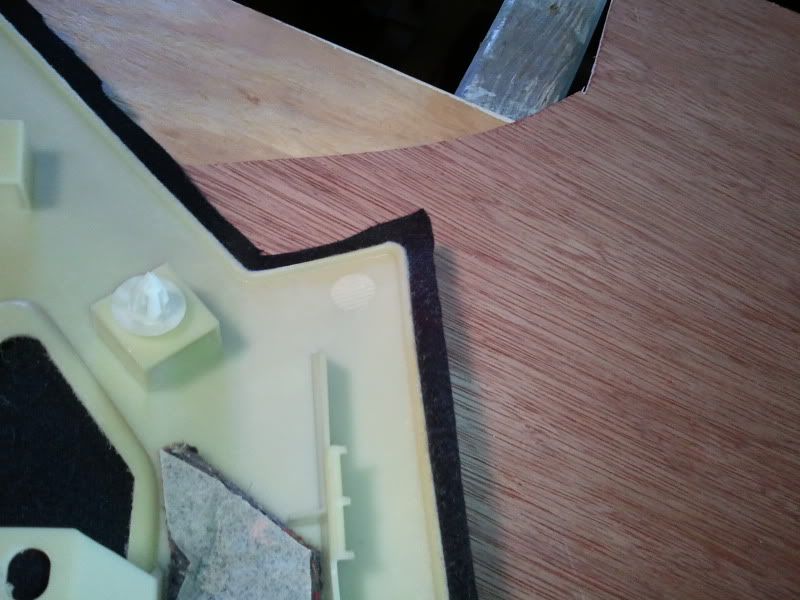
Trim the excess fabric leaving yourself about a quarter of an inch extra.
Now, carefully spray glue along the back side of that and the edge of the pillar. Pull the extra fabric over and smooth it down.
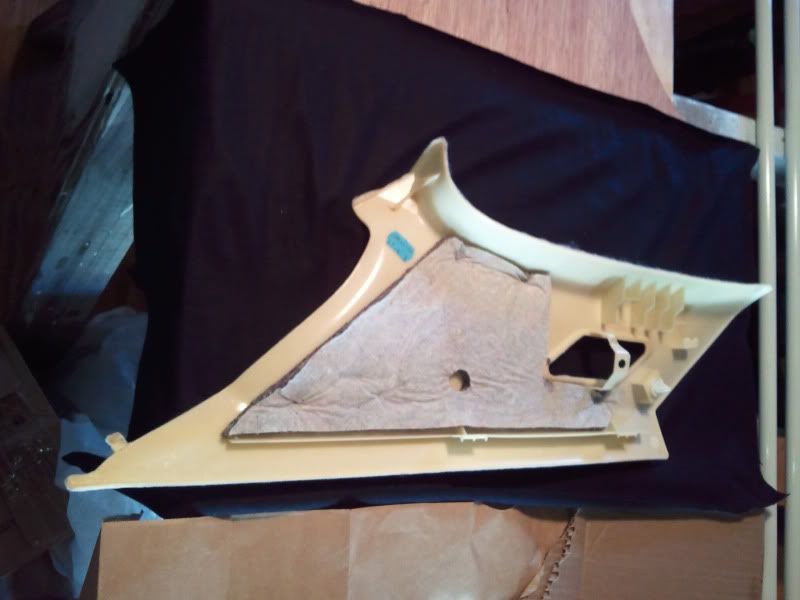
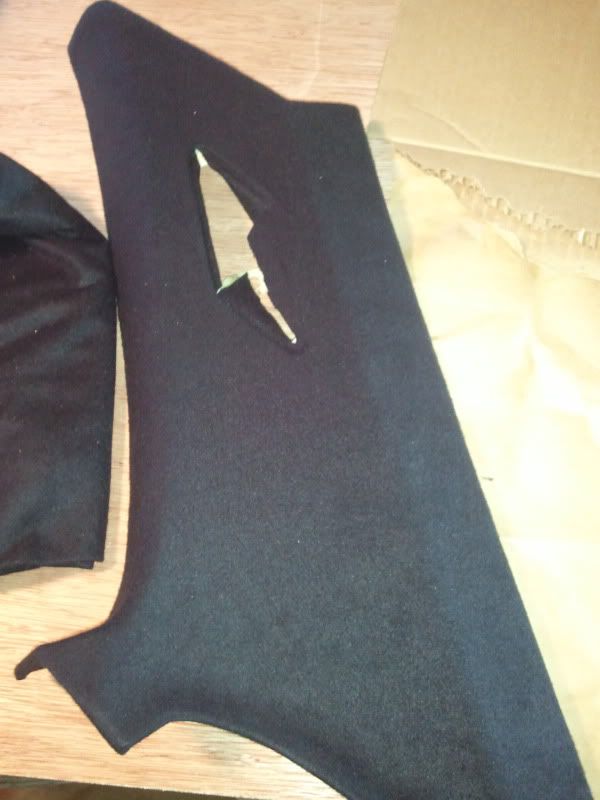
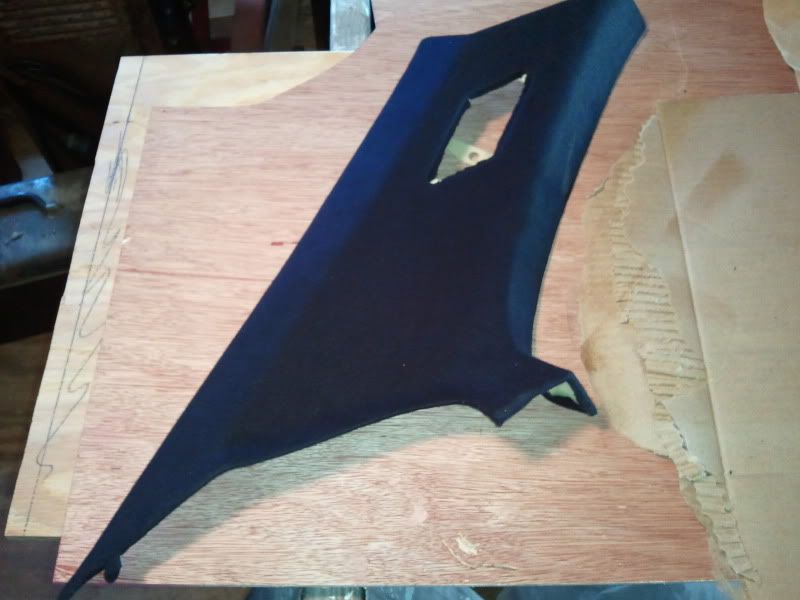
Flip it over and cut an x in the light opening from corner to corner.
Then use your squeegee to push the fabric into the edges of the hole then trim the excess.
Now, repeat.
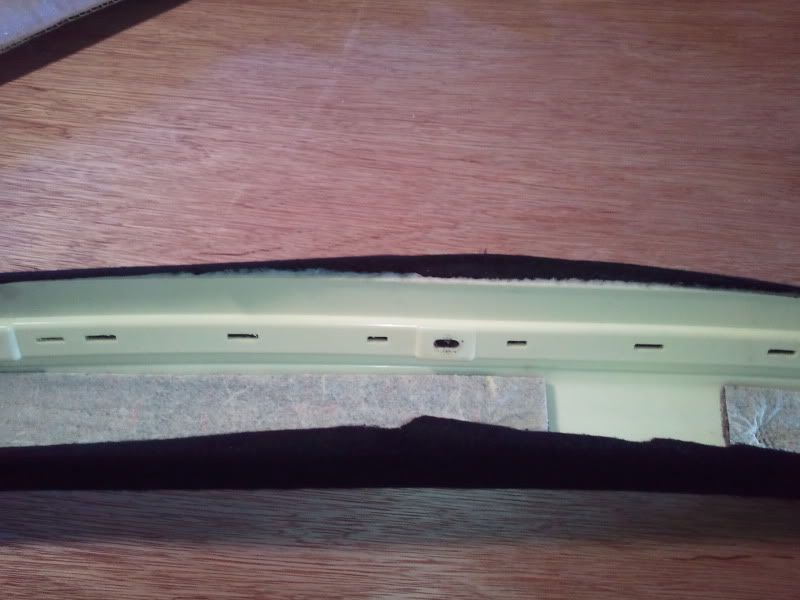
For the front, it's not too different. You just have that groove to work with. Like with the c pillars, pick your anchor edge.
I just worked my way around these rather than out from center. When you get to the side with the groove, just work slowly through it making sure that you push and stretch the fabric into the corners before you glue down the other side of it.
Then, like the previous ones, trim the excess leaving a quarter inch to wrap around.
Glue that down then use your razor knife to cut the slots out of the groove.
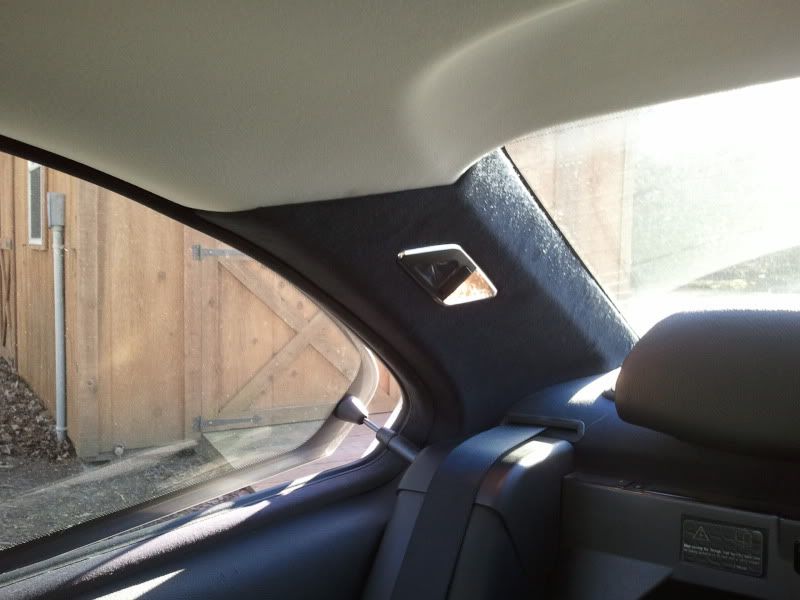
All that is left is the reinstall. Put those nice, new looking pillars where they belong.


 Reply With Quote