
Proof that PlastiDip is not scary at all. You'll notice that I paint right on the car. All is well in the end though. No paint was harmed in the making of this DIY.
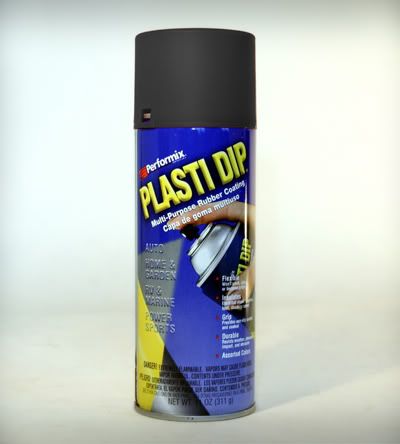
Prep: Locate some Dip. If you want your badge to be shiny, you'll need to also add a couple coats of PlastiDip Glossifier to Step 6. Oh, and you'll need some sweet blue tape. The kind that won't mess up your freshly-waxed paint.
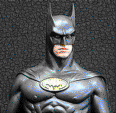
Step One: Locate your target.
Step B: Tape your target.
Thirdly: Spray a super-light base coat.
Next: Spray a heavier (but still pretty light) 2nd coat. Make sure you're coming in at an angle on each pass to hit the edges of your badge.
Five: Spray another coat like the last. Mine that you see here is a bit too heavy.
Step Six: Carefully peel off the excess. It's actually pretty fun, if you're one of the people who love peeling that sticky plastic stuff off new electronics. Sorry for the poor video. Apparently it's hard to hold your phone while doing this.
Last: Admire your handiwork. Doesn't it feel good? Go get a beverage... you deserve it!
Please allow about 15-20 mins between coats, depending on the temperature in your neck of the woods. (make sure it's north of 50*) I waited about 30 mins after my last coat prior to peeling off the excess. Also, three coats would be the minimum. Up to five should be fine, and you'll get a better finish if you layer them lightly.


 Reply With Quote

 :
: