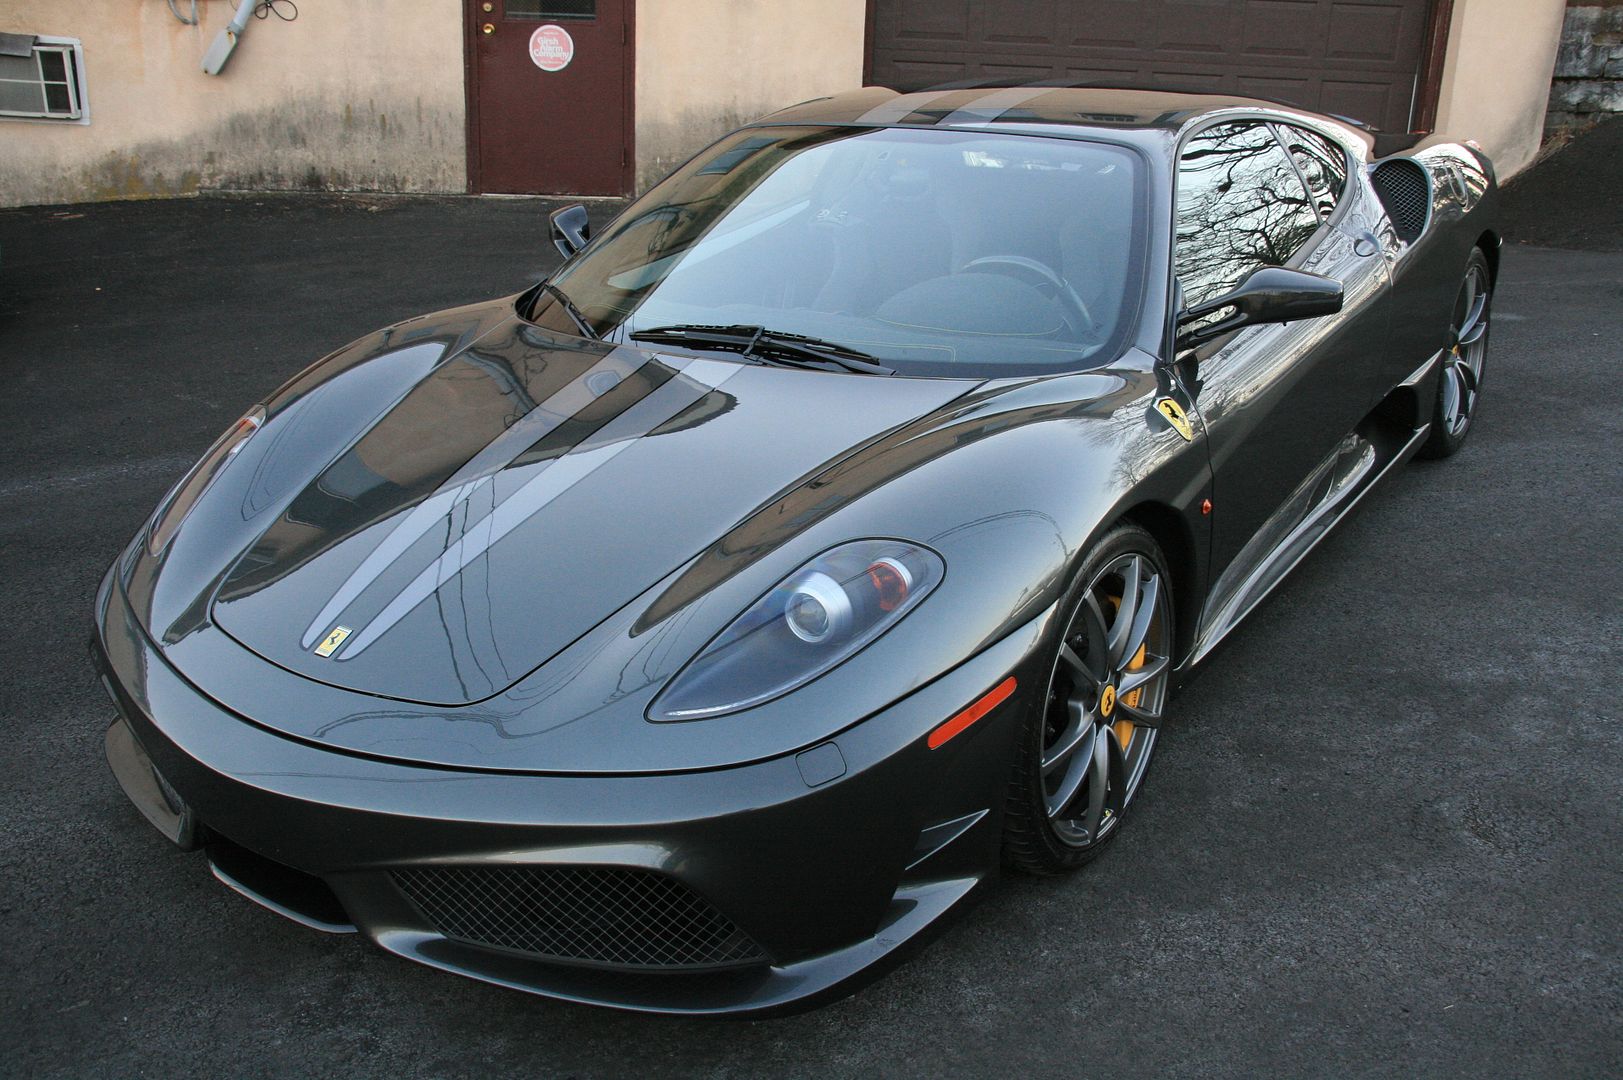
This will be a thread I update after each step. My car was in serious need of a detailing. Ever since I was a kid my dad and I would call this process "The Treatment" so it's stuck with me.
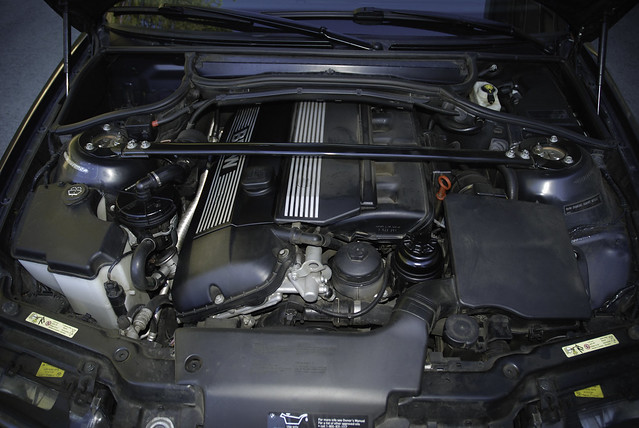
Step one - Clean and dress the engine bay
This is the first time I've ever attempted this level of cleaning, but my engine compartment really needed it. Five years of dusty track days really took it's toll. I was embarrassed to even open my hood for inspections at autocross events.
The process was to soak the whole compartment with S100 Total Cycle Cleaner, which is the same as P21S, but easier for me to get my hands on. I let it sit for a little while, then took an old paint brush and agitated some of the really dirty areas to loosen up the grime. Then, nervously, I hosed everything down with light water pressure out of a gun nozzle on my hose. Once I was done with that I started the engine and breathed a sigh of relief.
LESSON 1: If you intend on cleaning the underside of the hood, remove the pad first. I did not, it got saturated with water and I had to take it off anyway and let it dry in the sun for two days.
I dried off what I could and let it sit overnight. The next day I cut loose with the Adam's In & Out I ordered from DD. WOW! This is great stuff! It was so inspiring, I did this same thing to my Jeep engine compartment with the same great results.
Before:
After:
Before:
After:
Before:
After:
I'll be updating pics at my Flickr, so if you're interested in more (or moar as it were) hit this LINK.
Step two was a serious washing. I did the one bucket method because I'm headed down the full-on detail path anyway. I had to change the water three times before I was done. I've since ordered a Foam Cannon so I can hopefully prevent the fine scratches that result from this kind of clean-up. I had the car out in the sun today for the after pics and it looks terrible.
After it was washed and dried I went to claying with the Clay Magic kit. I've been using this for years and it works well. There wasn't much contamination because I keep after it, but the usual areas needed it the most... behind the tires, rear of the car.
Dr Color Chip repair is next which I'm working on now. I'll have some pics of that up in the next couple of days.


 Reply With Quote