Materials to Maintain Your ZHP IIIII Hand Protection IIIII Tools to Maintain Your ZHP
Page 1 of 3 123 LastLast
Results 1 to 10 of 21
  1. #1
    Join Date
    Dec 2010
    Location
    Santa Cruz County, CA
    Posts
    217

    The Treatment - 2011 - 2005 BMW 330 Sparkling Graphite ZHP Coupe

    This will be a thread I update after each step. My car was in serious need of a detailing. Ever since I was a kid my dad and I would call this process "The Treatment" so it's stuck with me.

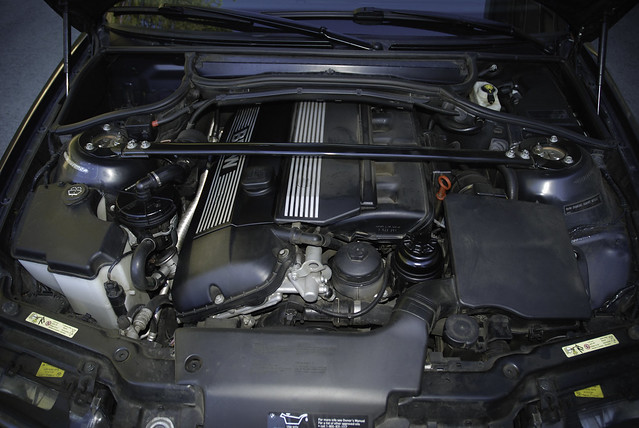
    Step one - Clean and dress the engine bay
    This is the first time I've ever attempted this level of cleaning, but my engine compartment really needed it. Five years of dusty track days really took it's toll. I was embarrassed to even open my hood for inspections at autocross events.

    The process was to soak the whole compartment with S100 Total Cycle Cleaner, which is the same as P21S, but easier for me to get my hands on. I let it sit for a little while, then took an old paint brush and agitated some of the really dirty areas to loosen up the grime. Then, nervously, I hosed everything down with light water pressure out of a gun nozzle on my hose. Once I was done with that I started the engine and breathed a sigh of relief.

    LESSON 1: If you intend on cleaning the underside of the hood, remove the pad first. I did not, it got saturated with water and I had to take it off anyway and let it dry in the sun for two days.

    I dried off what I could and let it sit overnight. The next day I cut loose with the Adam's In & Out I ordered from DD. WOW! This is great stuff! It was so inspiring, I did this same thing to my Jeep engine compartment with the same great results.

    Before:


    After:


    Before:


    After:


    Before:


    After:


    I'll be updating pics at my Flickr, so if you're interested in more (or moar as it were) hit this LINK.

    Step two was a serious washing. I did the one bucket method because I'm headed down the full-on detail path anyway. I had to change the water three times before I was done. I've since ordered a Foam Cannon so I can hopefully prevent the fine scratches that result from this kind of clean-up. I had the car out in the sun today for the after pics and it looks terrible.

    After it was washed and dried I went to claying with the Clay Magic kit. I've been using this for years and it works well. There wasn't much contamination because I keep after it, but the usual areas needed it the most... behind the tires, rear of the car.

    Dr Color Chip repair is next which I'm working on now. I'll have some pics of that up in the next couple of days.

  2. #2
    Join Date
    Jan 1970
    Location
    Ocean County, NJ
    Posts
    7,273
    Great job. Engine bay looks awesome.

    I'm scared as hell to go at the bay with a hose. Did you try to avoid getting water on any specific areas?
    -Be yourself; everyone else is already taken.
    ZHP Pre-Ride Briefing

    2005 ZHP, Alcantara, Silver Cube, Nav, Sharked, BMW Perf Intake, BMW Perf CF Strut Brace, CF Valve/Fuel Rail Covers,
    Shadowline Grills, CF Splitters, Fog Light Inserts, Euro-mirrors, CDV Delete, Beisan vanos, GAS DISA, BP Coded

  3. #3
    Join Date
    Dec 2010
    Location
    Santa Cruz County, CA
    Posts
    217
    I was putting tin foil on the alternator and then I just said eff it. Why? I watched a YouTube video of a detailer doing exactly the same thing to a $200k Ferrari and I remembered my Jeep can go under water up to the hood line with a snorkel intake. I just didn't dwell on any particular area or use a heavy stream of water. I even hosed off the ECU cover and brake fluid reservoir area.

    Can't seem to find the Ferrari video, but here's a good one: http://www.youtube.com/watch?v=zBzsJRBU0Ns

    EDIT again... here's the Ferrari one! http://www.youtube.com/watch?feature...&v=dyfjWhtmS2E
    Last edited by jvr826; 01-27-2011 at 02:58 PM.

  4. #4
    Join Date
    Jan 1970
    Posts
    15,433
    Jeff, that looks awesome, brother. Great work.

  5. #5
    Join Date
    Dec 2010
    Location
    NJ
    Posts
    534
    dam that looks great!

  6. #6
    Join Date
    Jan 1970
    Location
    Liberty Township, OH
    Posts
    37,935
    Lookin good...

    Much easier to find leaks in a clean bay.

    Sent from my Droid using Tapatalk
    Call Me Dane l 2/2004 330i ZHP l 18x8 ET45 BBS CK's wrapped with Michelin Pilot Sport AS3+ @ 245-40-18 l KW V1 Coilovers in front l KW V1 springs w/ Bilstein B8 dampeners in rear l BMW Performance Rotors l UUC StrutBarbarian l Racing Dynamics Rear Strut Bar l Jim Conforti Shark Injector l Light Birch Interior Trim l Bimmian Celly Mount l M3 Trunk Mat l l e90 Performance E-Brake & Shift Knob l M3 Tri-Stitched Boots l AL Headlight Retrofit with ZKW Lenses l CobyWheel Wrap w/M3 Stitching l LCM sw 4.5 triple blink and rear fogs l Maple Interior Trim

  7. #7
    Join Date
    Jan 2011
    Location
    Martinez, CA
    Posts
    368
    Looks great!!

    The engine bay is one area that I'm afraid of getting wet. So, I went over it with a damp cloth. It got most of the dust off. I still have other parts that aren't nice and clean. But, I do have to get some sort of dressing on there.

    I used to avidly detail my car all of the time. I would hand wash it just about every week when the weather was nice. I did the whole enchilada-clay bar, 2 step polishing and wax/sealant. I would start on a Friday after work and go clear thru Sunday. Taking my time. Nowadays, I'm getting a little too old for all that activity! Fortunately, theres a decent car wash right across the street from my office. They're not perfect, but it will have to do.

    Johnny
    2004 Imola Red over Black Leather. 6-MT, Navigation, Cold Weather Pkg (the wife loves them seat warmers!), 3.46 Diff, UUC Short-Shift Kit, Tranny Mounts, CDV Delete and iPod mount.

  8. #8
    Join Date
    Dec 2010
    Location
    Santa Cruz County, CA
    Posts
    217
    Thanks guys...

    I get this bug in the spring each year, tho last year I skipped it. The last time I did it I spent 14 hours on just the outside and it was by no means in bad shape. Two-step polish and then three layers of ReJex and two layers of P21S wax. I didn't feel the P21S added anything though, so I don't do the top-coats anymore.

    This time I'll polish, then I have two new products I'm trying out: Chemical Guys EZ-Creme Glaze II and Blackfire Wet Diamond. I usually work on this an hour or two a day in between work (I work from home), but I've been too busy this week. I want to finish this weekend so I can drive the car again!

    I'm just using a PCROB, but I want to buy a rotary and learn to use it. I have a pickup truck I can practice on, but it's white. This activity is stress reducing and I get a lot out of making a vehicle look good. I might even consider doing this as a side-gig, but I have to speed up the process to make it worth it. I'm too slow.

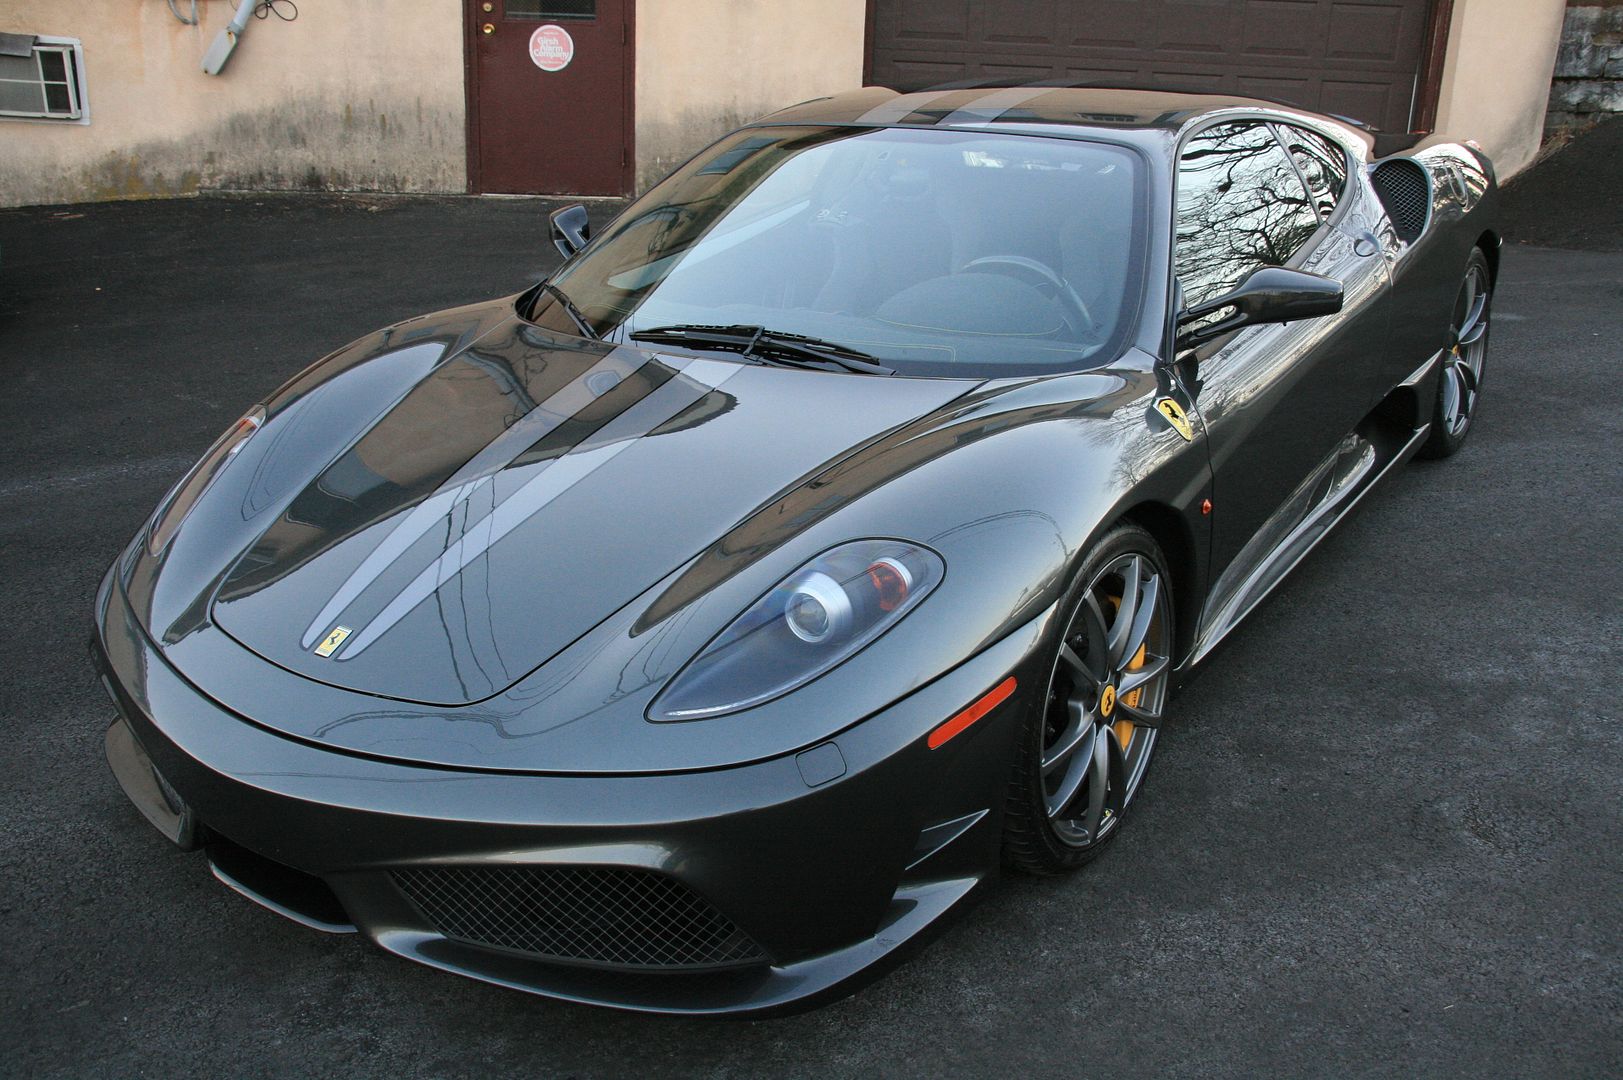
    I really want my car to shine like this one. I saw this on Fanatics and the guys who did it spent 40+ hours on it. This is definitely detail p0rn!!

    http://forum.e46fanatics.com/showthr...ferrari+detail


  9. #9
    Join Date
    Dec 2010
    Location
    Santa Cruz County, CA
    Posts
    217
    Dr Color Chip done (for now)

    This was really easy to work with and I think it did a pretty good job of reducing the visibility of the chips... and I had a lot of chips. I used Dane's squeegee method using a piece of wiper blade.

    My pics didn't come out too well, should have made sure the angles and range were the same on the before and after shots. The photography was more work than the chip repair.

    Before:


    After:


    Before:


    After:


    Trust me, there were many, many white dots on this hood before doing the touch-up. My bumper looks like it was media blasted with M&M's. I don't think I have the patience to touch it up, but I may try some day.


    Tomorrow the buffer comes out... finally!!
    Jeff

    Golden Gate Chapter BMW CCA - Autocross - Join Us!


    "You drive like old people $#@%... slow and sloppy!" - George Carlin

  10. #10
    Join Date
    Jan 1970
    Location
    Liberty Township, OH
    Posts
    37,935
    How many coats of DCC did you put on?
    Call Me Dane l 2/2004 330i ZHP l 18x8 ET45 BBS CK's wrapped with Michelin Pilot Sport AS3+ @ 245-40-18 l KW V1 Coilovers in front l KW V1 springs w/ Bilstein B8 dampeners in rear l BMW Performance Rotors l UUC StrutBarbarian l Racing Dynamics Rear Strut Bar l Jim Conforti Shark Injector l Light Birch Interior Trim l Bimmian Celly Mount l M3 Trunk Mat l l e90 Performance E-Brake & Shift Knob l M3 Tri-Stitched Boots l AL Headlight Retrofit with ZKW Lenses l CobyWheel Wrap w/M3 Stitching l LCM sw 4.5 triple blink and rear fogs l Maple Interior Trim

Page 1 of 3 123 LastLast

Similar Threads

  1. Marcus's Imola Red ZHP (2005 BMW E46 330 ZHP Coupe)
    By Marcus-SanDiego in forum Projects
    Replies: 117
    Last Post: 04-05-2016, 11:08 AM
  2. For Sale: 2005 BMW 330 ZHP coupe, imola red, Fayetteville, NC, $19,000, 62,000 miles, 6MT
    By Marcus-SanDiego in forum BMW 330 ZHPs For Sale (vehicles only)
    Replies: 4
    Last Post: 05-20-2011, 09:30 PM
  3. For Sale: 2005 BMW 330Ci ZHP AW/Alcantara/Manual Coupe in CT
    By ZHPRegistry.net in forum BMW 330 ZHPs For Sale (vehicles only)
    Replies: 11
    Last Post: 03-26-2011, 07:27 AM
  4. For Sale (SOLD): 2005 BMW ZHP Sparkling Graphite Metallic w/Alcantara - SFS (2/4/11)
    By danewilson77 in forum BMW 330 ZHPs For Sale (vehicles only)
    Replies: 3
    Last Post: 02-04-2011, 08:13 AM
  5. DI Kit and results of pre winter treatment
    By danewilson77 in forum Detailing
    Replies: 21
    Last Post: 12-09-2010, 04:52 AM

Posting Permissions

  • You may not post new threads
  • You may not post replies
  • You may not post attachments
  • You may not edit your posts
  •