Materials to Maintain Your ZHP IIIII Hand Protection IIIII Tools to Maintain Your ZHP
Page 1 of 2 12 LastLast
Results 1 to 10 of 14
  1. #1
    Join Date
    Apr 2013
    Location
    Cambridge, MA
    Posts
    902

    DIY: Headlight restoration (w/ pictures!!) doityourself

    Hello folks. Mr. Nic "Stiggissimo" was kind enough to loan me old, pitted, scratched, dirty, gross, and disgusting (sorry buddy) headlight lenses to refinish. The entire process I'll go through can be done in about twenty minutes. There are shorter methods to get it done, and longer methods as well if you so choose. This however, is an average method meant for people with average skills and an average amount of time! Keep in mind that everything I have done here was all by hand. With a buffer or orbital polisher and some finesse, there are of course even better results to be had.

    *Disclaimer: This is WAY easier when the lenses are on the car. Just tape up your work area if you are worried about getting polish everywhere.

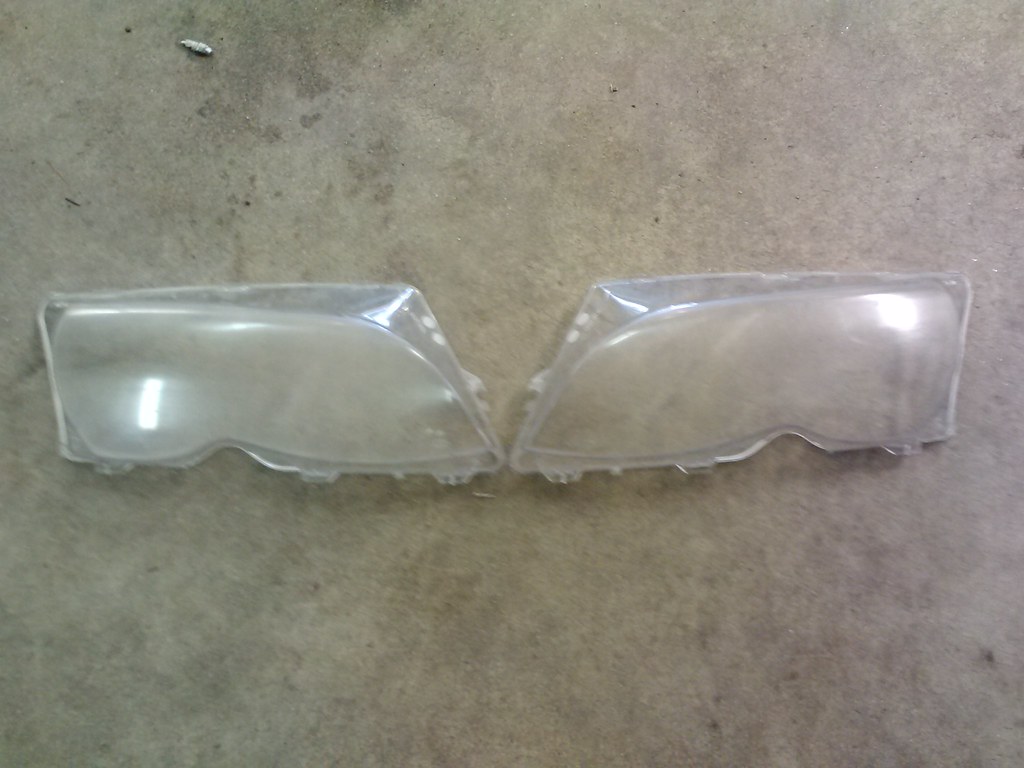
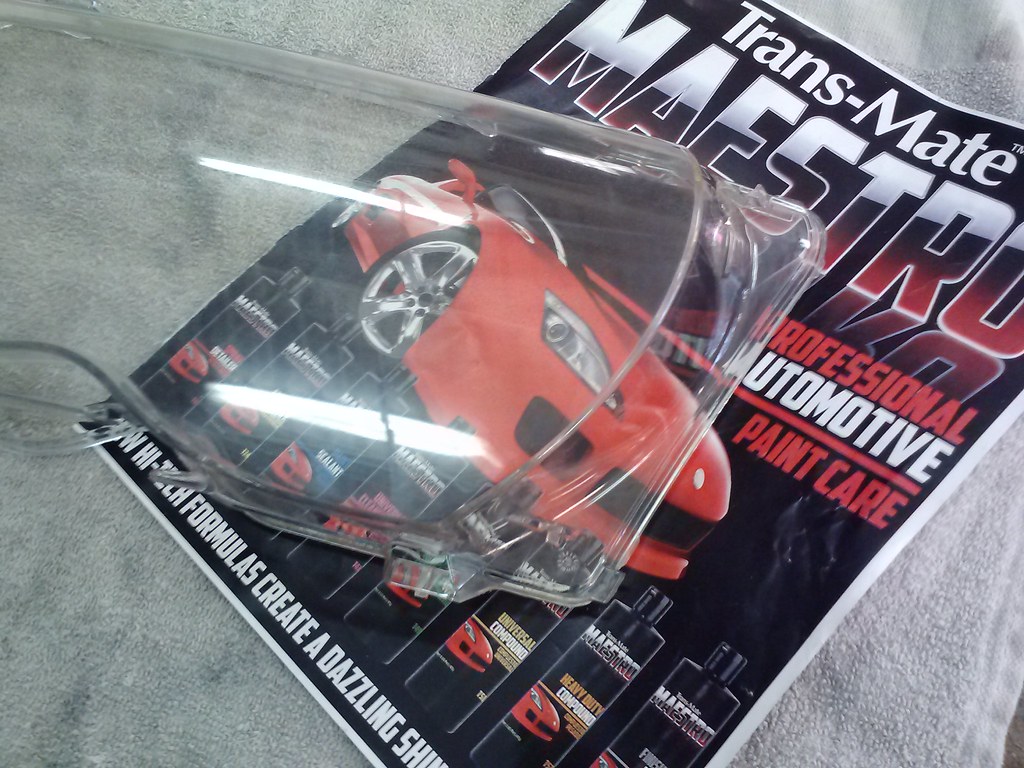
    Before: (Pardon the garage floor, this was done at work)


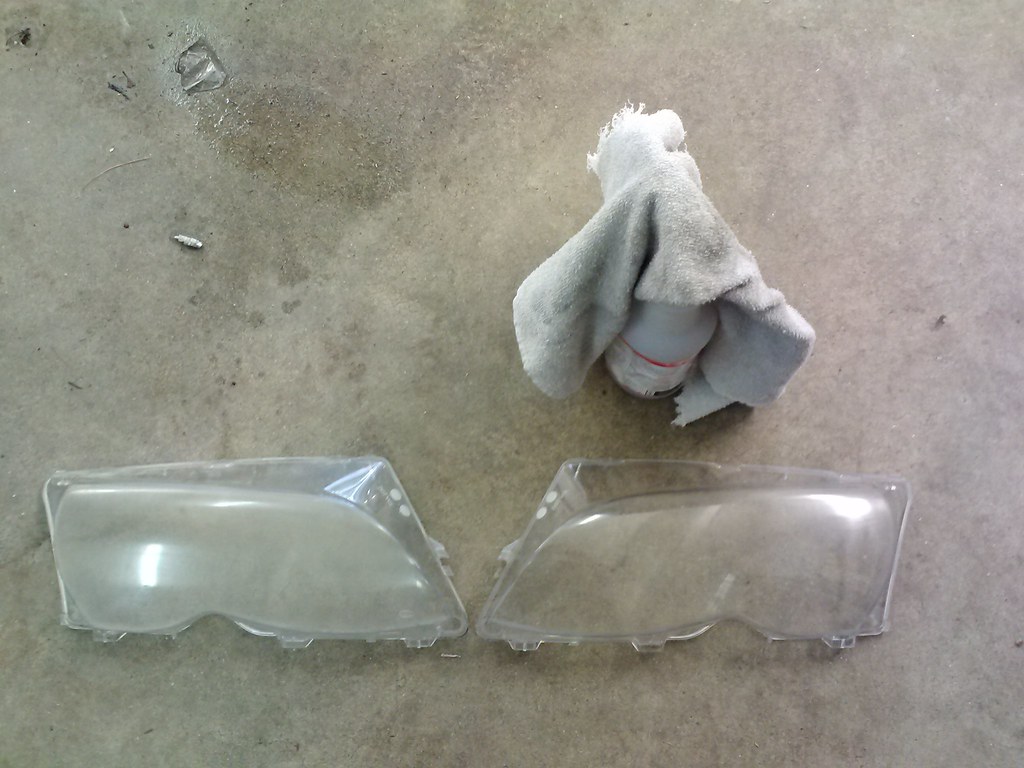
    Step 0: Clean clean clean!
    A lot of people miss this pre-emptive step. A good cleaning should always be done before working on paint or plastic for the best results. I used a pretty heavy duty cleanser in this case, but just about anything should work fine (simple green, APC, etc.) Use a clean towel or rag as well to prevent more scratches from forming. Make sure to do a thorough job inside and out. Look at the difference this simple step can make.


    Step 0.5: Clay
    An optional step in the cleaning process is using a claybar with lube on the outside of the lens to remove any embedded dirt leftover from the cleaning stage. This is highly recommended if you are going to use a polisher. I chose to forgo it here.

    Step 1: Wetsanding
    Wetsanding involves using fine-grit sandpaper soaked in water to provide a helpful and STRONG initial cut into scratches and pits on the surface of a light or paint before compounding. Oftentimes, people make the mistake of going to a very low grit (100 or less) when they begin the process. DO NOT fall into the trap! I can't emphasize this enough. A grit that low is much too course, even for tough plastic lenses, and will induce heavy scratches. For paint, most detailers use 1000 or 2000 grit. I would recommend starting 1000 grit to get a nice cut and minimize new scratches. There is a bit of trial and error to be done in finding the right combination for the lenses. This can be done either by hand, with a sander, or even with a polisher attachment. I did not wetsand in this example process.
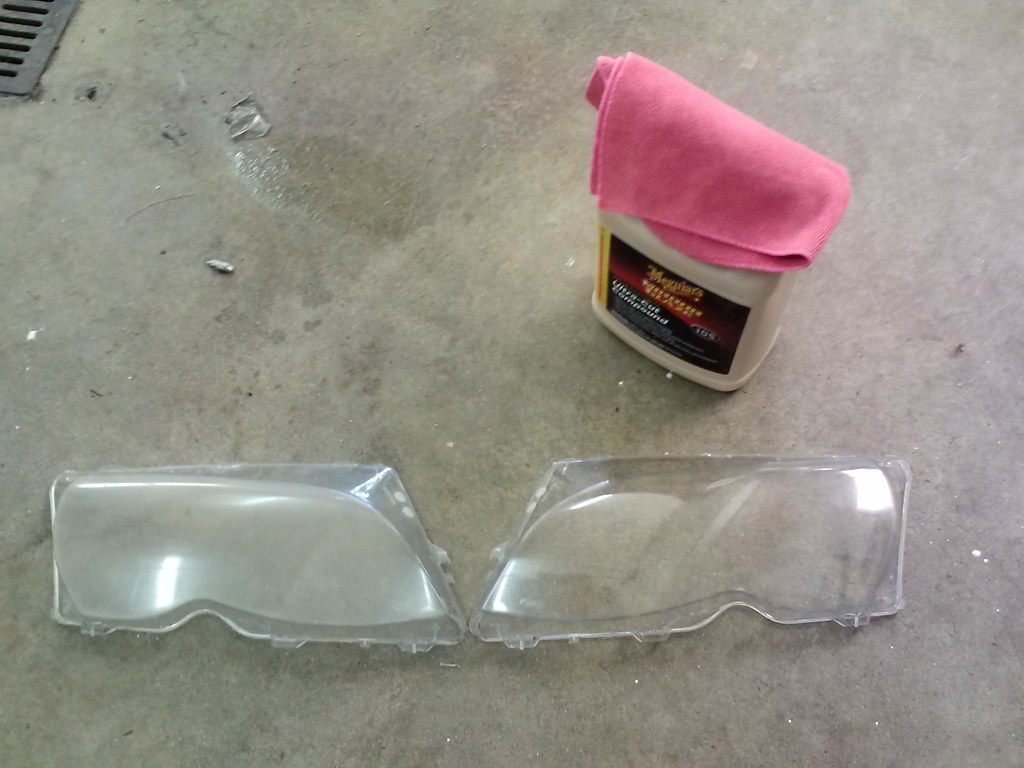
    Step 2: Compounding
    This step does the most work in refinishing your lenses. Smear some nice cut compound on a microfiber or other compounding pad/towel and get to work on the the lenses. Use some elbow grease, making sure to work each area thoroughly. You may want to do a few applications here. If using a polisher, use a relatively high speed and push hard to get the most work out of the compound. Be careful not burn any paint! After compounding, again clean the lens with a fresh microfiber or other very soft towel.
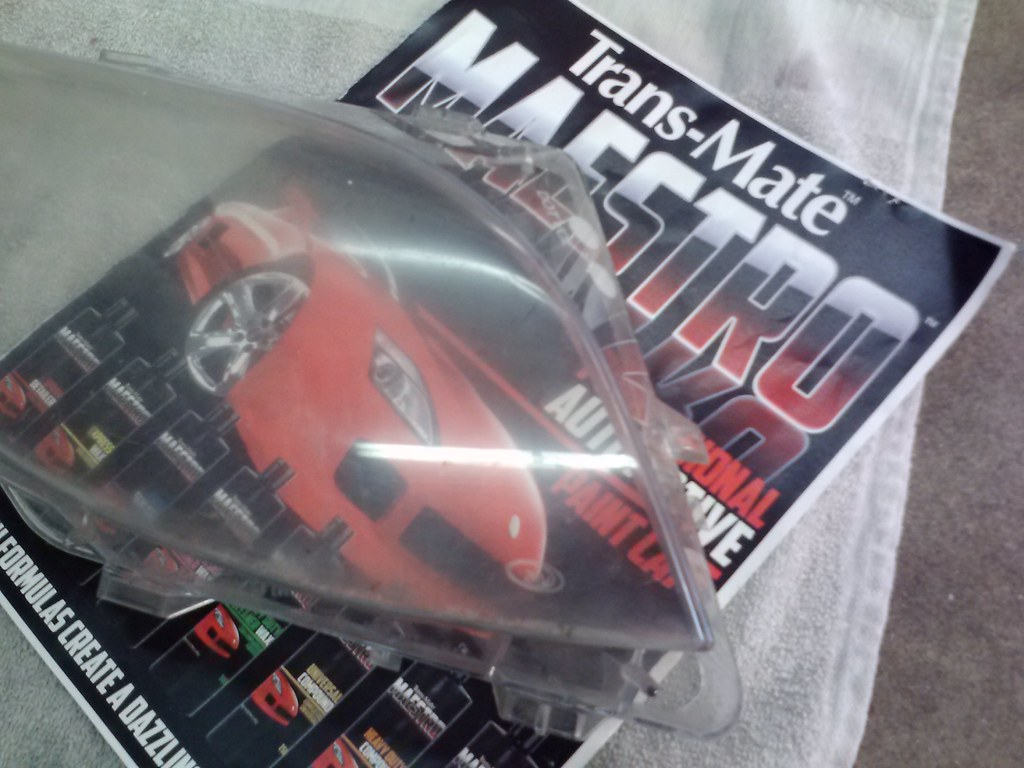


    Step 3: Polishing
    Polishing is a semi-optional step that will add some extra clarity after the compounding step. Following a similar method as in step two, go over the lenses at least once with the polish on a new towel or polishing pad. Use less pressure this time around or slow down your polisher if using one. You can see in the photo how a tiny bit of crispness is added. Don't forget to clean again after you are done.


    Step 4: Protection
    Always use it. After you are satisfied with the clarity of your lenses, make sure you add a layer or two of your favorite sealant or wax to lock in your new-found clarity. You could instead apply a layer of Lamin-X or similar to really protect the plastic.

    Notes:
    *Not all lenses are created equal! Some will come out beautifully on the first try, others won't clear up nicely no matter how hard you work at it. The lens I restored for this thread came out much clearer than the passenger side "before" lens in the pictures.

    Quote Originally Posted by Washburn View Post
    Some type of (UV) protectatnt is needed to keep the finish up....sealant like Opti Coat or a BlackFire Crystal Seal might help...I think. ANY cleaning process like this takes the factory UV coating off, so repeated cleaning will be required periodically to take off hazing due to UV.
    Finished Comparisons:


    Happy cleaning, good luck!
    Last edited by E_Rak; 06-20-2014 at 11:45 PM.
    - Evan - Karting Thread - YouTube -


  2. #2
    Join Date
    Jan 1970
    Location
    Liberty Township, OH
    Posts
    37,935
    Well done!

    You did that by hand? Also....can you label your pics above with the applicable steps that were completed?
    Call Me Dane l 2/2004 330i ZHP l 18x8 ET45 BBS CK's wrapped with Michelin Pilot Sport AS3+ @ 245-40-18 l KW V1 Coilovers in front l KW V1 springs w/ Bilstein B8 dampeners in rear l BMW Performance Rotors l UUC StrutBarbarian l Racing Dynamics Rear Strut Bar l Jim Conforti Shark Injector l Light Birch Interior Trim l Bimmian Celly Mount l M3 Trunk Mat l l e90 Performance E-Brake & Shift Knob l M3 Tri-Stitched Boots l AL Headlight Retrofit with ZKW Lenses l CobyWheel Wrap w/M3 Stitching l LCM sw 4.5 triple blink and rear fogs l Maple Interior Trim

  3. #3
    nike001 Guest
    Good work!

    May I ask why you did this route instead of buying new lenses? Trial run?

  4. #4
    Join Date
    Apr 2013
    Location
    Cambridge, MA
    Posts
    902
    Quote Originally Posted by danewilson77 View Post
    Well done!

    You did that by hand? Also....can you label your pics above with the applicable steps that were completed?
    Thanks Dane! Yes, all by hand. The pictures belong to each section. I.E. the picture under the step 1 article was taken just after I cleaned the lens, the picture after step 2 was just after initial compounding, etc.

    Quote Originally Posted by nike001 View Post
    Good work!

    May I ask why you did this route instead of buying new lenses? Trial run?
    Like I mentioned in the first paragraph, these were just Nic's old lenses that I thought I would do a demo on after he bought new ones. They won't even fit my pre-facelift :D
    - Evan - Karting Thread - YouTube -


  5. #5
    Join Date
    Jan 1970
    Location
    Liberty Township, OH
    Posts
    37,935
    OK. Got it. I guess the last 4 "COMPARISONS" pics are what I was referring to. Any specific's there? Of are those just all finished products?
    Call Me Dane l 2/2004 330i ZHP l 18x8 ET45 BBS CK's wrapped with Michelin Pilot Sport AS3+ @ 245-40-18 l KW V1 Coilovers in front l KW V1 springs w/ Bilstein B8 dampeners in rear l BMW Performance Rotors l UUC StrutBarbarian l Racing Dynamics Rear Strut Bar l Jim Conforti Shark Injector l Light Birch Interior Trim l Bimmian Celly Mount l M3 Trunk Mat l l e90 Performance E-Brake & Shift Knob l M3 Tri-Stitched Boots l AL Headlight Retrofit with ZKW Lenses l CobyWheel Wrap w/M3 Stitching l LCM sw 4.5 triple blink and rear fogs l Maple Interior Trim

  6. #6
    nike001 Guest
    Quote Originally Posted by E_Rak View Post


    Like I mentioned in the first paragraph, these were just Nic's old lenses that I thought I would do a demo on after he bought new ones. They won't even fit my pre-facelift :D
    Oh, whoops. Didn't read that

  7. #7
    Join Date
    Apr 2013
    Location
    Cambridge, MA
    Posts
    902
    They are all final products vs. untouched, I'll label them as such!
    - Evan - Karting Thread - YouTube -


  8. #8
    Join Date
    Jan 1970
    Location
    Liberty Township, OH
    Posts
    37,935
    Thanks
    Call Me Dane l 2/2004 330i ZHP l 18x8 ET45 BBS CK's wrapped with Michelin Pilot Sport AS3+ @ 245-40-18 l KW V1 Coilovers in front l KW V1 springs w/ Bilstein B8 dampeners in rear l BMW Performance Rotors l UUC StrutBarbarian l Racing Dynamics Rear Strut Bar l Jim Conforti Shark Injector l Light Birch Interior Trim l Bimmian Celly Mount l M3 Trunk Mat l l e90 Performance E-Brake & Shift Knob l M3 Tri-Stitched Boots l AL Headlight Retrofit with ZKW Lenses l CobyWheel Wrap w/M3 Stitching l LCM sw 4.5 triple blink and rear fogs l Maple Interior Trim

  9. #9
    Join Date
    Apr 2013
    Location
    North Reading, MA
    Posts
    642
    I'll take those back now

  10. #10
    Join Date
    Jan 1970
    Location
    Liberty Township, OH
    Posts
    37,935
    Quote Originally Posted by Stigissimo View Post
    I'll take those back now
    Call Me Dane l 2/2004 330i ZHP l 18x8 ET45 BBS CK's wrapped with Michelin Pilot Sport AS3+ @ 245-40-18 l KW V1 Coilovers in front l KW V1 springs w/ Bilstein B8 dampeners in rear l BMW Performance Rotors l UUC StrutBarbarian l Racing Dynamics Rear Strut Bar l Jim Conforti Shark Injector l Light Birch Interior Trim l Bimmian Celly Mount l M3 Trunk Mat l l e90 Performance E-Brake & Shift Knob l M3 Tri-Stitched Boots l AL Headlight Retrofit with ZKW Lenses l CobyWheel Wrap w/M3 Stitching l LCM sw 4.5 triple blink and rear fogs l Maple Interior Trim

Page 1 of 2 12 LastLast

Similar Threads

  1. Replies: 3
    Last Post: 12-23-2012, 01:00 PM
  2. Replies: 9
    Last Post: 12-16-2012, 05:27 PM
  3. 3M Headlight restoration kit review/DIY
    By ZSP-Mafia in forum Product and Storefront Reviews
    Replies: 25
    Last Post: 01-03-2012, 04:30 PM
  4. Replies: 8
    Last Post: 04-15-2011, 08:02 AM
  5. Headlight Restoration on the INSIDE
    By tripod06 in forum Lighting
    Replies: 37
    Last Post: 03-01-2011, 02:14 PM

Posting Permissions

  • You may not post new threads
  • You may not post replies
  • You may not post attachments
  • You may not edit your posts
  •