Looks good Stu, Nice work JP.


 Boss
Boss
Looks good Stu, Nice work JP.
Randeaux/Rando/John/jr - '06 Cic ZHP; Southern California
"ZHP or not, I still like you"
ZHP Performance Package, Cold Weather Package, Leather, Jet Black/Black/BlackCube, NAV, Anthracite Black "my individual" interior trim
ESS Stage 1 Twin Screw Supercharger, Sprint Booster, BMW Perf Intake, Magnaflow Exhaust, Dinan TB & STEP S/W, UCC Sway Bars, Apex EC-7 18x8.5 ET38
Suspension: AST 44100 dampers, Bimmerworld front adjustable end links, Swift springs (8K front, 10K rear), Vorshlag camber plates
Dynavin D99+, Hardwire V1 (w/V1 Connection), BSW Stage 1 Speakers, Kicker Amp/Subwoofer
BMW Performance Strut Brace, Orion V2 Angel Eyes, No-holes License Plate, SMG Paddle Shift Mod, Besian VANOS, Gold DISA, Fan Delete, M3 Side Mirrors
Note: Actual car no longer resembles signature picture
 Messaggero
there isn't a special tool for the rear...why do I read/hear people say that ALL THE TIME...wth is it with the alignment techs
- Stuart
/_________\
OO=[][]=OO
Messaggero
ARRRGHH - I am getting frustrated just thinking about it - I would like to have some tech tell me that. I would go grab (I think an 18mm) and show them the 4 bolts TOTAL...
- Stuart
/_________\
OO=[][]=OO
 Capo di tutti capi
Originally Posted by 330i ZHP
 +1
+1
Please, please, please ask what this tool is next time someone is told this.
HTC DNA, Williamsburg, VA
Call Me Dane l 2/2004 330i ZHP l 18x8 ET45 BBS CK's wrapped with Michelin Pilot Sport AS3+ @ 245-40-18 l KW V1 Coilovers in front l KW V1 springs w/ Bilstein B8 dampeners in rear l BMW Performance Rotors l UUC StrutBarbarian l Racing Dynamics Rear Strut Bar l Jim Conforti Shark Injector l Light Birch Interior Trim l Bimmian Celly Mount l M3 Trunk Mat l l e90 Performance E-Brake & Shift Knob l M3 Tri-Stitched Boots l AL Headlight Retrofit with ZKW Lenses l CobyWheel Wrap w/M3 Stitching l LCM sw 4.5 triple blink and rear fogs l Maple Interior Trim
 Messaggero
Well I worked on it with my tech at work... our alignment machine shows diagrams and necessary tools and suggested a specialty tool for the rear toe. 18 mm Stu? We will give it another shot next week.
EDIT: Here's the suggested tool.
http://www.toolsource.com/toein-adjuster-p-114815.html
Messaggero
three bolts holding the rear trailing arm. loosen, adjust to proper toe...tighten and recheck once tightened
- Stuart
/_________\
OO=[][]=OO
Messaggero
Thank you sir.
Soldier
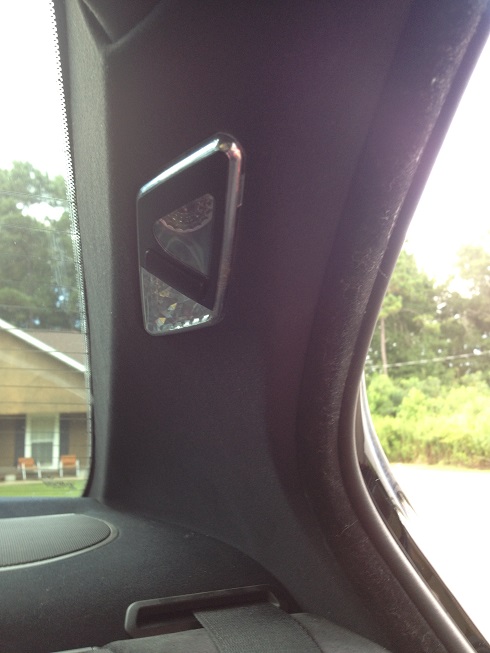
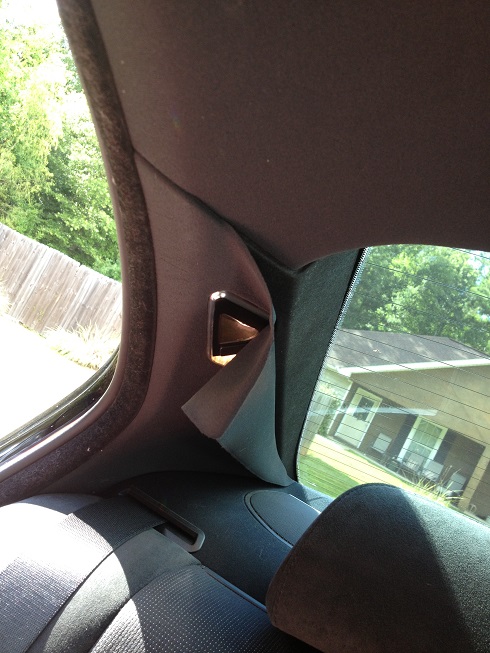
Did my A and C pillars... Some before and afters. Both the rears were in the same droopy condition.
 Enforcer
Nice!!! Details on how you did it? My A/C pillars are starting to sag.
Soldier
The C's are the easiest. I believe depending on the year, the process might be a little different. Mine is a 2004 so, for the C's, just pop out the light with a flat head screw driver. You need to kind of dig in there to get it to pop out. Having a 2nd flat head handy is helpful too. Once it is out, unplug light. Older models I think there is a 25torx holding it in. Mine didn't. Use the open hole as a way to grab the panel and there are two clips at the top you will pop out. Then the rest just pulls out. For the A's, you will remove that little strip on the pillar with a flat head. Then there will be 3x 25torx screws that need to be taken out. They are in an annoying angle so be patient. Once you remove the screws, the rest will just pop and slide out. I used Krylon Easy Tack adhesive. Seem to work perfect. You have to time when you stick the fabric back because if to soon it won't stick because it is too wet and if to late it wont stick because it dried up. So about 15-30 seconds seems to work best. The trick is to get it to stick and spread evenly across the pillar. It is forgiven so don't worry about messing up. Also applying in small like 2-3 sq. inch sections seemed to work best for me.
 Posting Permissions


 Reply With Quote